STAGE 11: Remove Windows/Side Panels & Insulation, Re-Seal and Replace Windows
Part 2-Day 2
The next day I was certain we would not get to complete our project because of the rain. The Universe was looking out for us though because by 3 PM it was clearing up. So, we all got to work on other side of ChittyBang!
We removed the windows successfully! The guys started in on the side panels, while I worked on cleaning and scraping the windows.
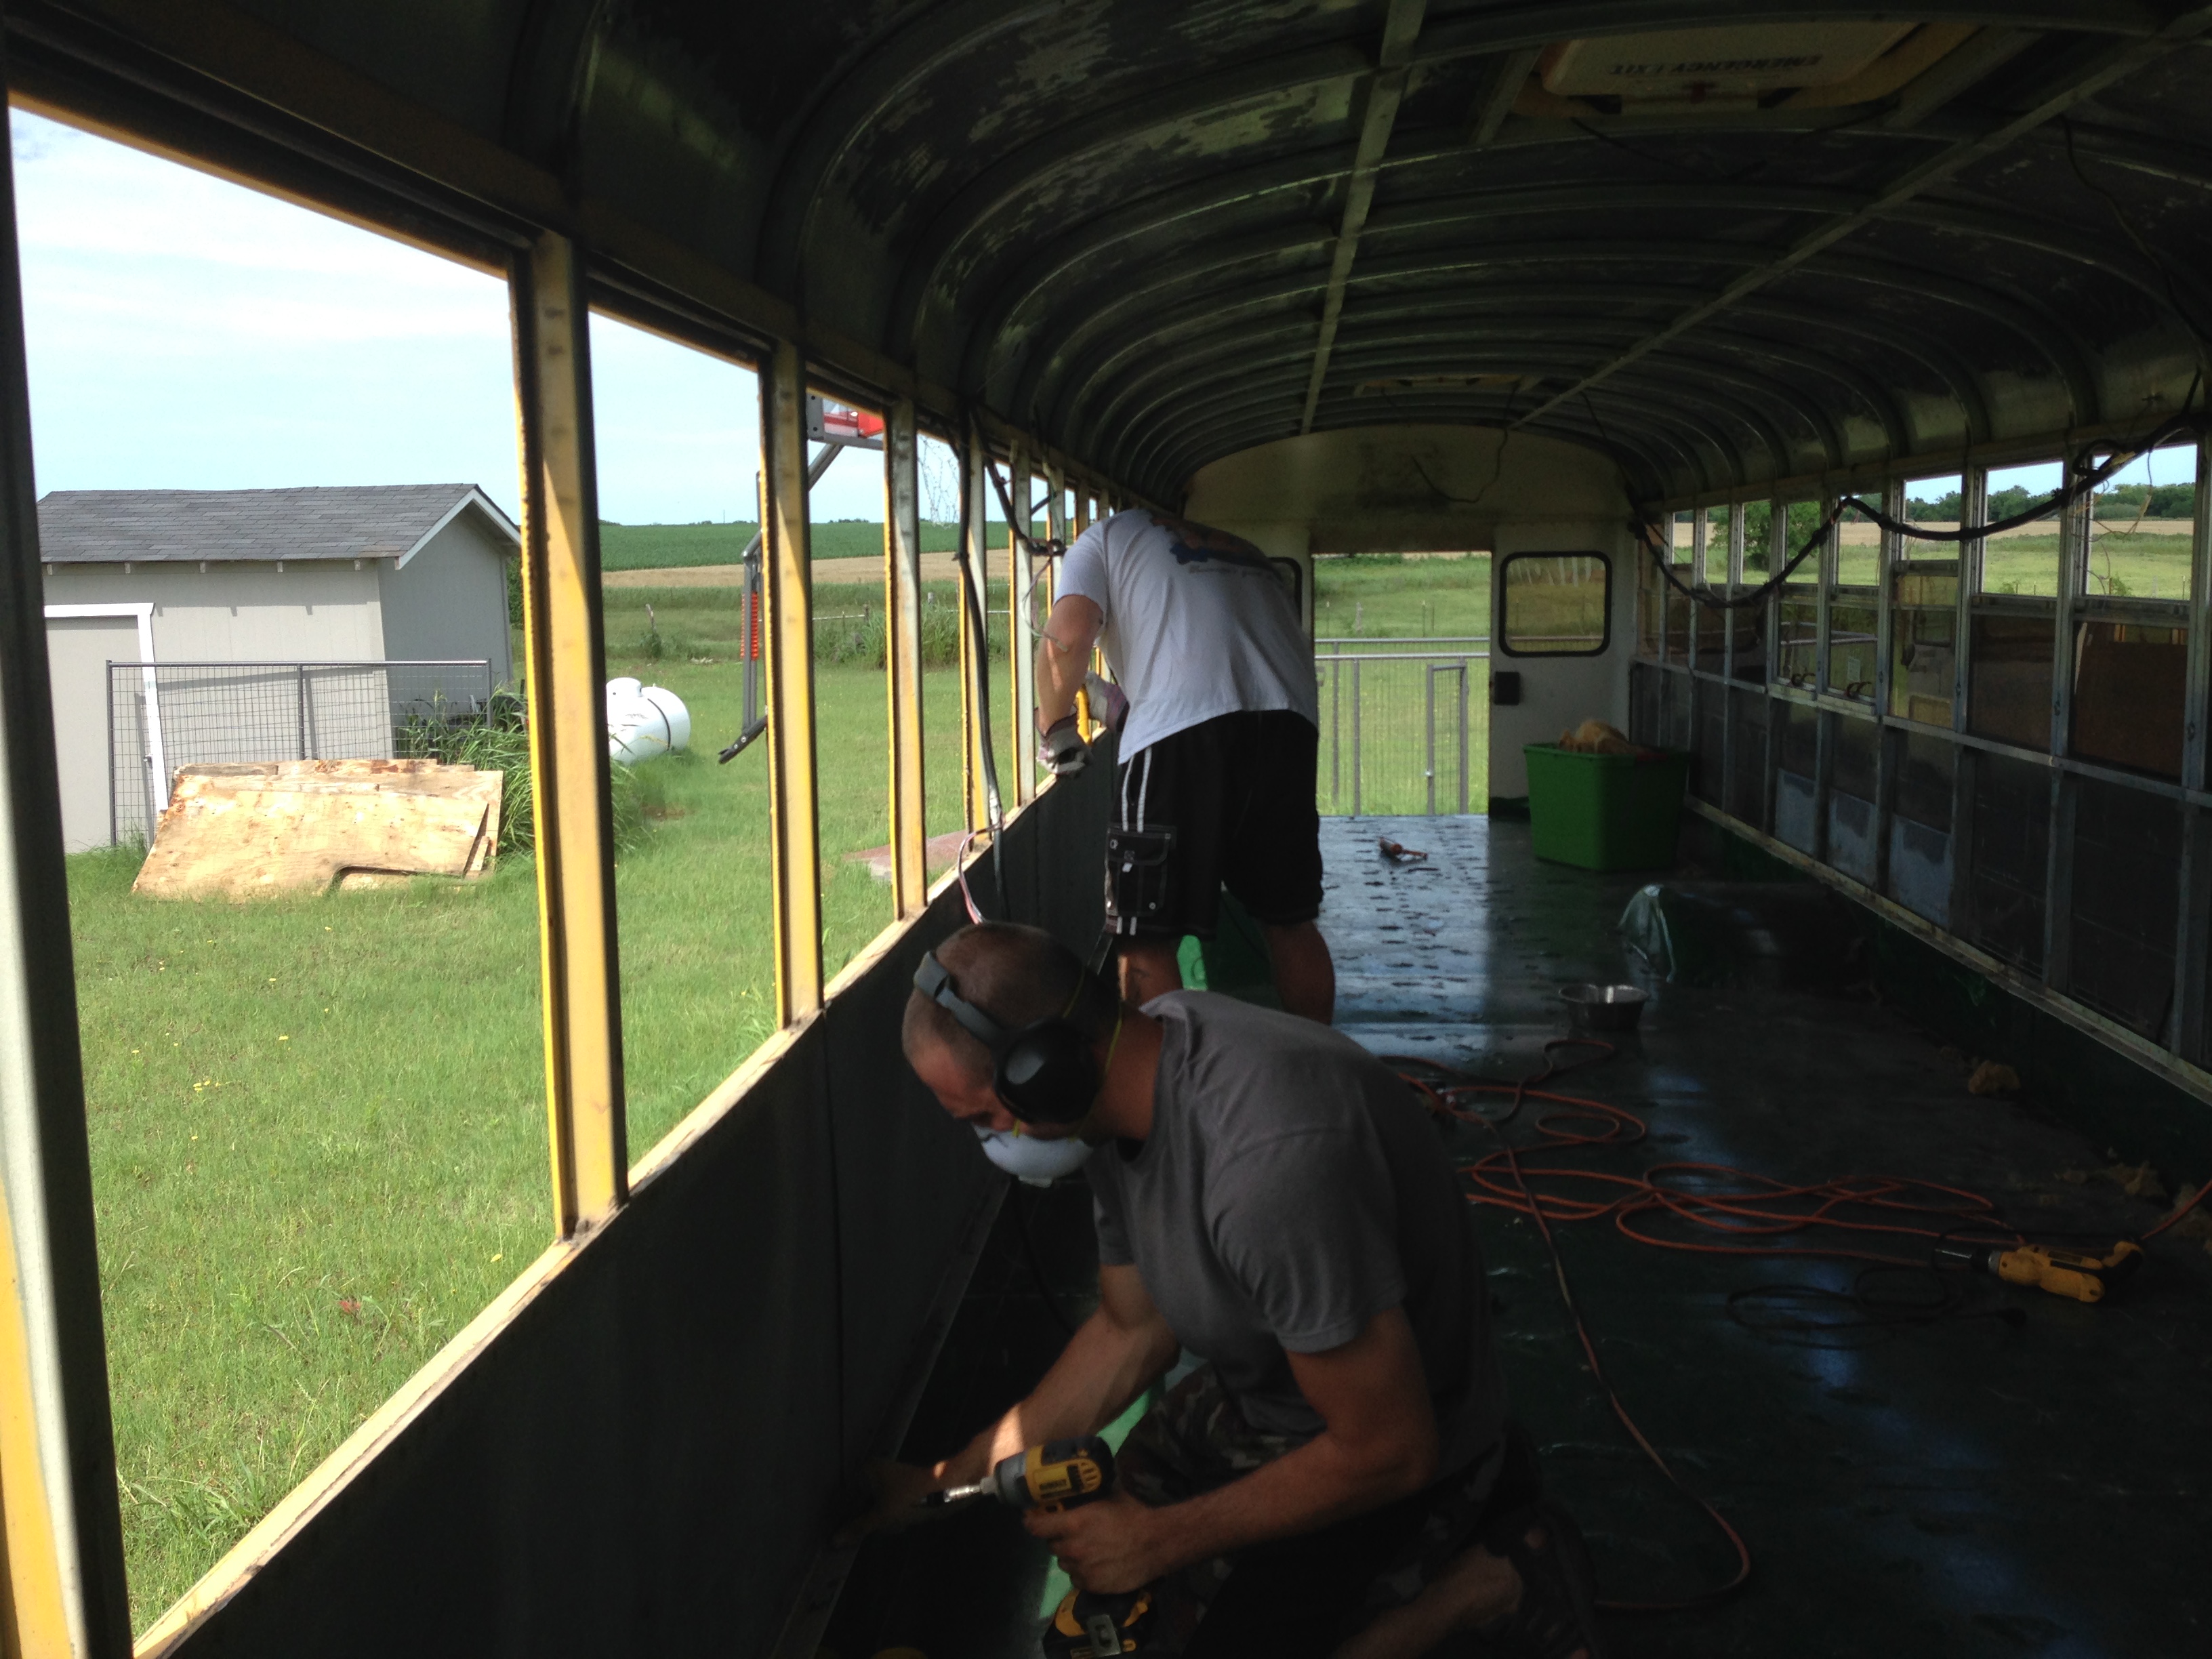
The Panels were removed much more smoothly on Day 2 🙂 We got everything smoothed out on the frames, the insulation totally removed, the windows cleaned and scraped…now for the last stretch!

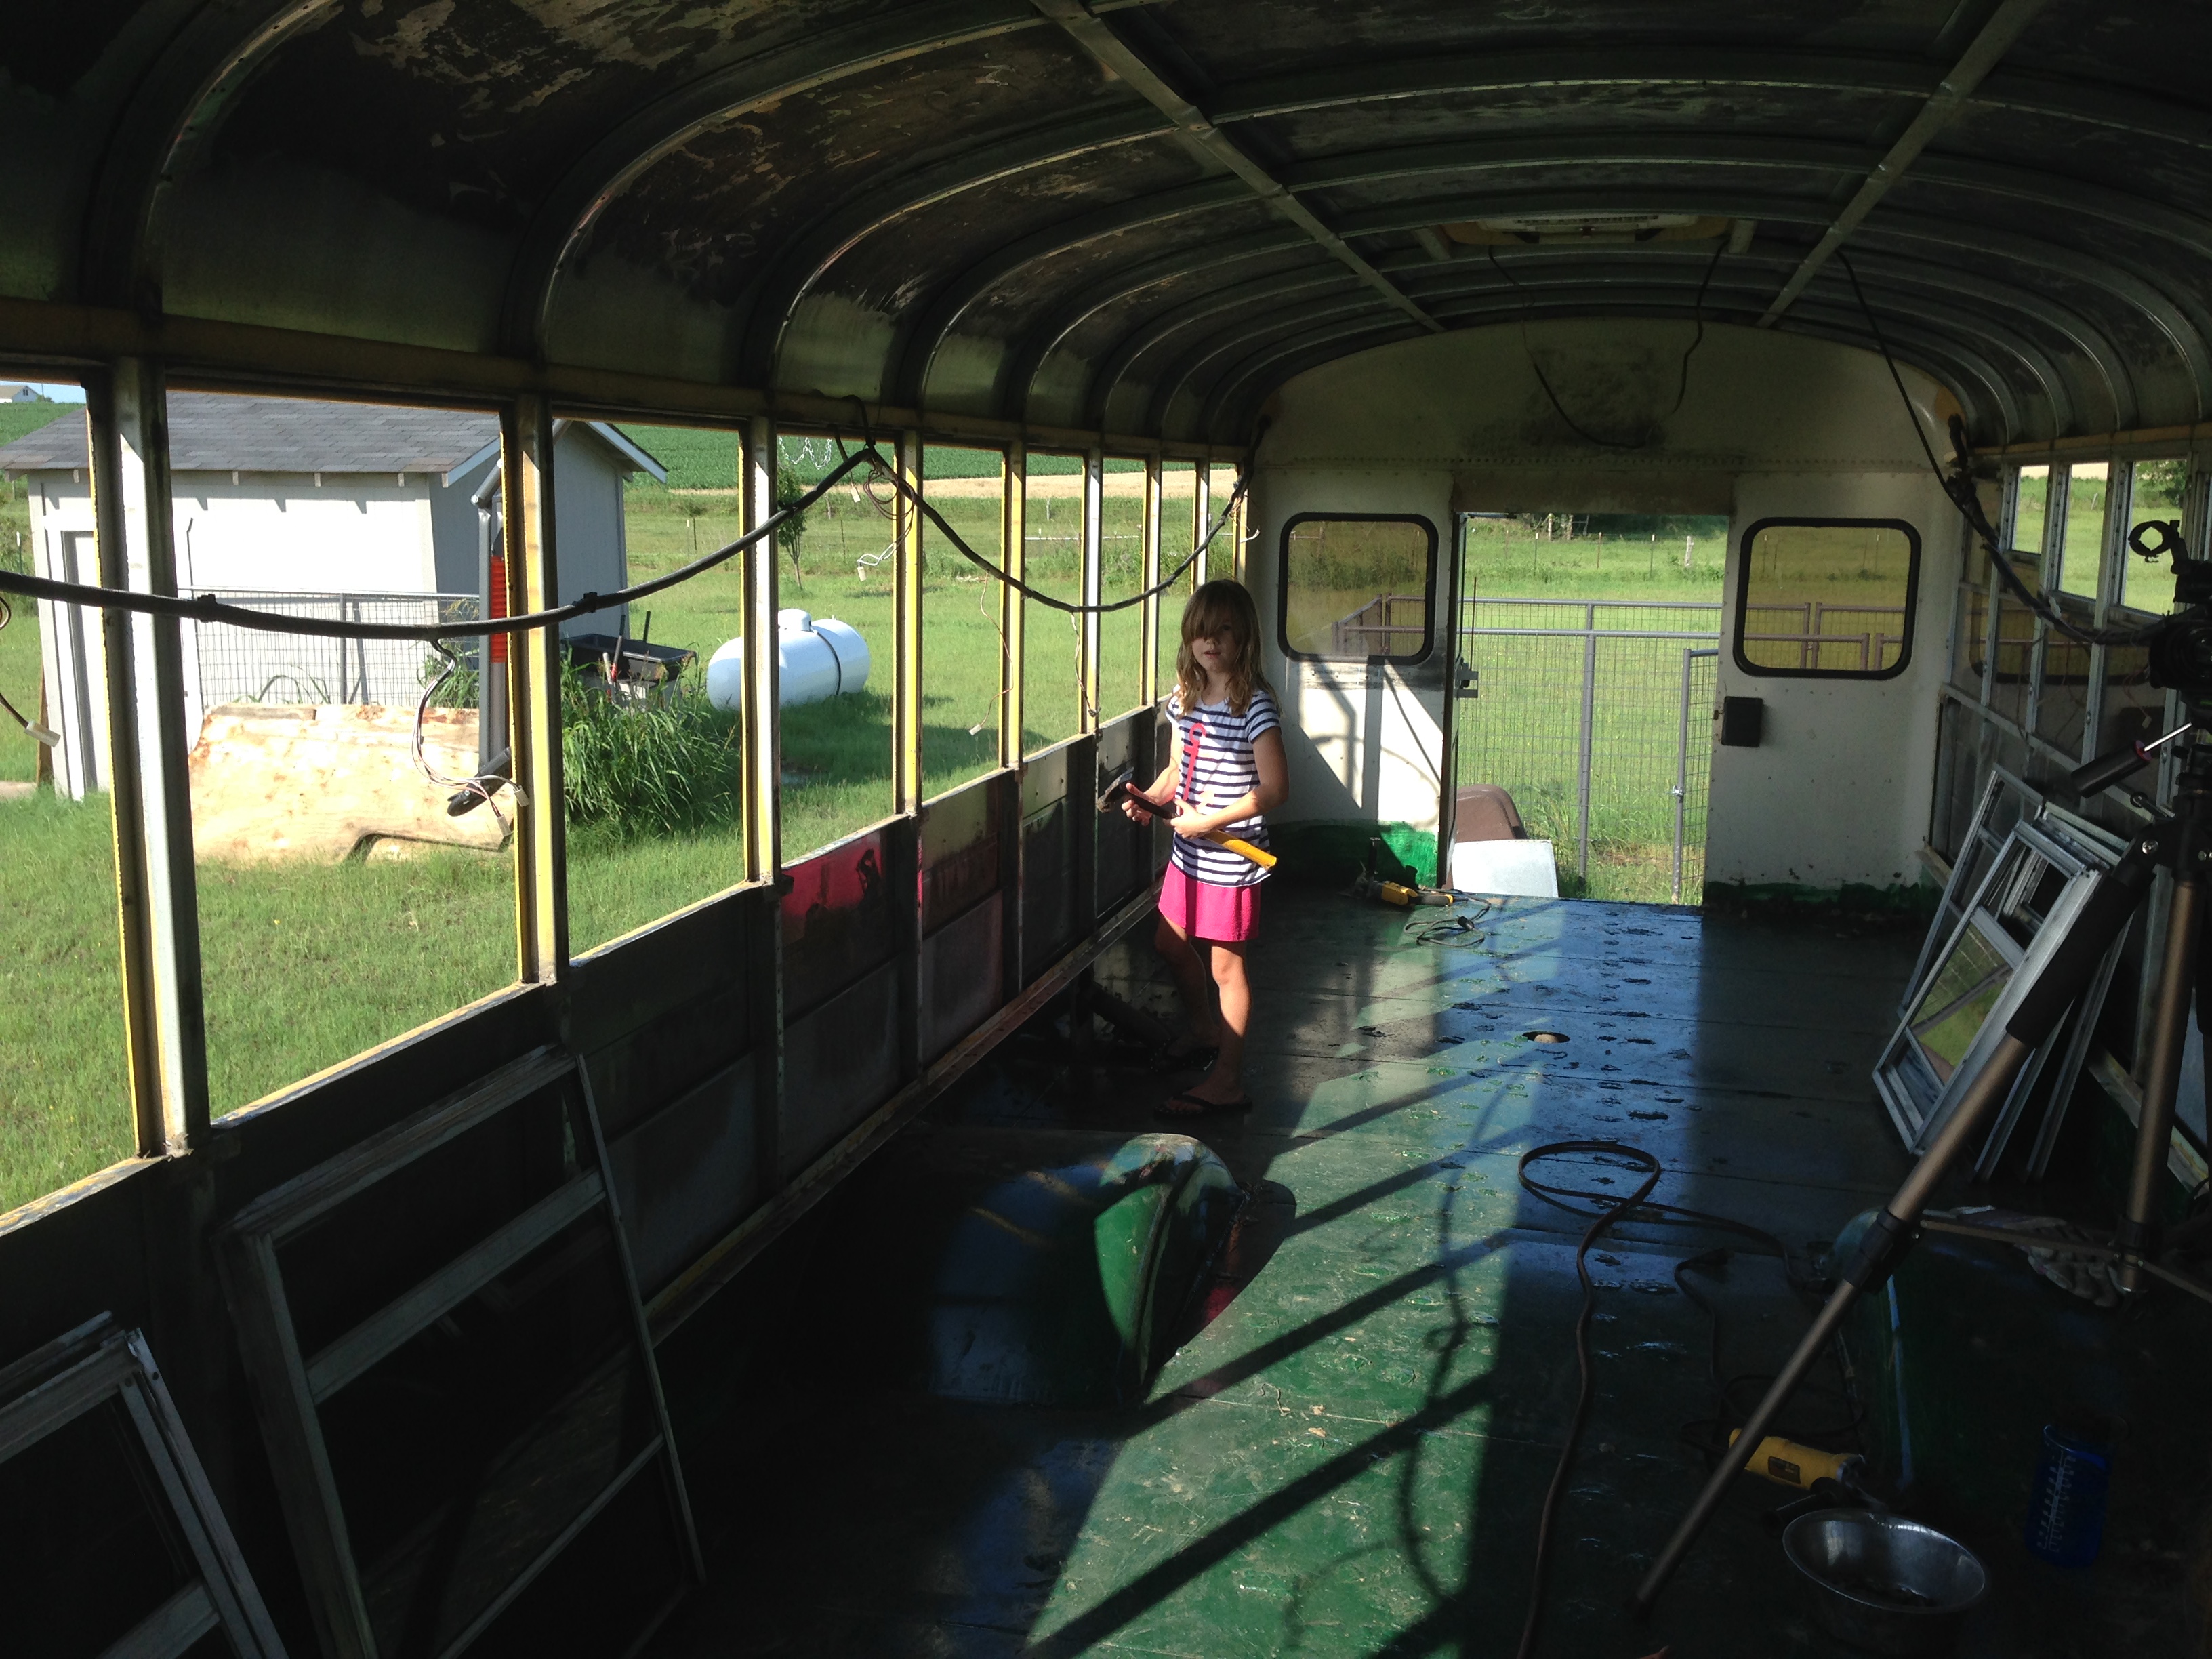
Finally done!

We also put some caulk on the screws/rivots that were on the walls under the windows to make sure no water was coming in from here. Some insulation was wet, so we needed to be sure there was little chance of any more leaks. We are not professional bus renovators, so we do what makes sense to us as we do it. I want ChittyBang as leak proofed as possible 🙂
We are finally done with demo!!!
Now onto foaming, and re-sealing the roof and side seams!!
STEP 12
or
Check out how we decided to start this whole project:


Leave us a message!