Stage 5 of Operation Chitty Bang is Sanding and Killing the Rust. We decided to take off the next two days after the night of scrubbing and the day Crab passed his driver’s test for his Class B License. Once we were restored and free of appointments, we decided to tackle the rust on the floor. We had a hand held drill with a wire brush attachment, and a bigger tool with a bigger wire brush on it. I can’t remember the name of the tool, but we also used it for grinding down the rusty nails. We definitely could have benefited from renting a sander, but we stuck with our attachments Crab just purchased to try and do it ourselves with what we had.
I used the hand drill/wire brush and wheel attachment to get in all the cracks where I saw any rust, as well as the sides of the bus. Crab used the bigger sanding tool on the big spots on the floor. In the pic below, you can see what the rust spots looked like after we were done sanding.
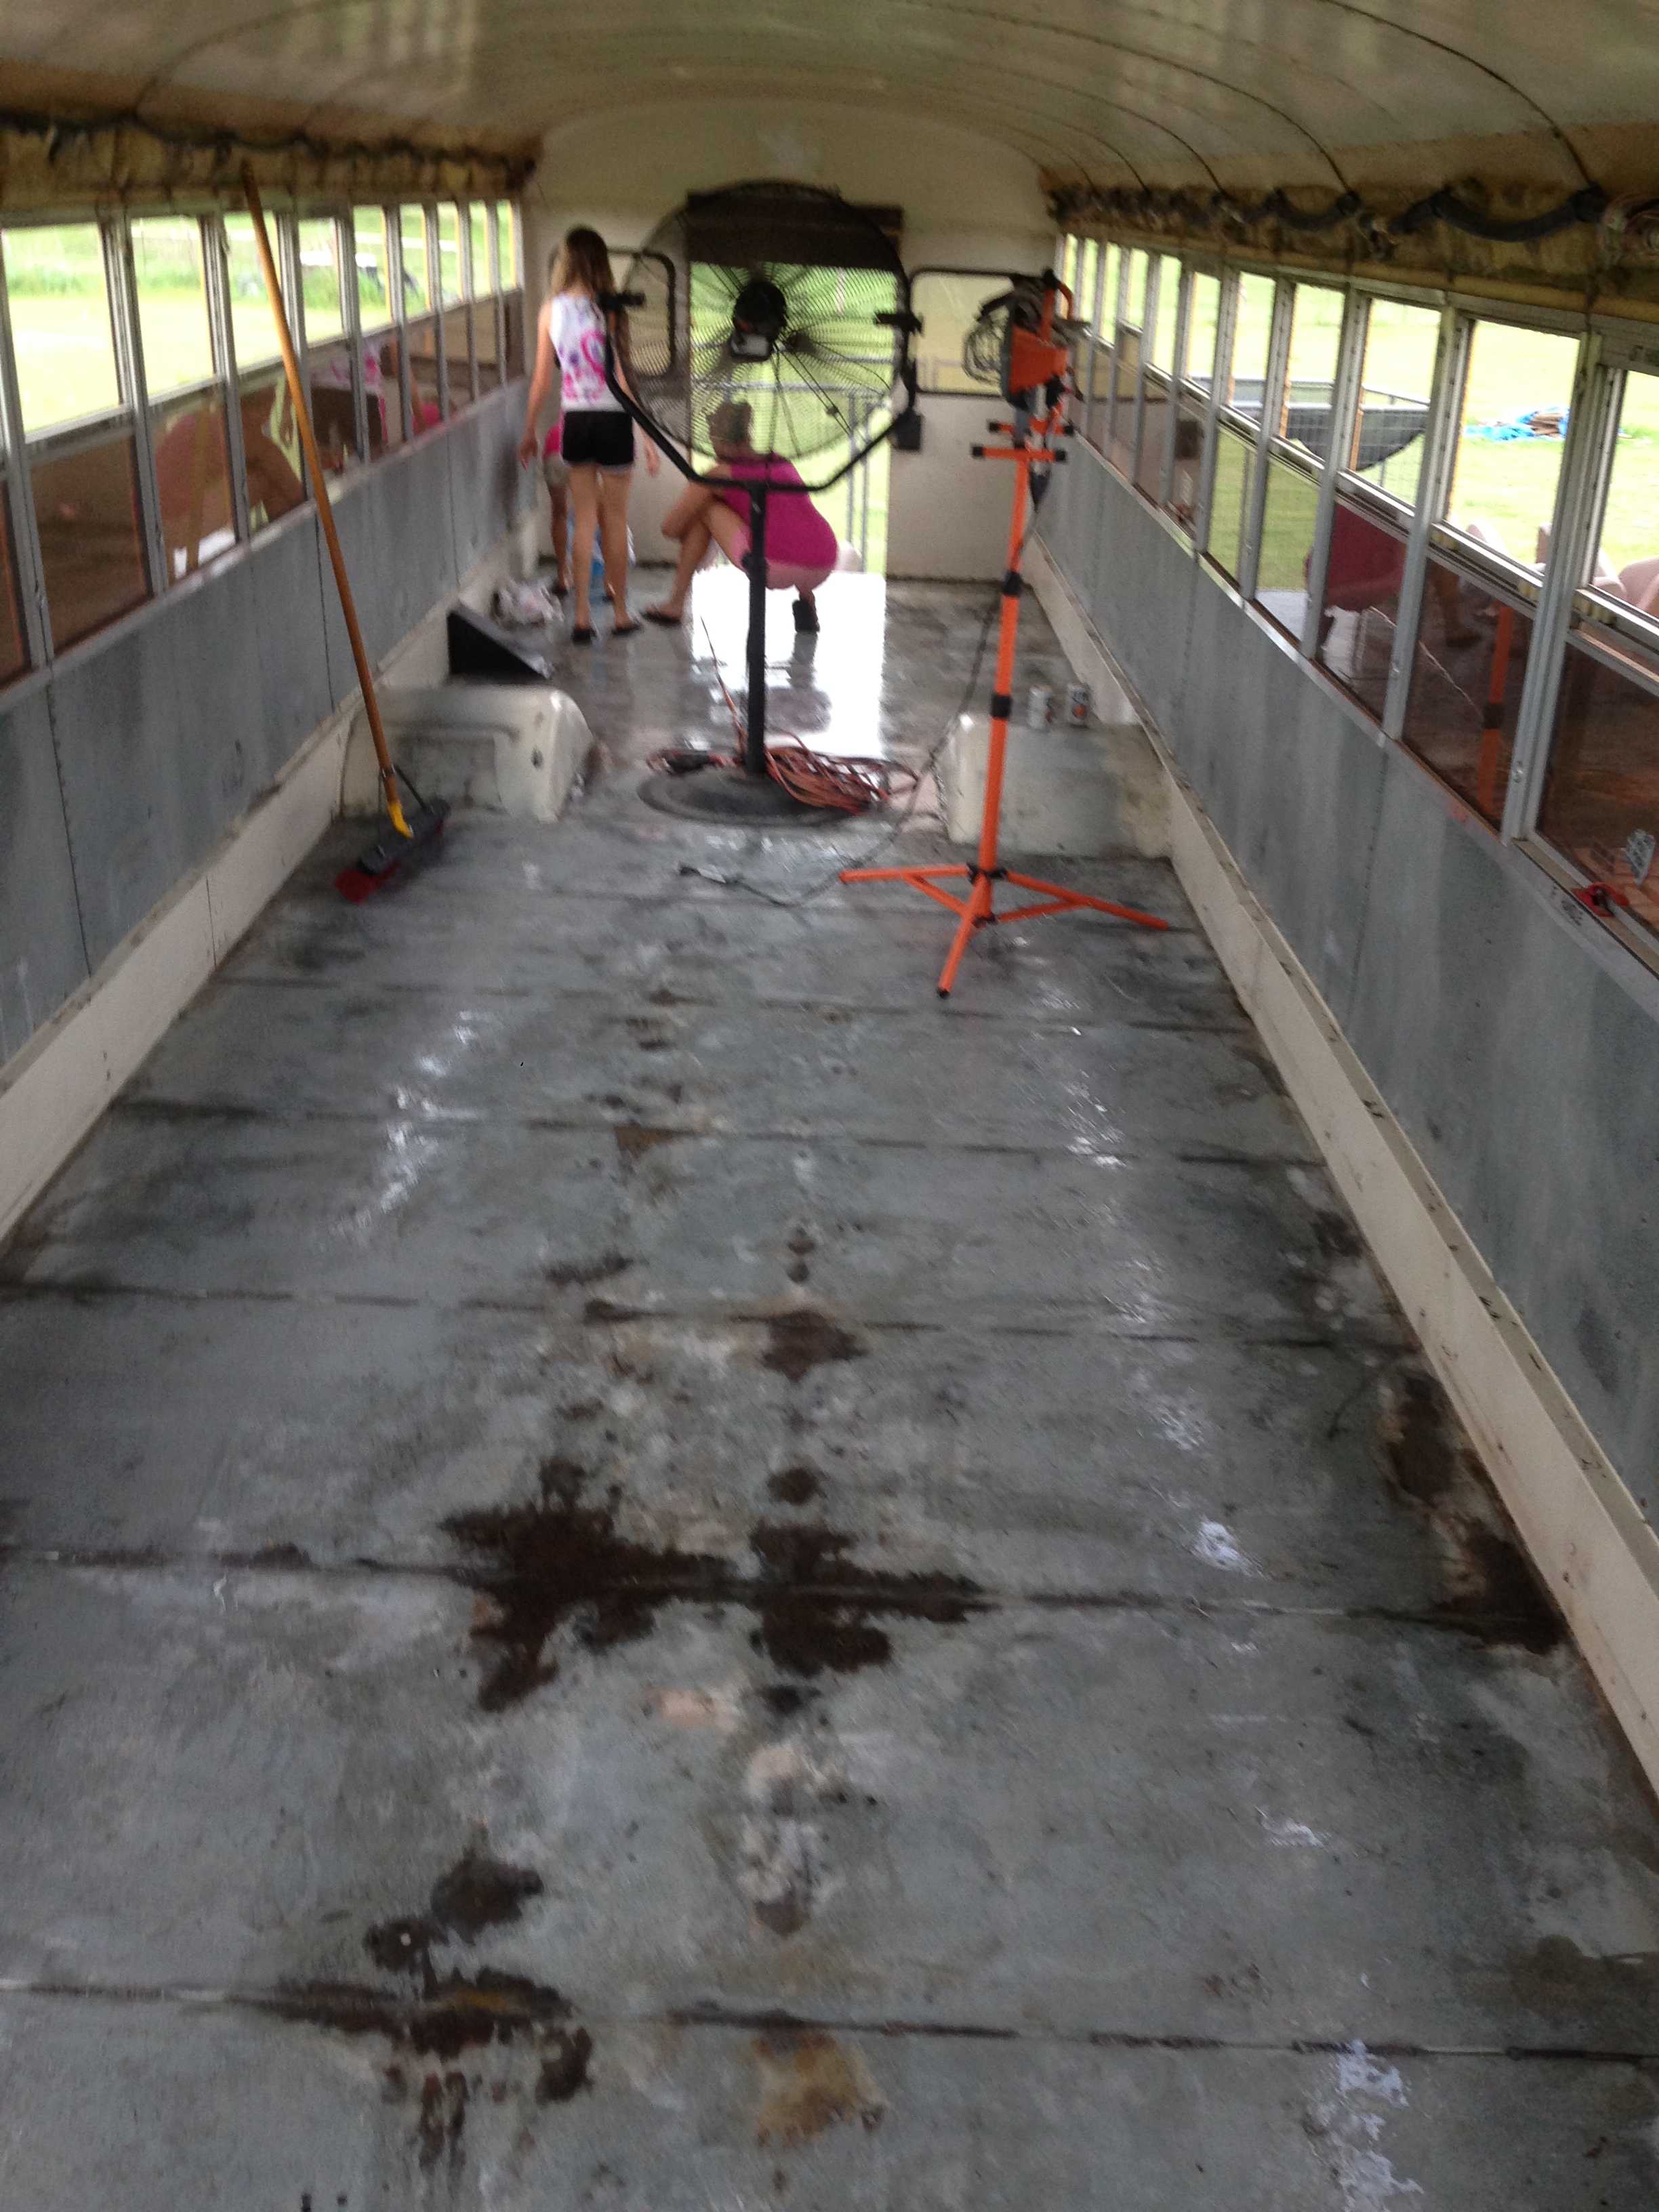
Next, we tried a “car guy” on YouTube’s advice and mixed together a 4 parts water and 1 part vinegar solution. Then we used the “scotch brite” green pads (the rough kind only) and scrubbed the solution into the floor. I showed the girls how to do it, then let them take over that job!

The final results of all of the back breaking work we all did. Thank goodness we have kids to help:)

This definitely is not the end of the Rust “removal/conversion” but while we researched what products were best, we took a couple of days off for some appointments we had and then started..
Stage 6: Removing the Ceiling Panels & Insulation. ;D
or


Leave us a message!