Stage 8: Filling those Stinkin’ Holes
After much research, discussion, helpful advice from Skoolie.net and Skoolie Converters on Facebook, and time, we finally decided what to fill the holes with! Bondo would not work since it was not water repellant or flexible. Welding would not work because we did not have a welder but a friend 5 hours away does. We also discovered it may cause more rust around the area we are welding, and it is a lot of holes to fill anyway! Honestly, I feel this decision was a preference thing. If it was easily accessible and we knew how to do it, I probably would have welded it. However, this next option was the best that I could find for our project and I felt comfortable using it. Again, I think it is really personal preference as everyone had their own opinion on which was best.
Polyurethane is the Winner! Water resistance, flexibility, expansion capabilities, and an amazing sealant used on metal, concrete, wood, etc.
Loctite PL Premium Polyurethane Construction Adhesive 10-Ounce Cartridge (1390595)
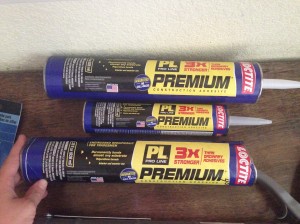
The top two bottles were purchased at Home Depot, the bigger one was around $9 I believe. The bottom tube was purchased at Habitat for Humanity for $4, only missing the tube at the end.
Great find at Habitat for Humanity, by the way! We got like $5-$7 off of the only tube of Polyurethane, the only thing wrong with it was that the tube piece was missing. We used this tube first and just cut it open with a knife and applied it with a skinny spackling spatula. Easy Peasy!
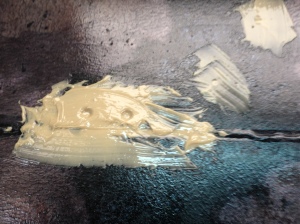
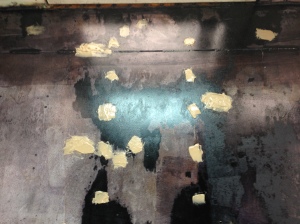
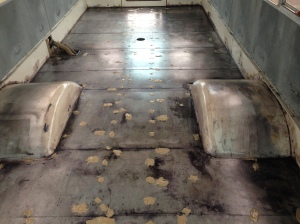
That one Large tube of Polyurethane lasted until after I was about 3/4 of the way done. Not bad at all!
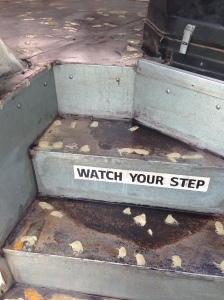
After we let it set for a couple of hours, I was interested to see what the holes were starting to look like under the bus….at least for the holes I could see from there.
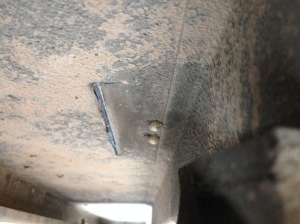
Mwahahahahaha (evil laugh here). The plan is working!
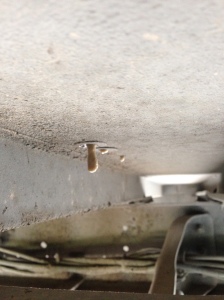
Oh yeah, get in there and seal that hole, you big goopy polyurethane you.
Well Glippity, Gloppity, Gloop! I am impressed! I just hope it looks like this tomorrow!
Onto to Stage 9: Rust Prevention
or

Leave us a message!