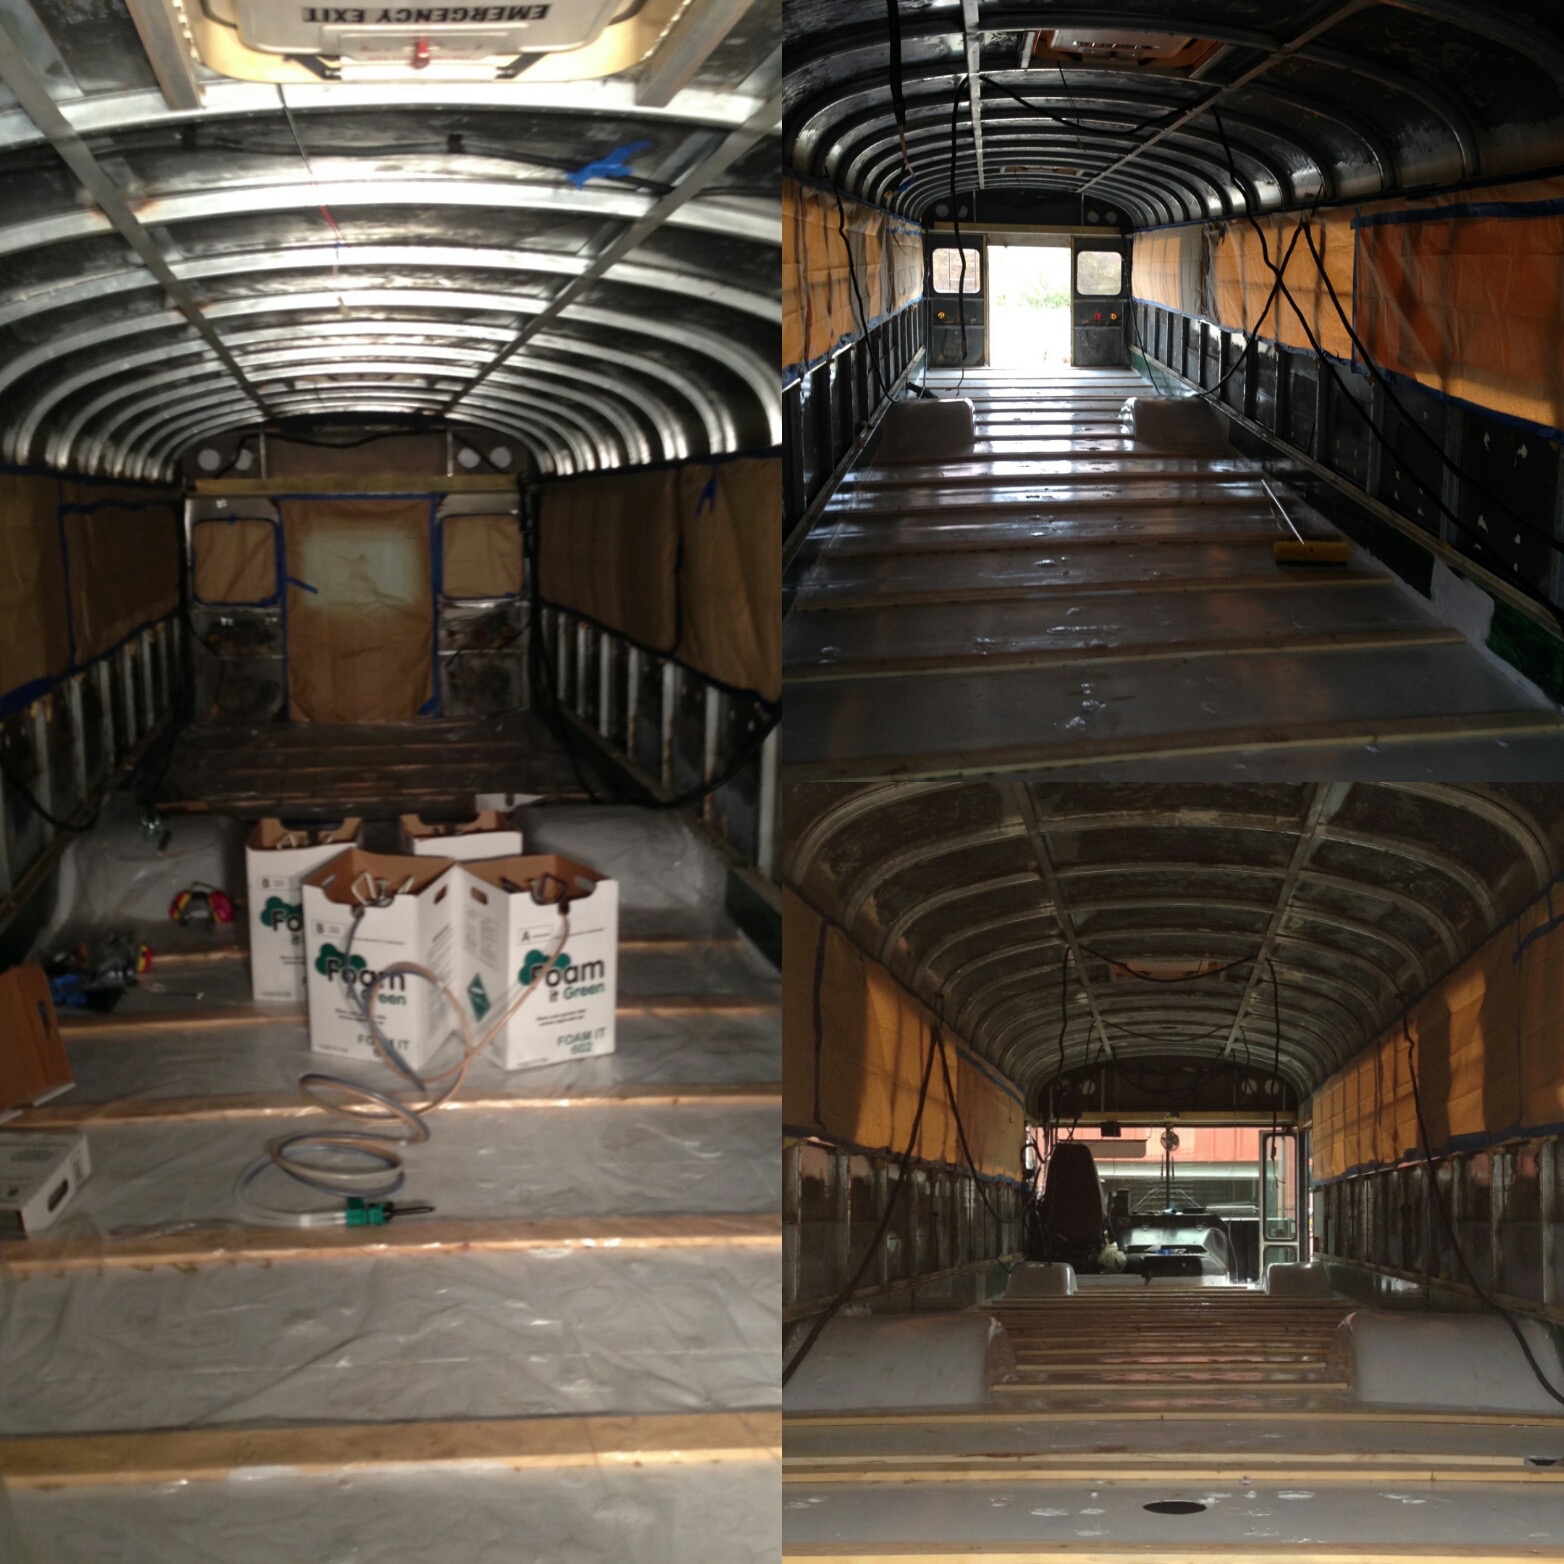
The moment had finally arrived! We were about to spray foam the bus. That meant that the electrical for the bus was done, the metal prep work was done, and the furring strips were laid. I can not begin to explain how excited I was that Chitty bang was no longer looking like an old rusty bucket, or an old stripped out school bus. This was her first step into “House-Hood” in my eyes 🙂
First, we Prepped!
Energy Efficient Home Insulation Kit
We decided to go with Foam It Green‘s DIY Closed Cell Insulation Kit. We purchased it form their website in October 12015 and it came with 17 free things; goggles, gloves, booties, Tyvek suit, lots of nozzles and fan tips, and ky jelly packets. The kit we ordered was for 1200 sqft and was $1500. It included four boxes (2 part A’s & 2 part B’s), the hoses, and mixing nozzle..and the above listed. If I didn’t have three trash bags of overspray, that would have been enough for the ceiling, walls, and floor. Unfortunately, we were messy so we had to order a smaller kit, Foam It Green 202 Kit -200sqft kit (one small part A tank and one small part B tank)which was $400. So our whole project cost $1900 plus the $20 respirators we bought. You can apply it between 65 & 78 degrees.there is a temperature strip on the tanks that let’s you know if it’s good or not. Also, we are in no way being paid by Foam It Green to review this product. This is based on our own experience using it on our Skoolie conversion.
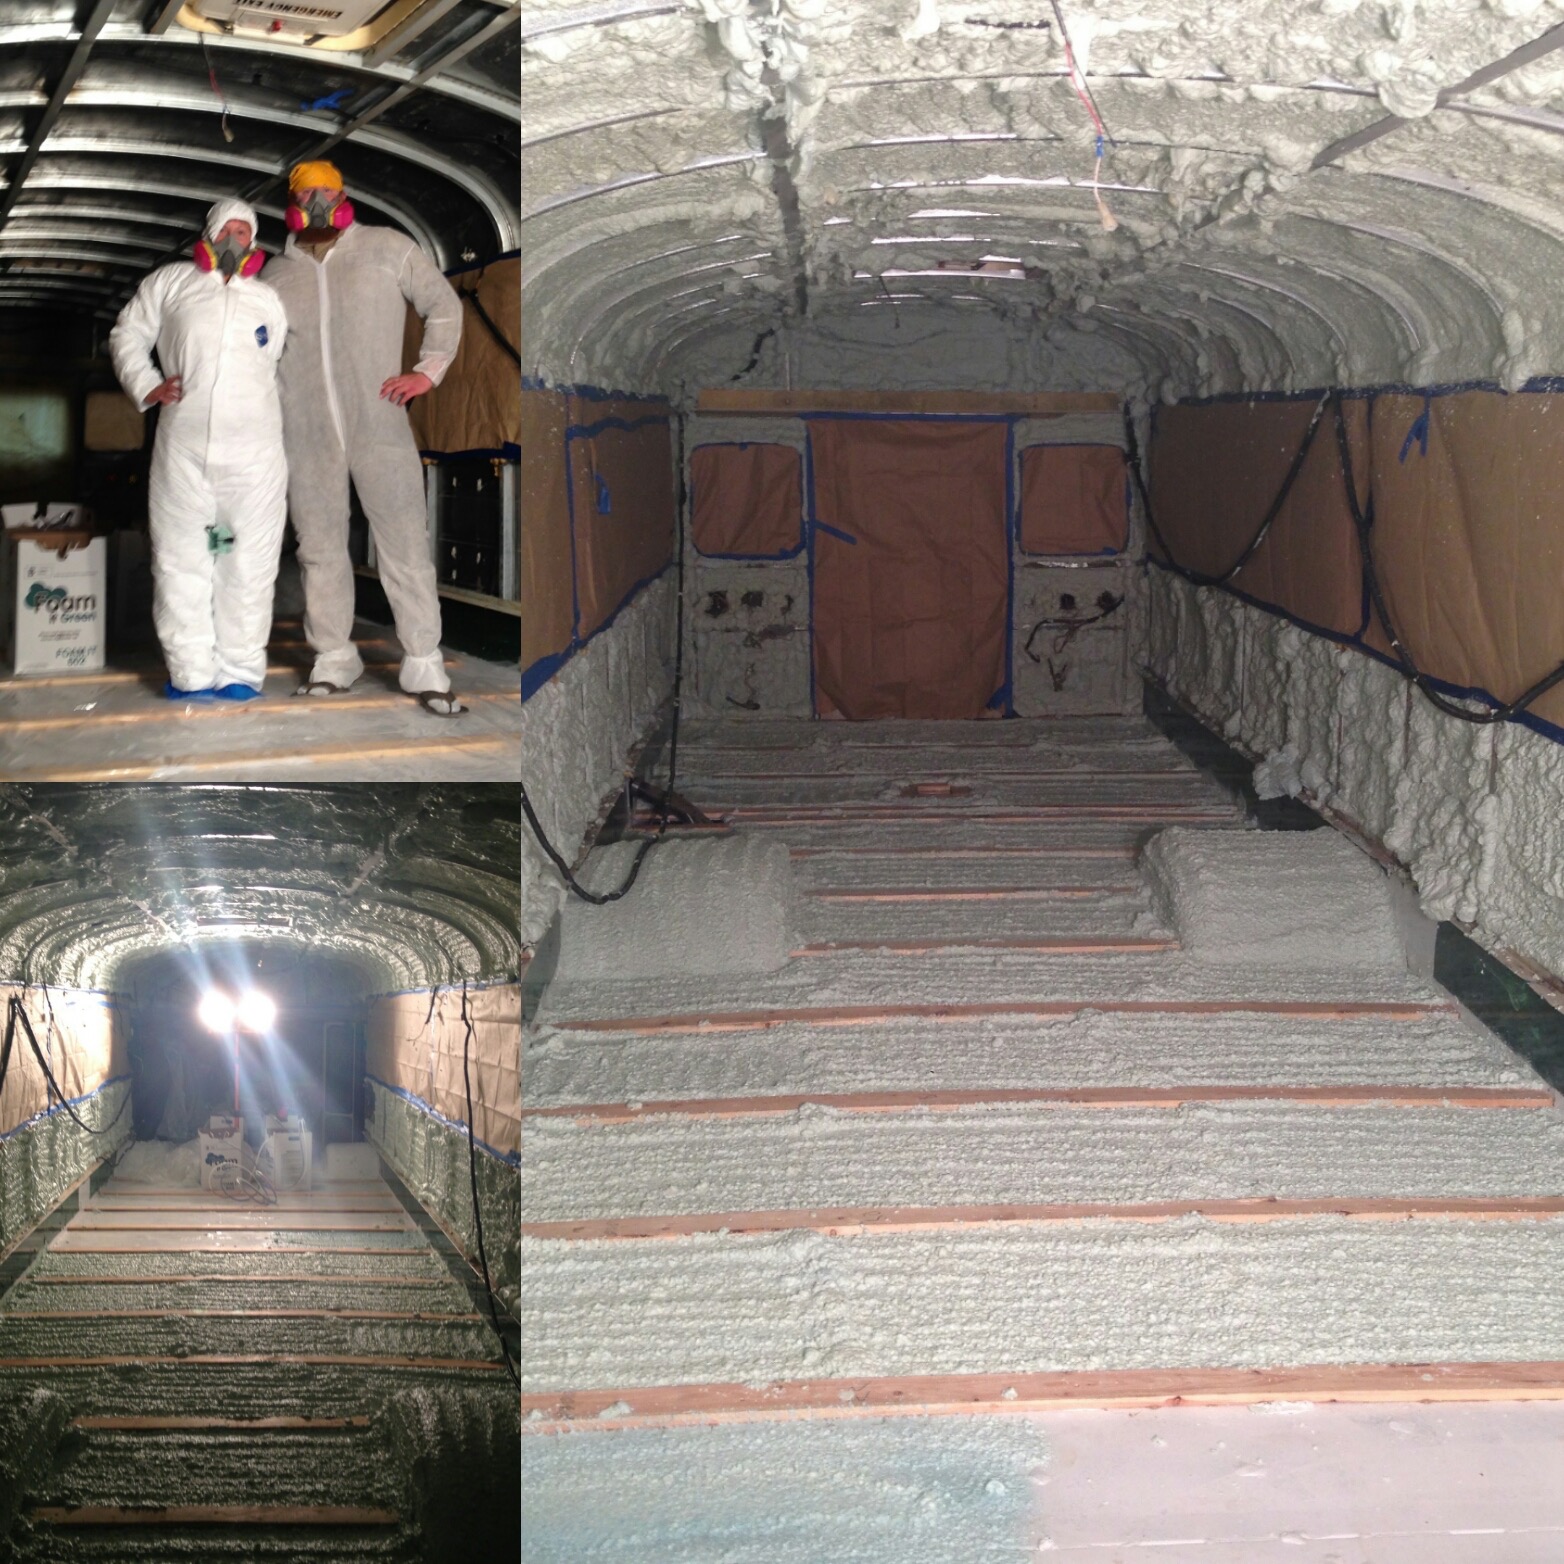
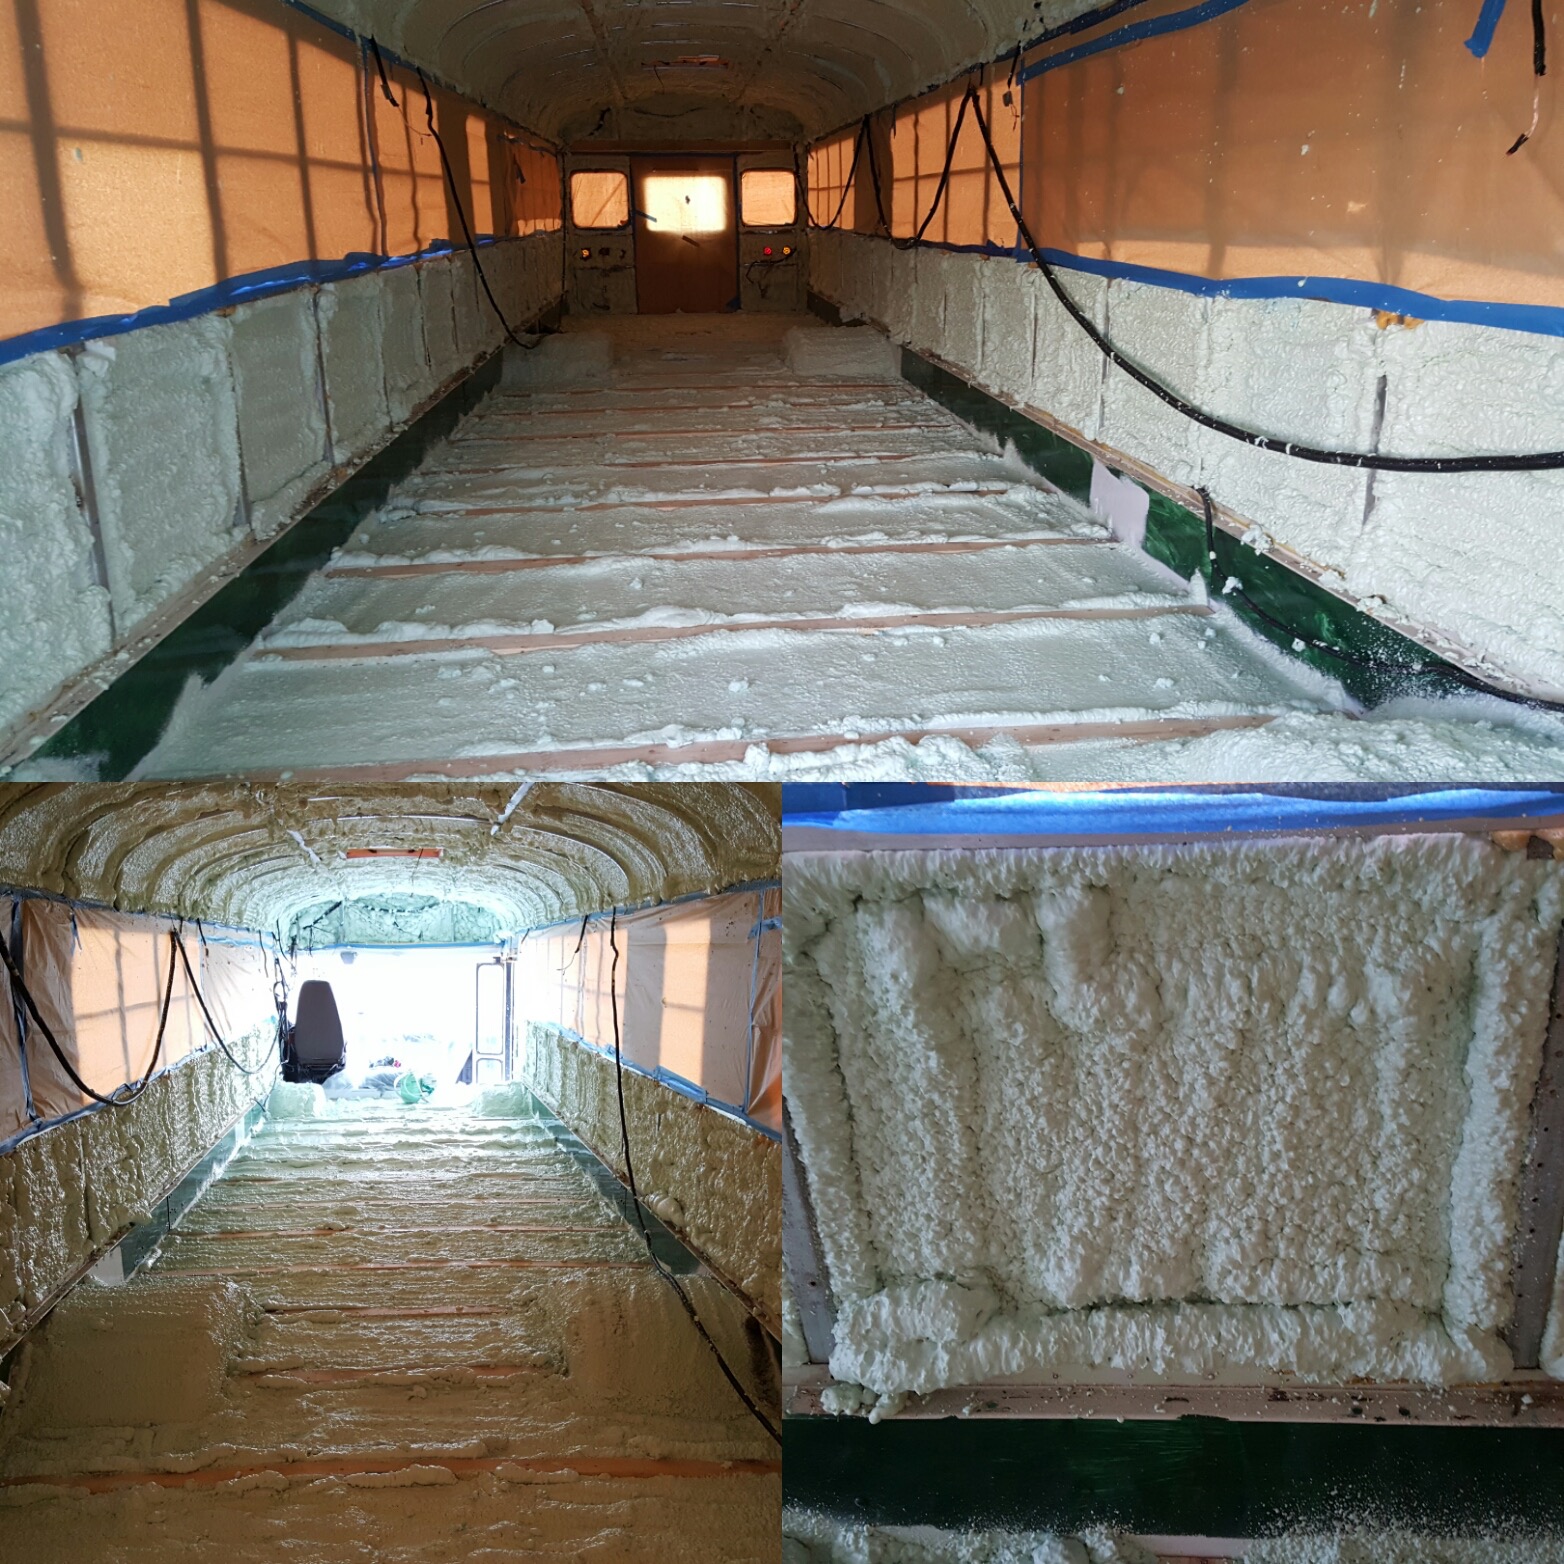
It is closed cell foam, which is better for metal buildings according to my research. It actually seals so well that it helps structurally, with noise reduction (hence the reason we sprayed on the wheel wells), water resistant, and mold resistant. It cures in 30 seconds to 2 minutes. At least the door and Windows were open when we worked in it afterwards! Had respirators and all while foaming and didn’t go in again for a few days just because we had to buy supplies and plan the next steps.
Foam it green has lots of videos of how to do it (you have to watch these before you do it per instructions) and it was super easy too. The tanks attach to a dual hose with two different color foam ingredients. They go into a mixing nozzle and is combined while you spray. One hose/tank is white the other blue. It comes out green. They do a good job of showing how to do ceilings and walls. One inch is r value 27 I believe….their website has lots of info.
https://www.sprayfoamkit.com/spra…/spray-foam-stories.html
They also have a kit for 600 sqft, Foam It Green 602 Kit, if you need that size. Every project is different though.
If you stop for more than 30 seconds you change the nozzle (they give you like 10) and add petroleum jelly to the nozzle (supplied) and trigger so it doesn’t crystallize. I only stopped two or 3 times but we were prepped pretty well. Crab took the front and one side of the bus, and I took the other side and the back. It took us like a couple of hours to prep for this project, and just a few minutes to actually spray. We had to wait for the second shipment to come so we could finish foaming, as well as filled in any gaps we may have missed from the first spray. All in all, I am super impressed with the Foam! It is much cooler in the summer, and stays at least 10 degrees if not more warm in the winter. I will only use Closed Cell Foam in the future, and may save myself lots of money by doing it myself again! Our recently sold 2400 sqft house cost us $8000 for someone to open cell spray foam it…no thanks!
So Next, we Sprayed Foam!
Then we Cleaned!
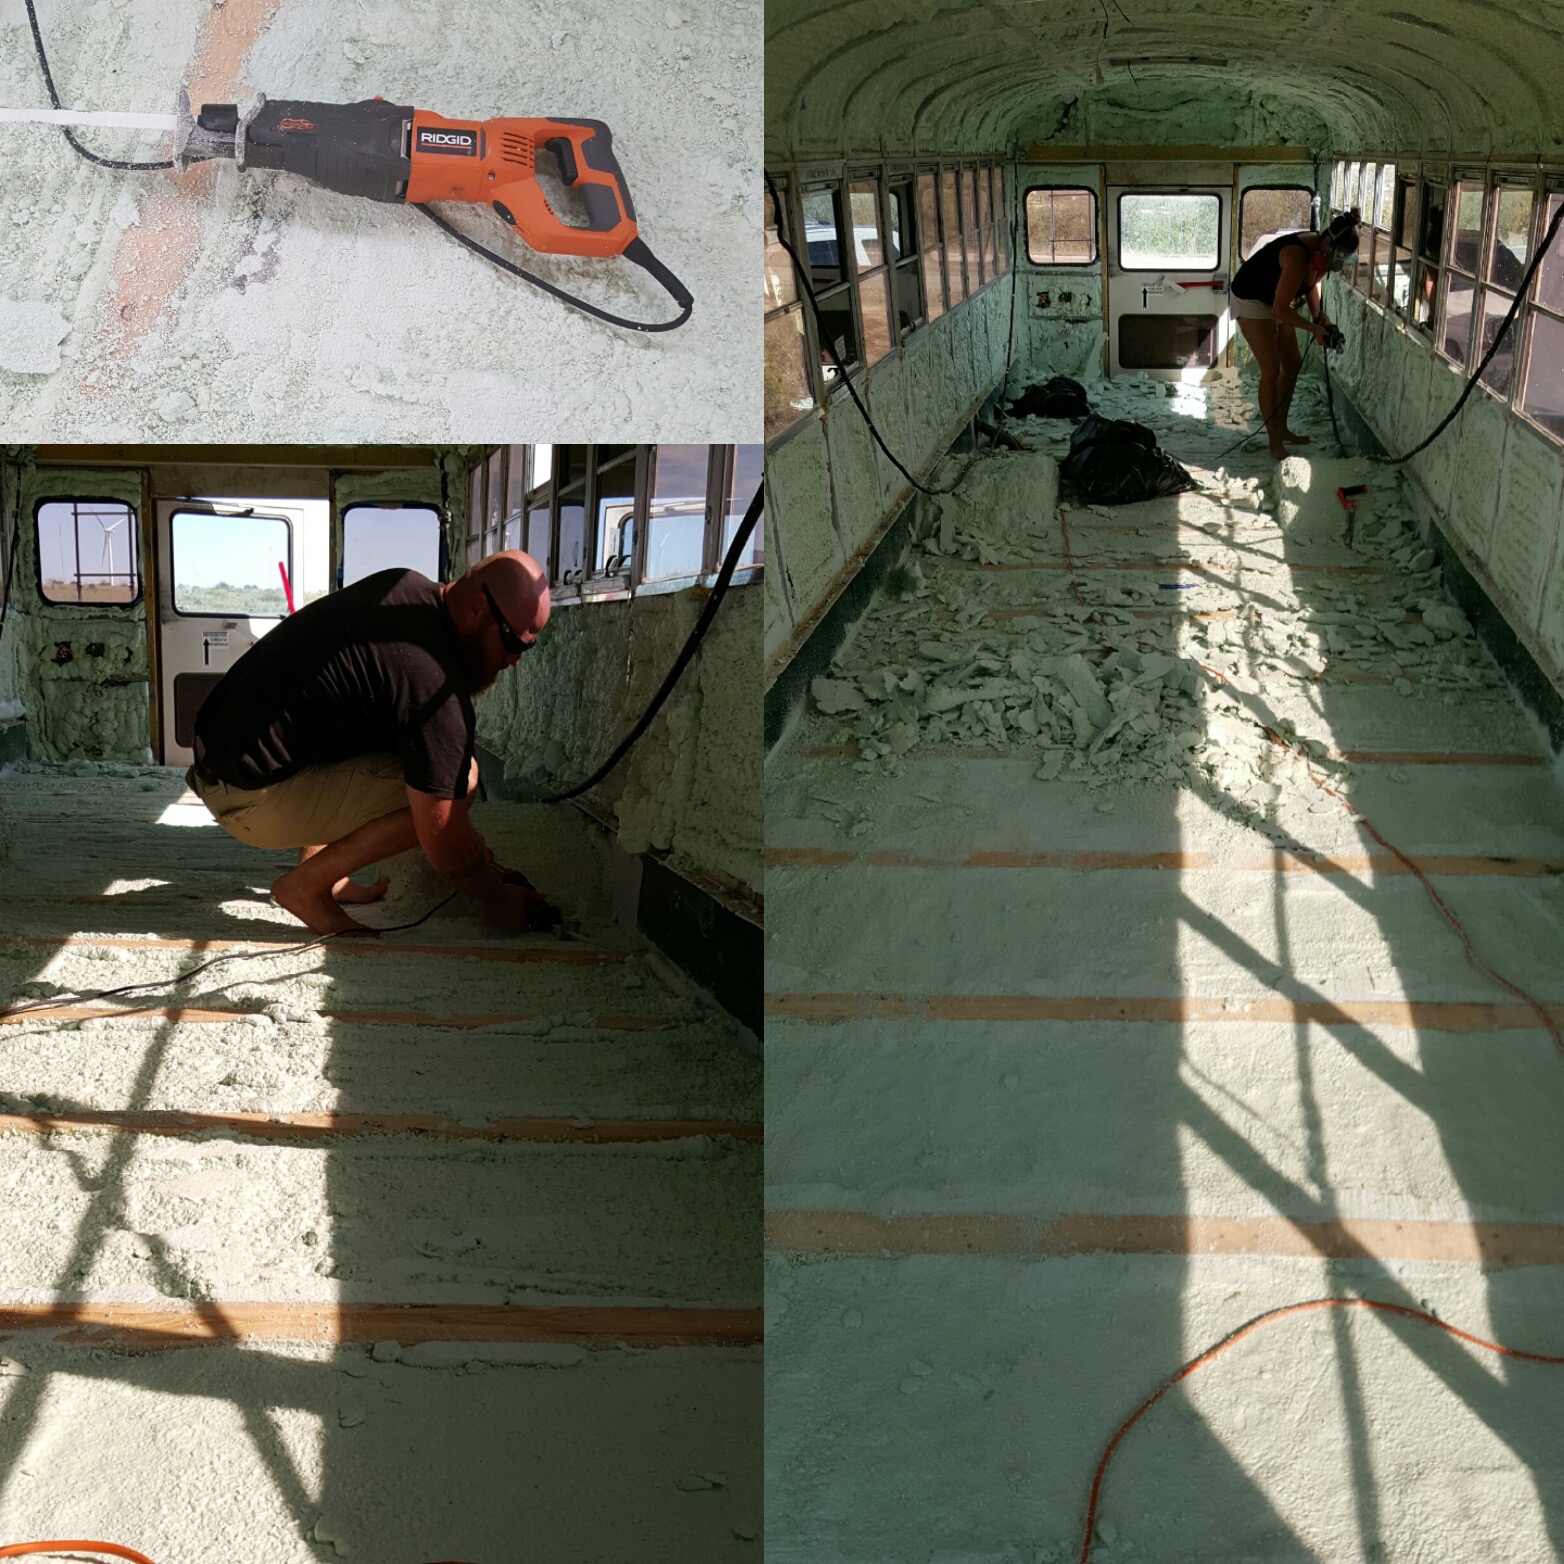
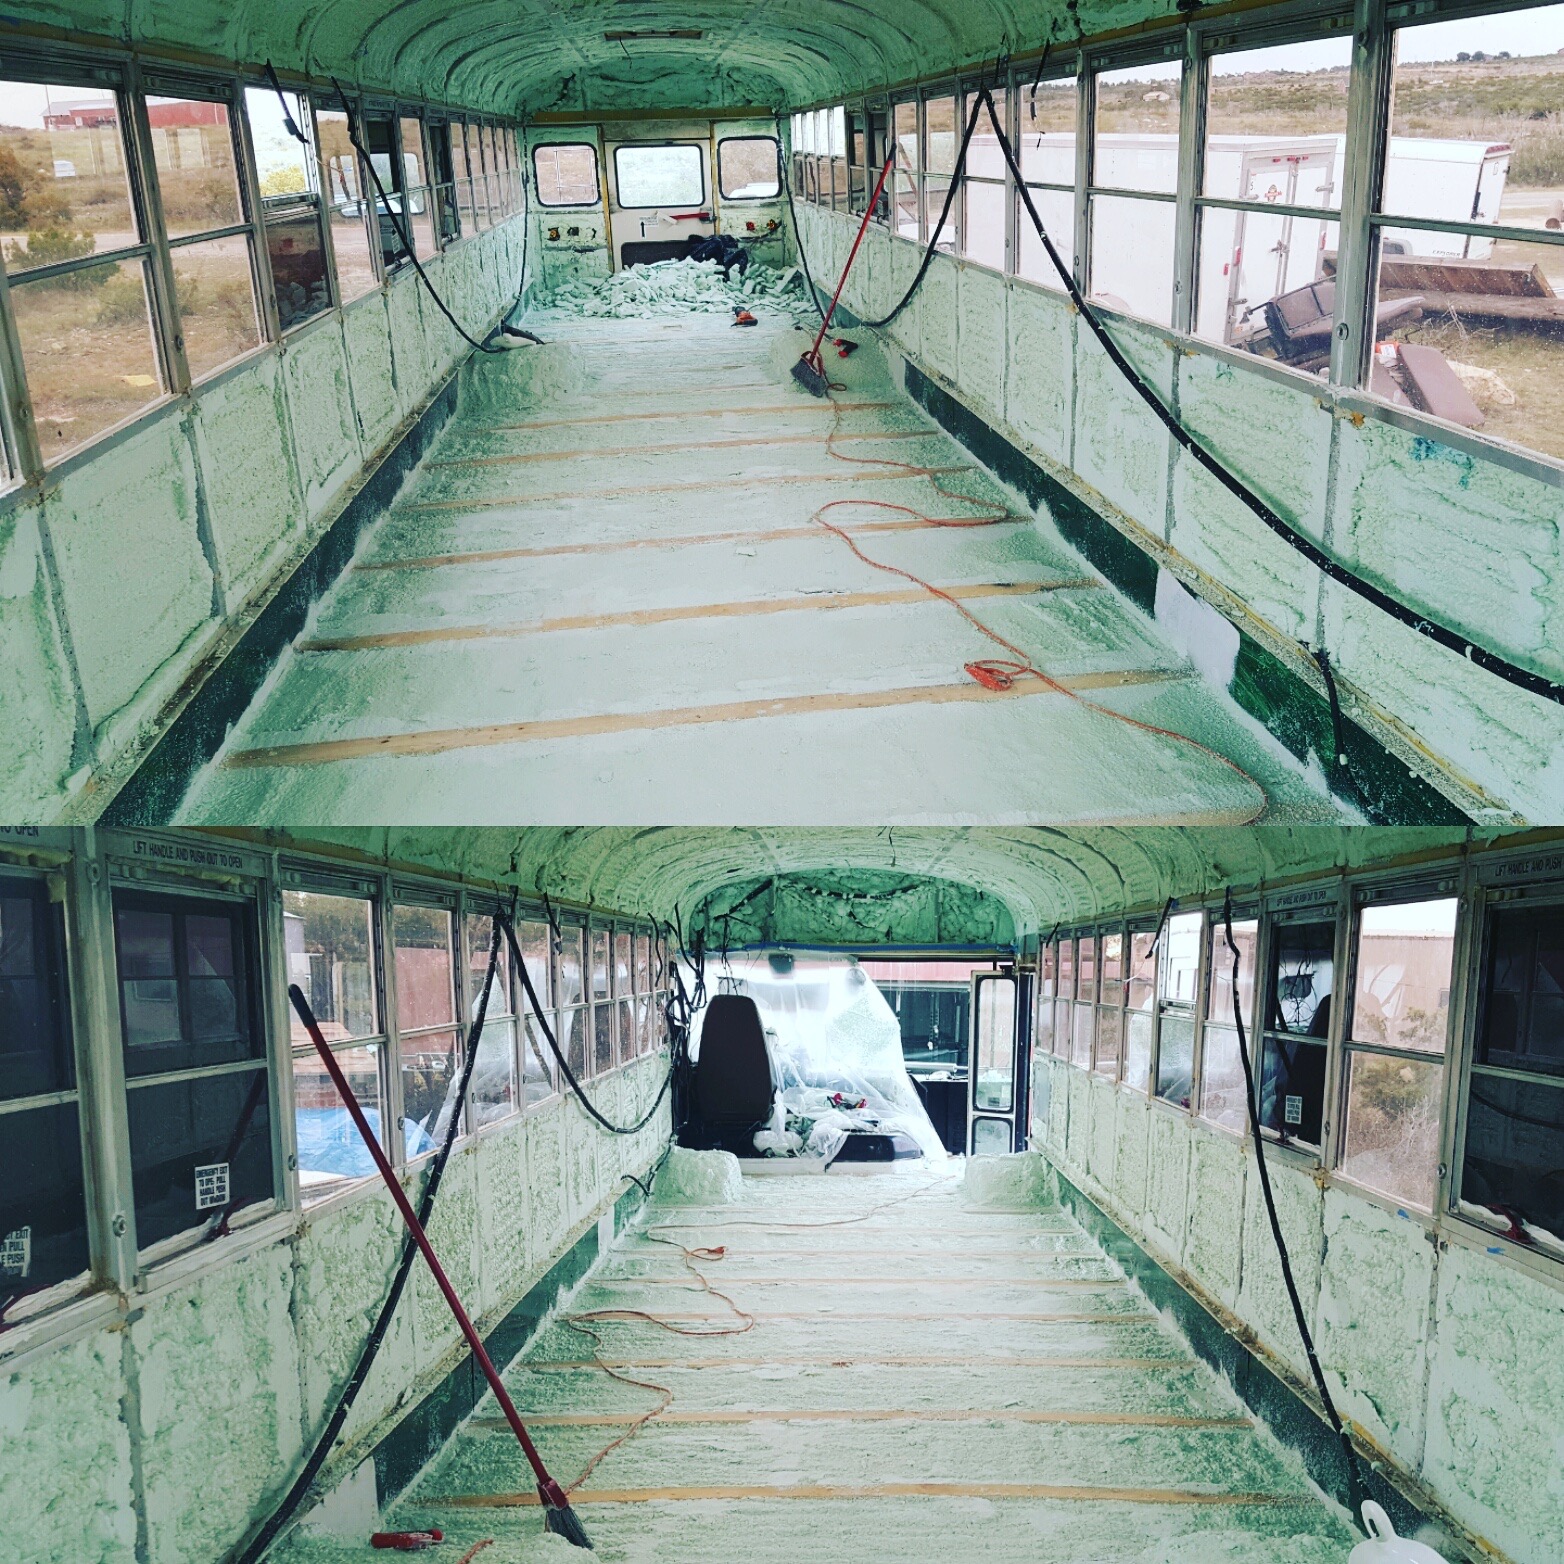
So there it is!
Energy Efficient Home Insulation Kit
Chitty Bang Approved!:)
Onto More Flooring Work!
or Back to

Leave us a message!