After cleaning the wires up, next step was adding the wires to anything that we wanted to run directly to the bus battery. Why was this our next step? Because we chose to use spray foam insulation and once you spray that in, your wires are there f-o-r-e-v-e-r. Well, unless you feel like cutting them out and risking cutting them…anyway, this seemed right to us, so we did that.
Number 1: BACK UP CAM AND MONITOR/SPEAKER
Crab wired that in with no problem!


This camera works really well! It also has a built in Mic and very clear picture. There is also room for us to be able to run more cameras and hook right into the hardware that came with this kit. It was bought off of Amazon!
Number 2: LED LIGHT BARS ON FRONT AND REAR


Third: STEREO AND SOUND SYSTEM


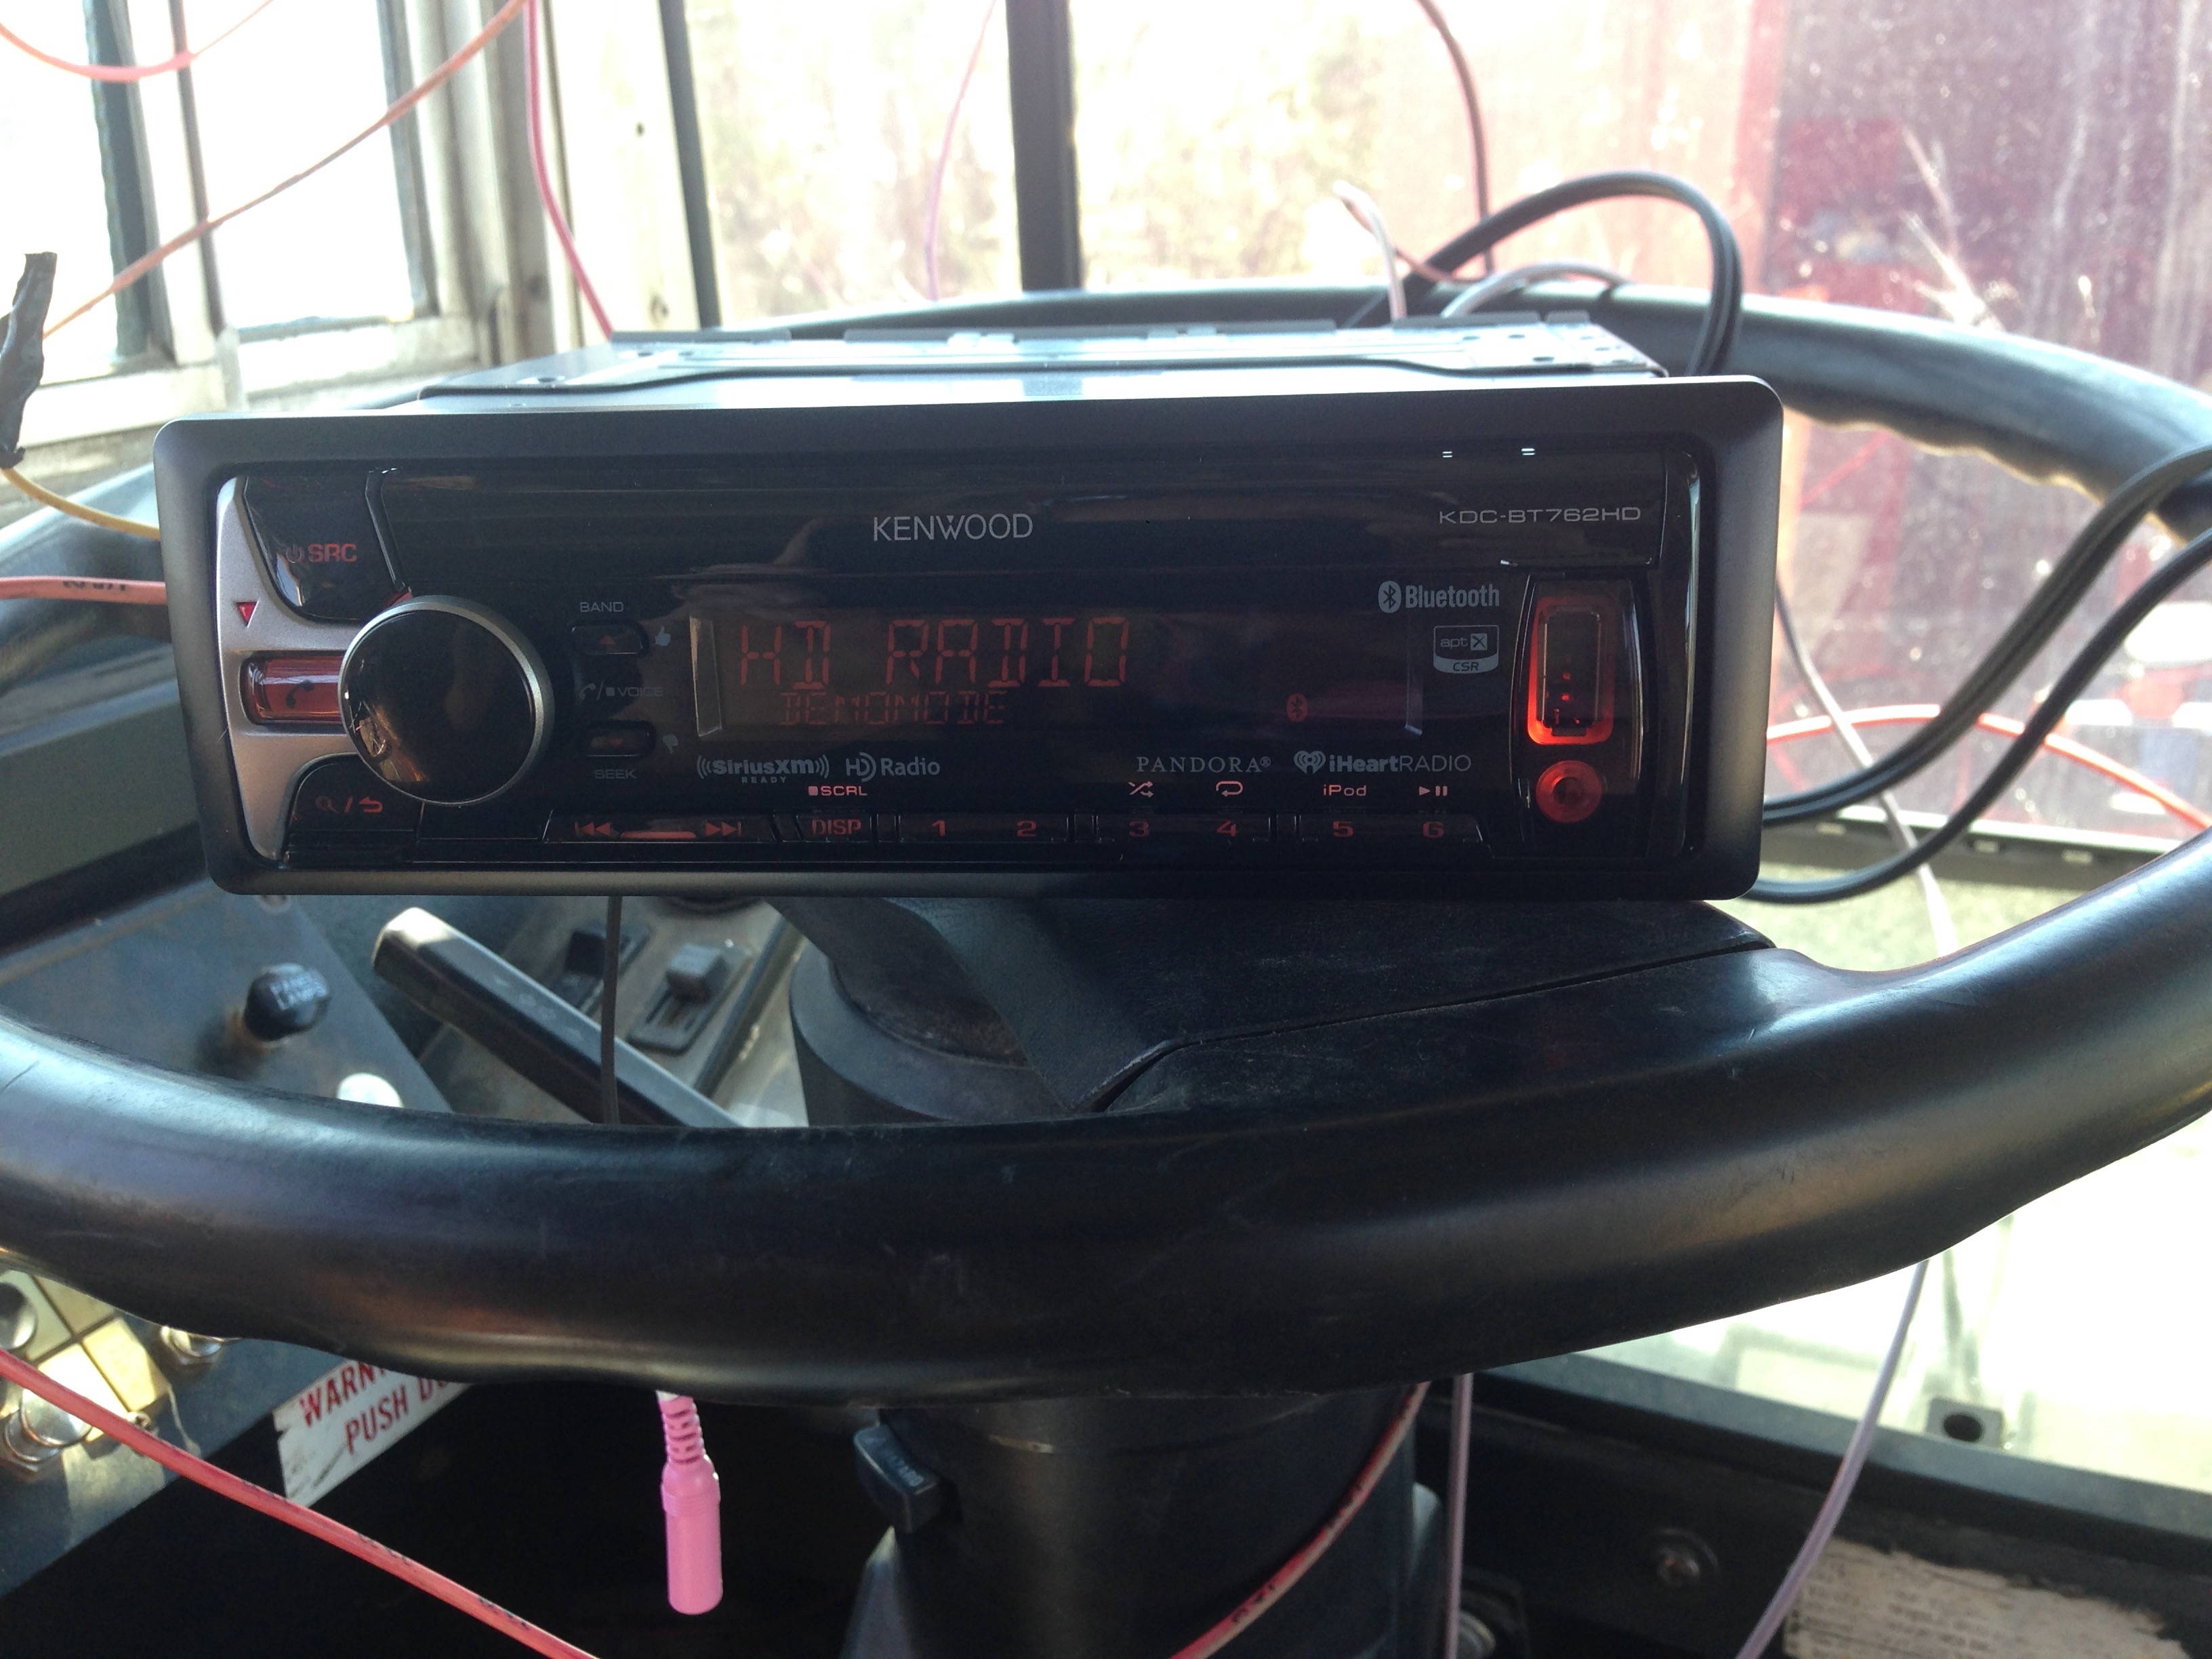
Everything Working=We Wired it Correctly! CLICK HERE!
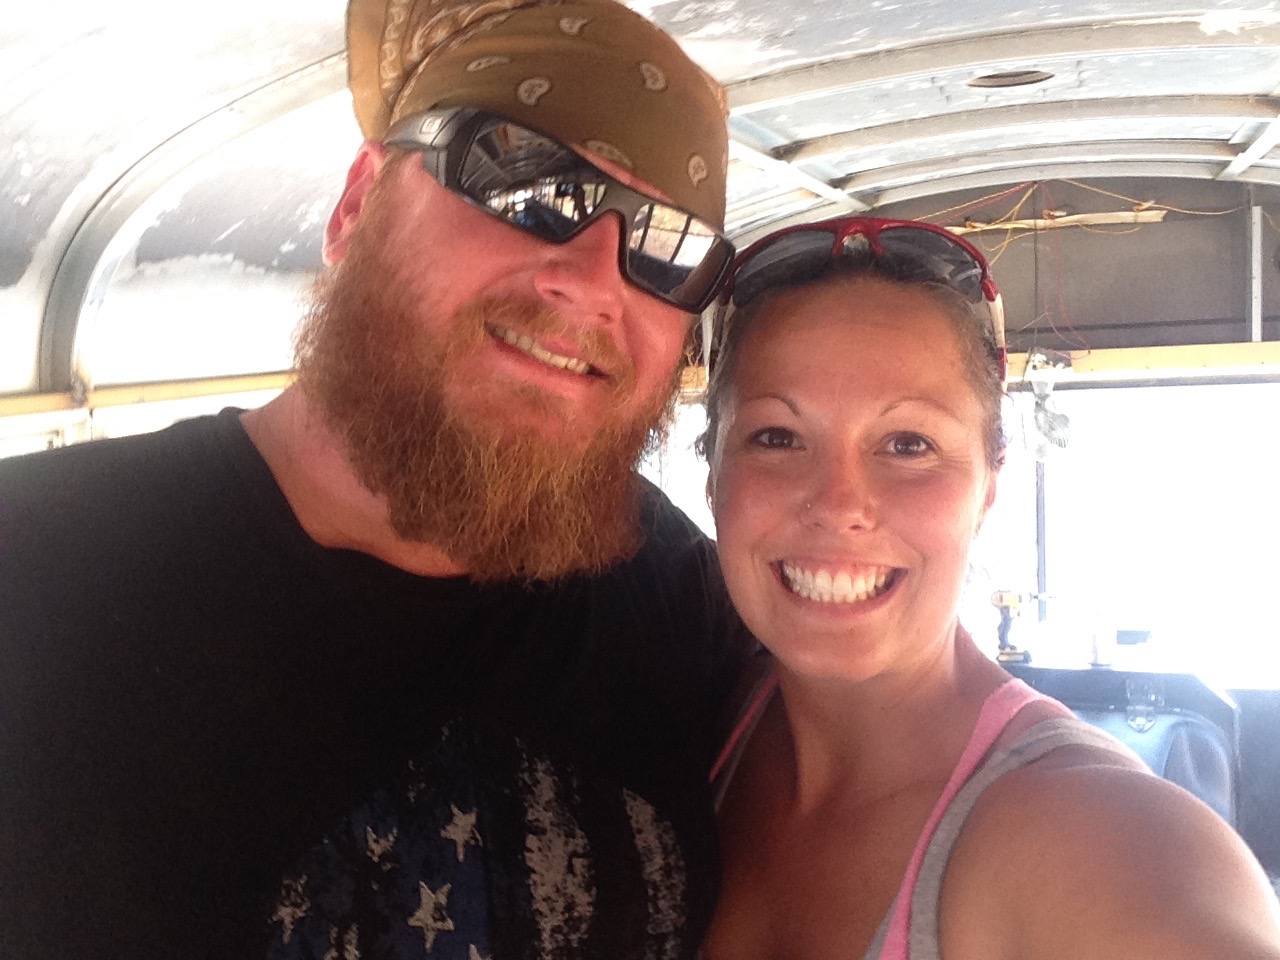
Here is Us Celebrating after we got the speakers and all plugged in!
During these projects, we also did some side projects so we were not burned out on only electrical. Those will be posted soon, as well. The great thing about working on your own home is that you make the rules. There is no manual for converting a school bus to an RV, and this is the closest thing to it I guess 🙂 So, with that said, a few pics may look like we skipped ahead, but really I am just grouping them all together if they are alike to help keep the blog from being too scattered. The best thing about this project is that we have the ability to bounce around from project to project. Tired of electrical, go do some mechanical work, go sand something, go do some metal work! Great learning experience!


Leave us a message!