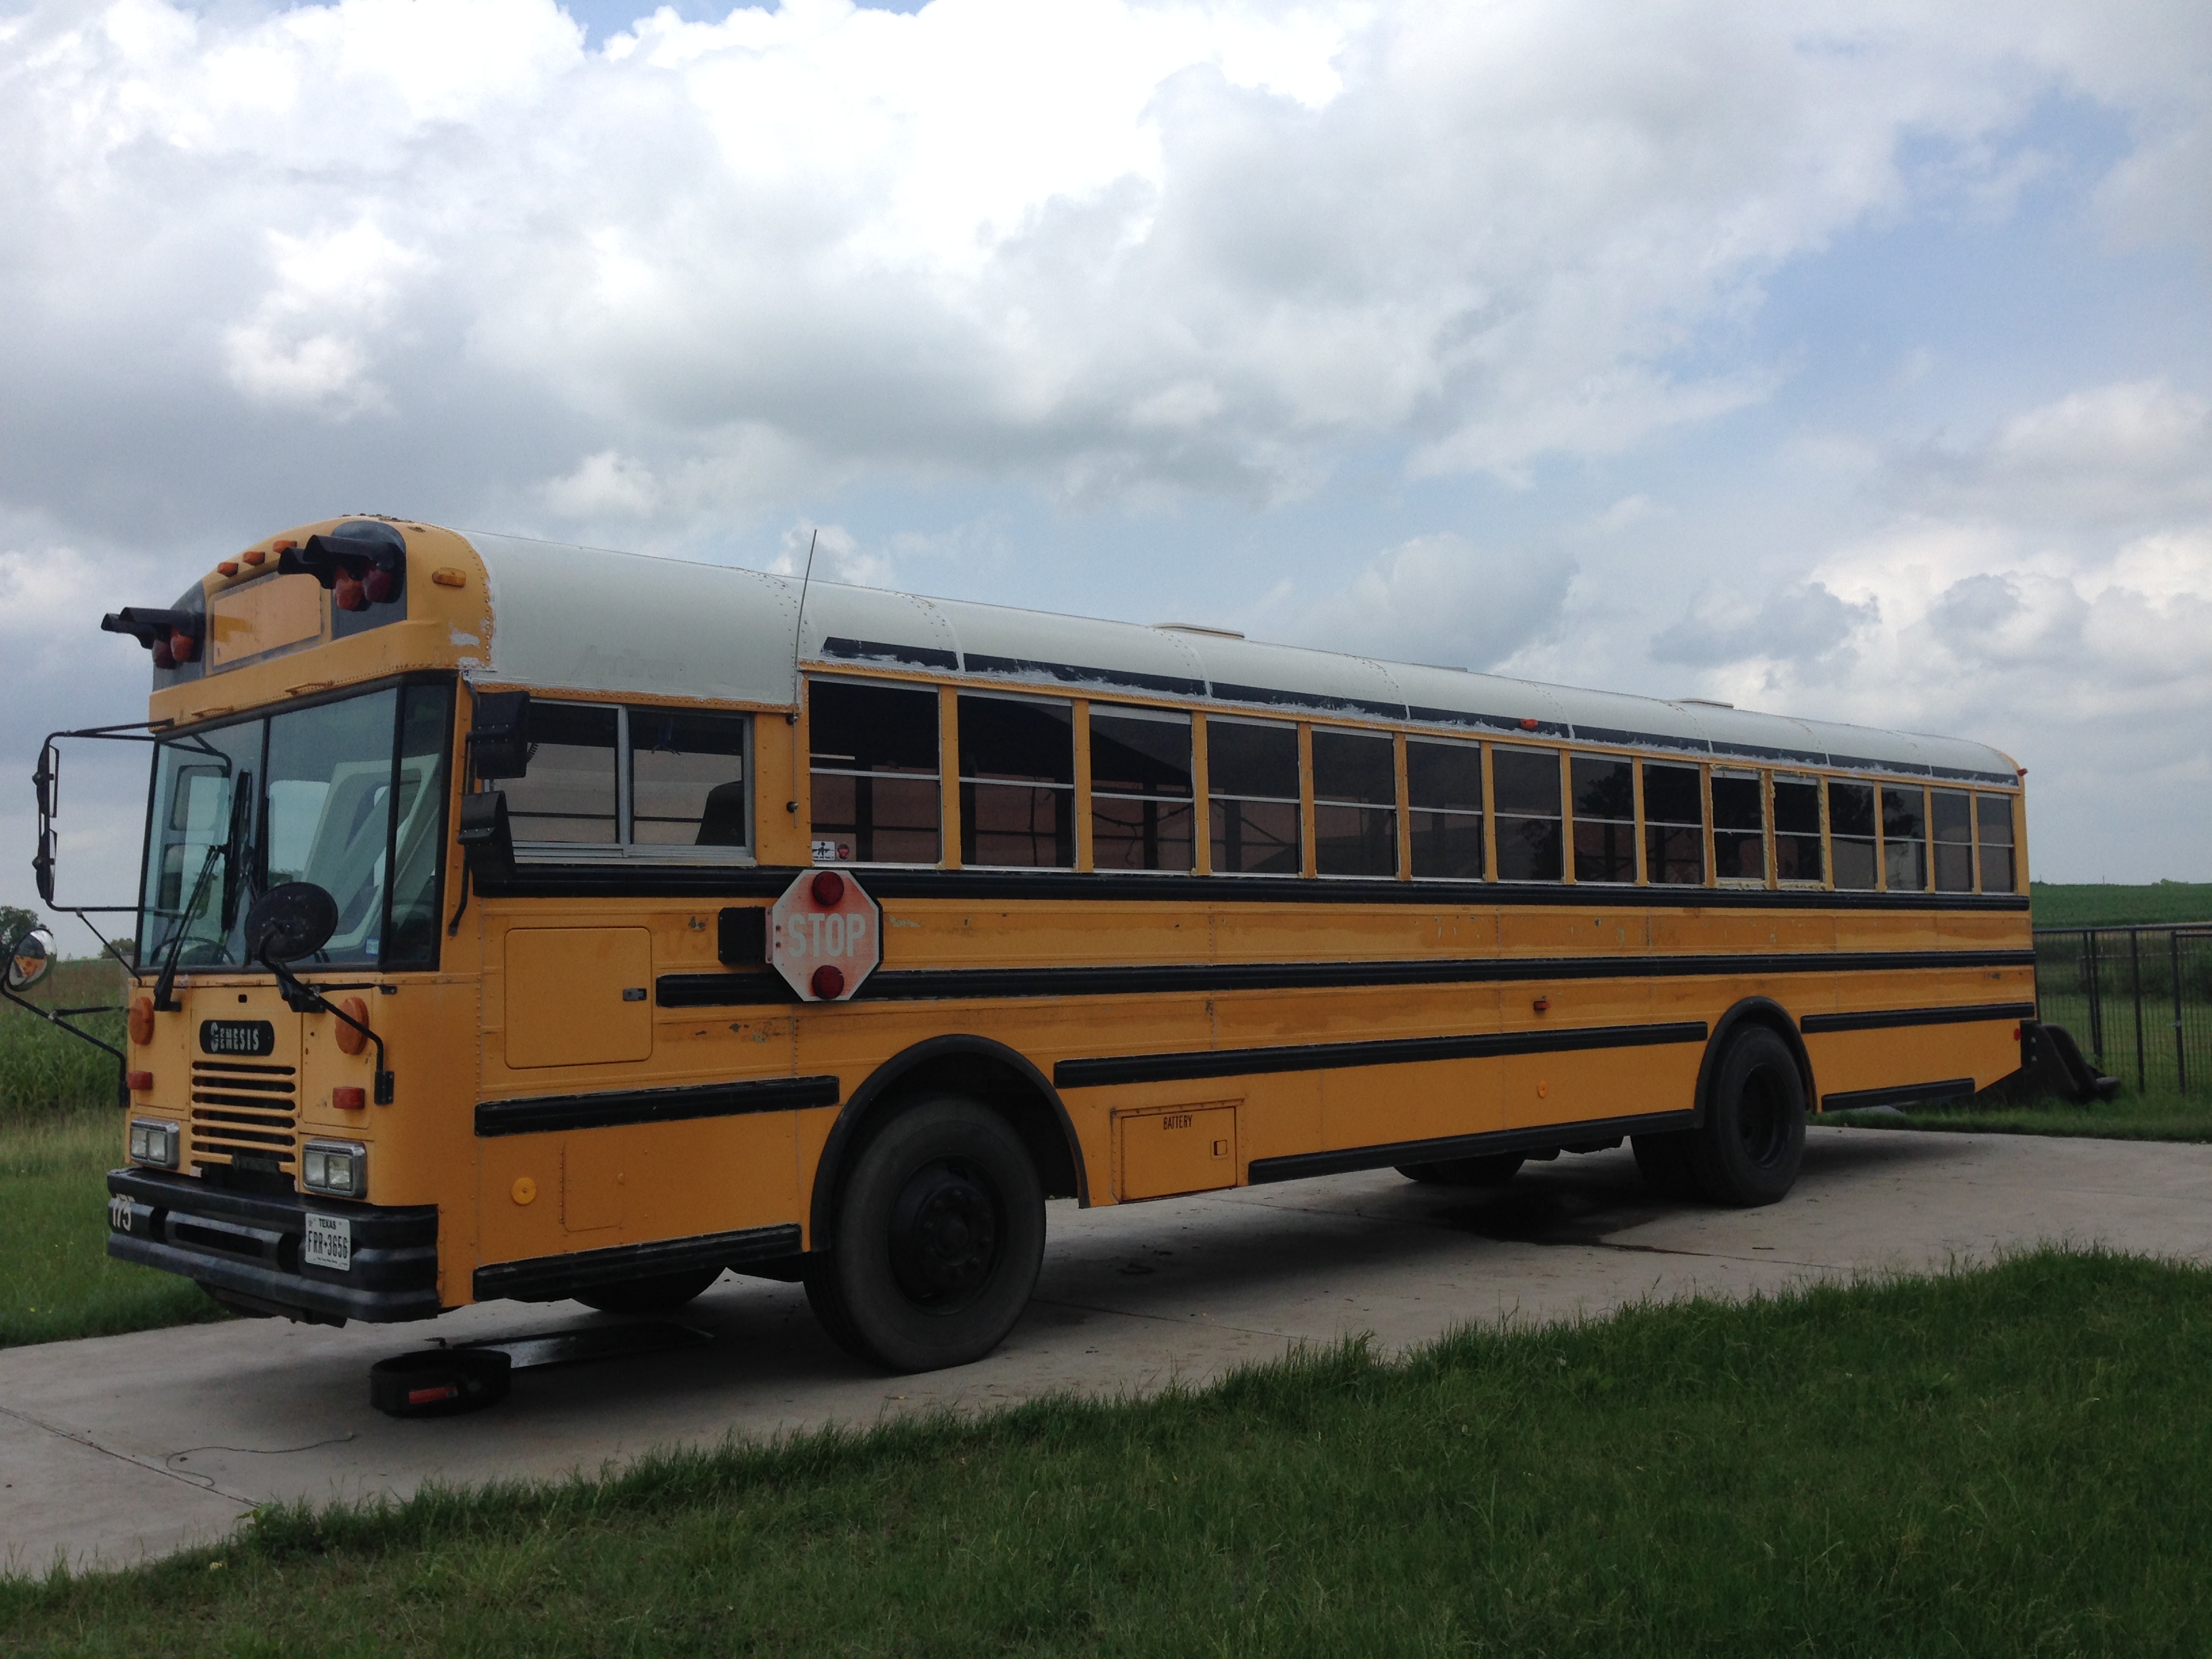
Stage 13: Sealing Exterior Sides and Roof
DAY 1
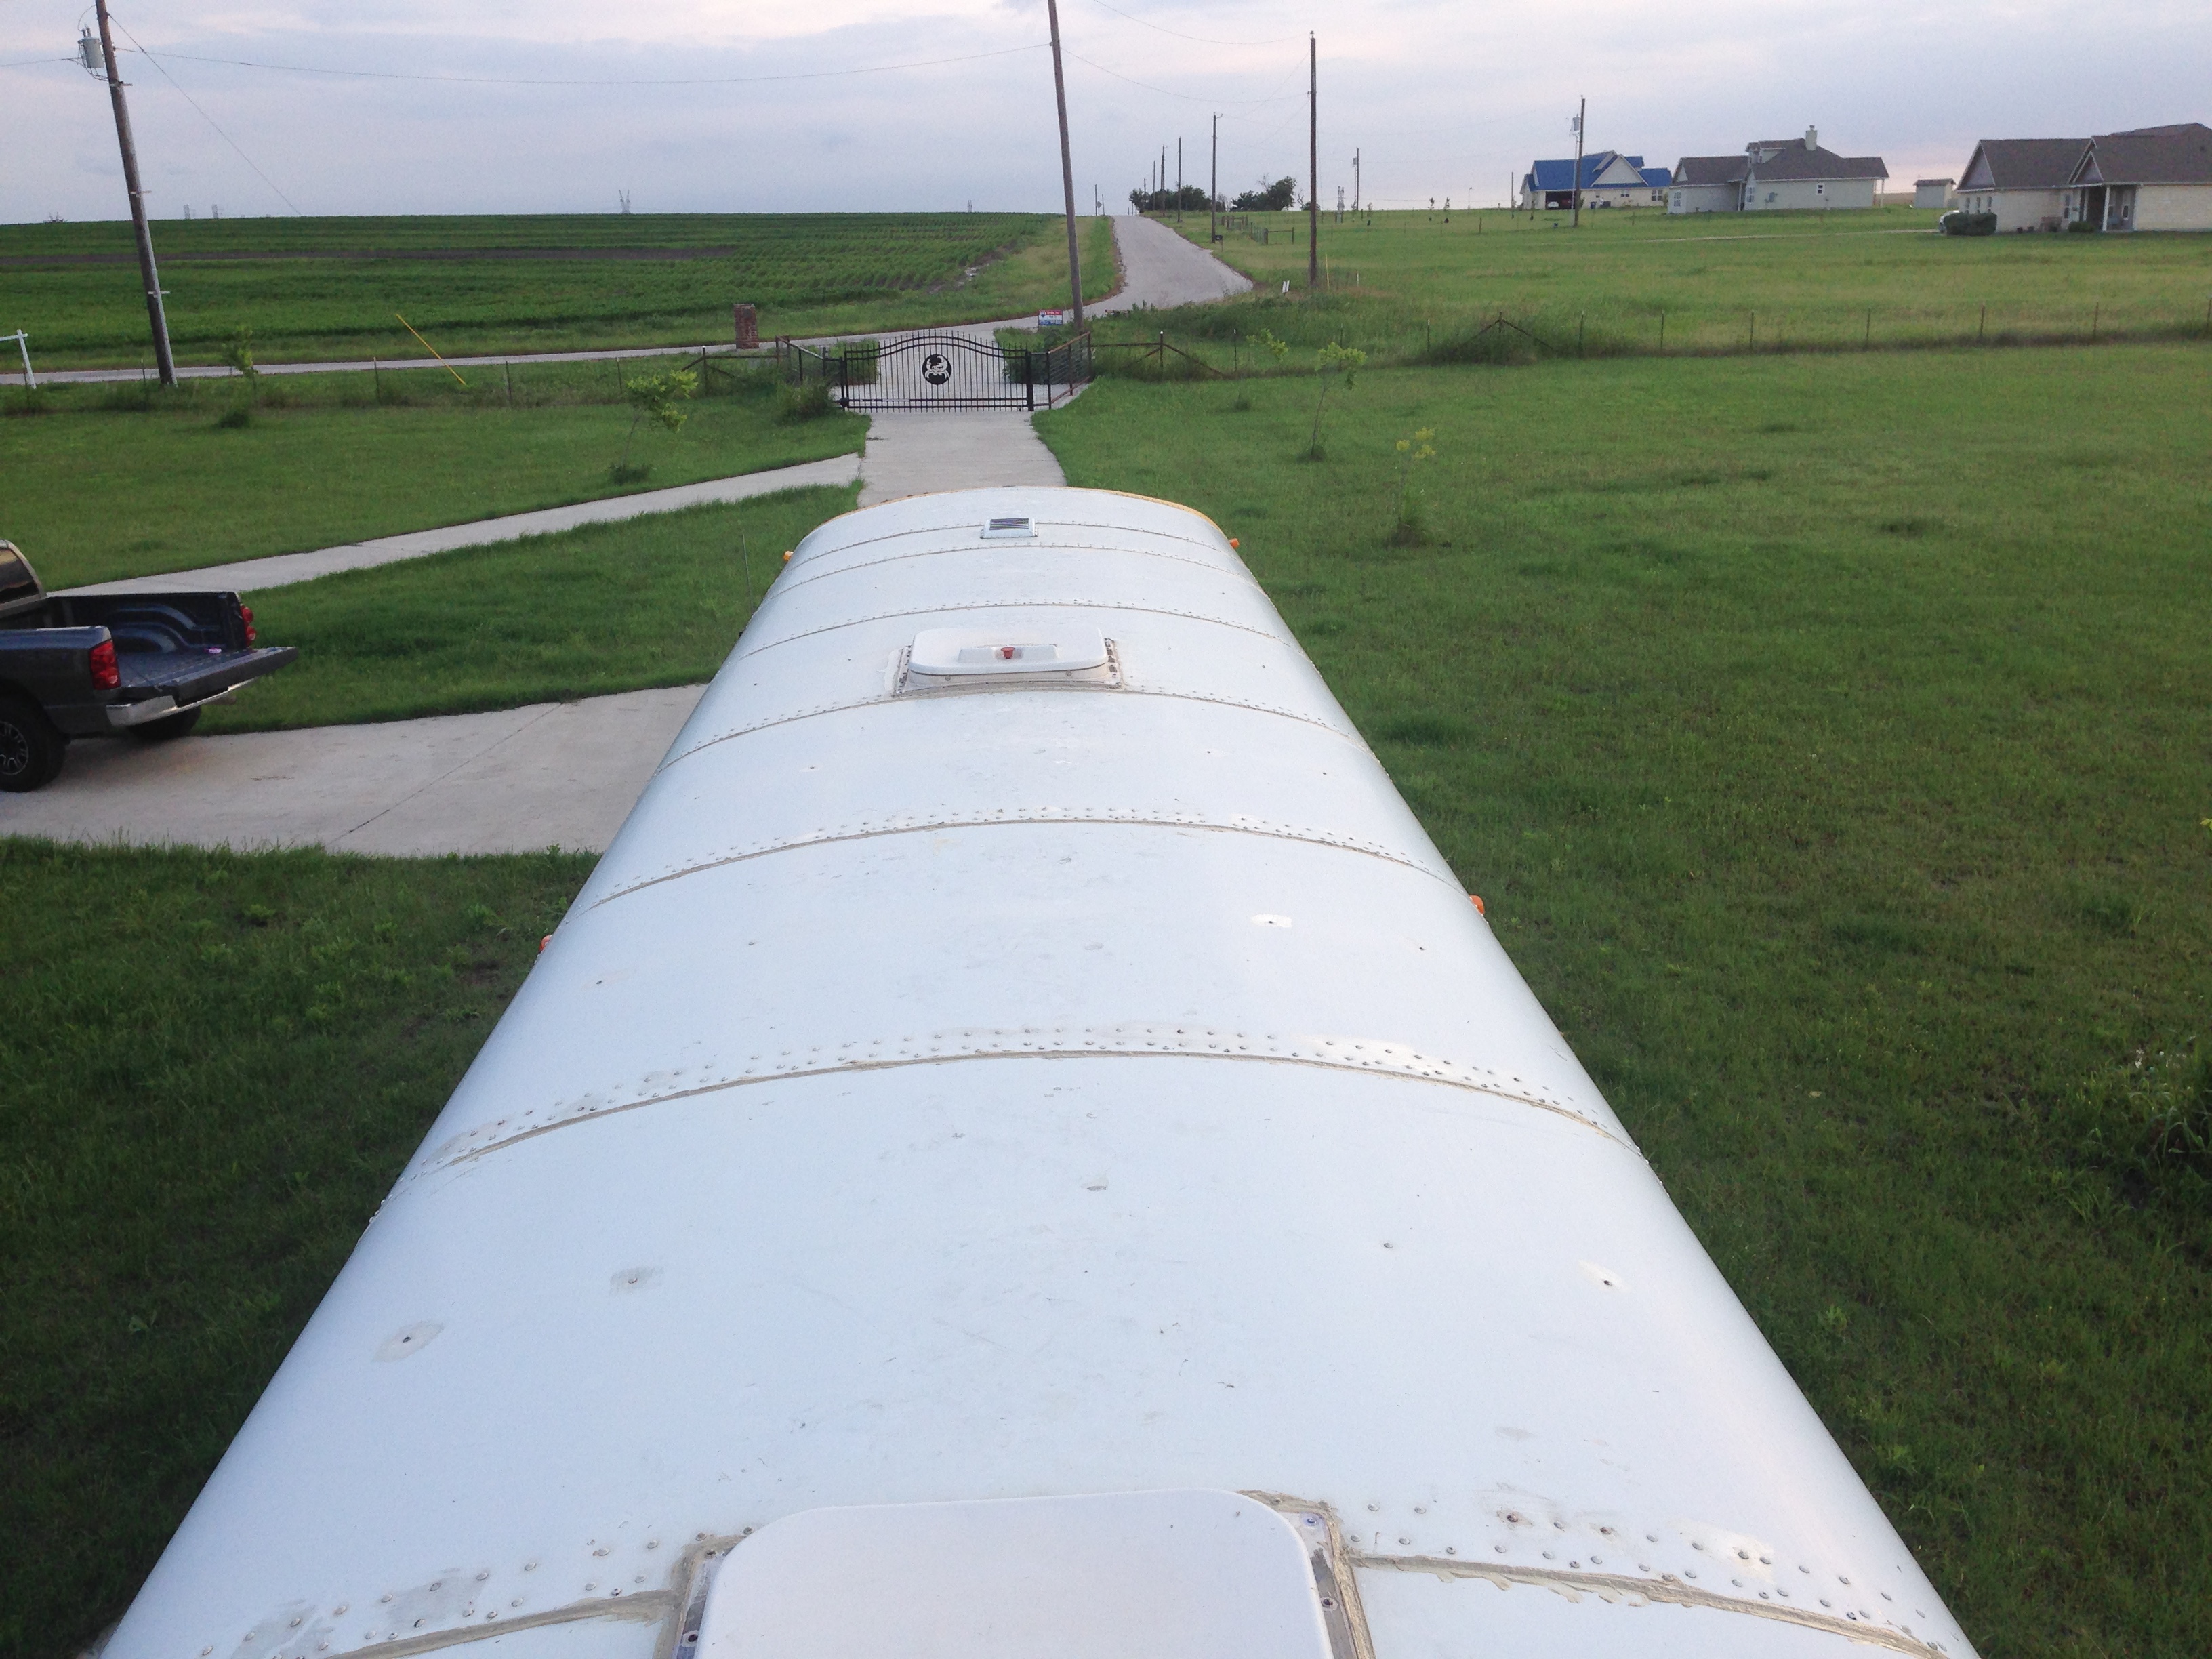
I started the roof seams with the original Polyurethane we used to caulk the floors. I love that stuff. I used my finger to fill the gaps after I placed the bead to give it a big thick layer. I noticed a few screws that may have needed some caulk, so I just did those too. I also brought corroseal with me, just in case there were any rust spots that needed tending to.


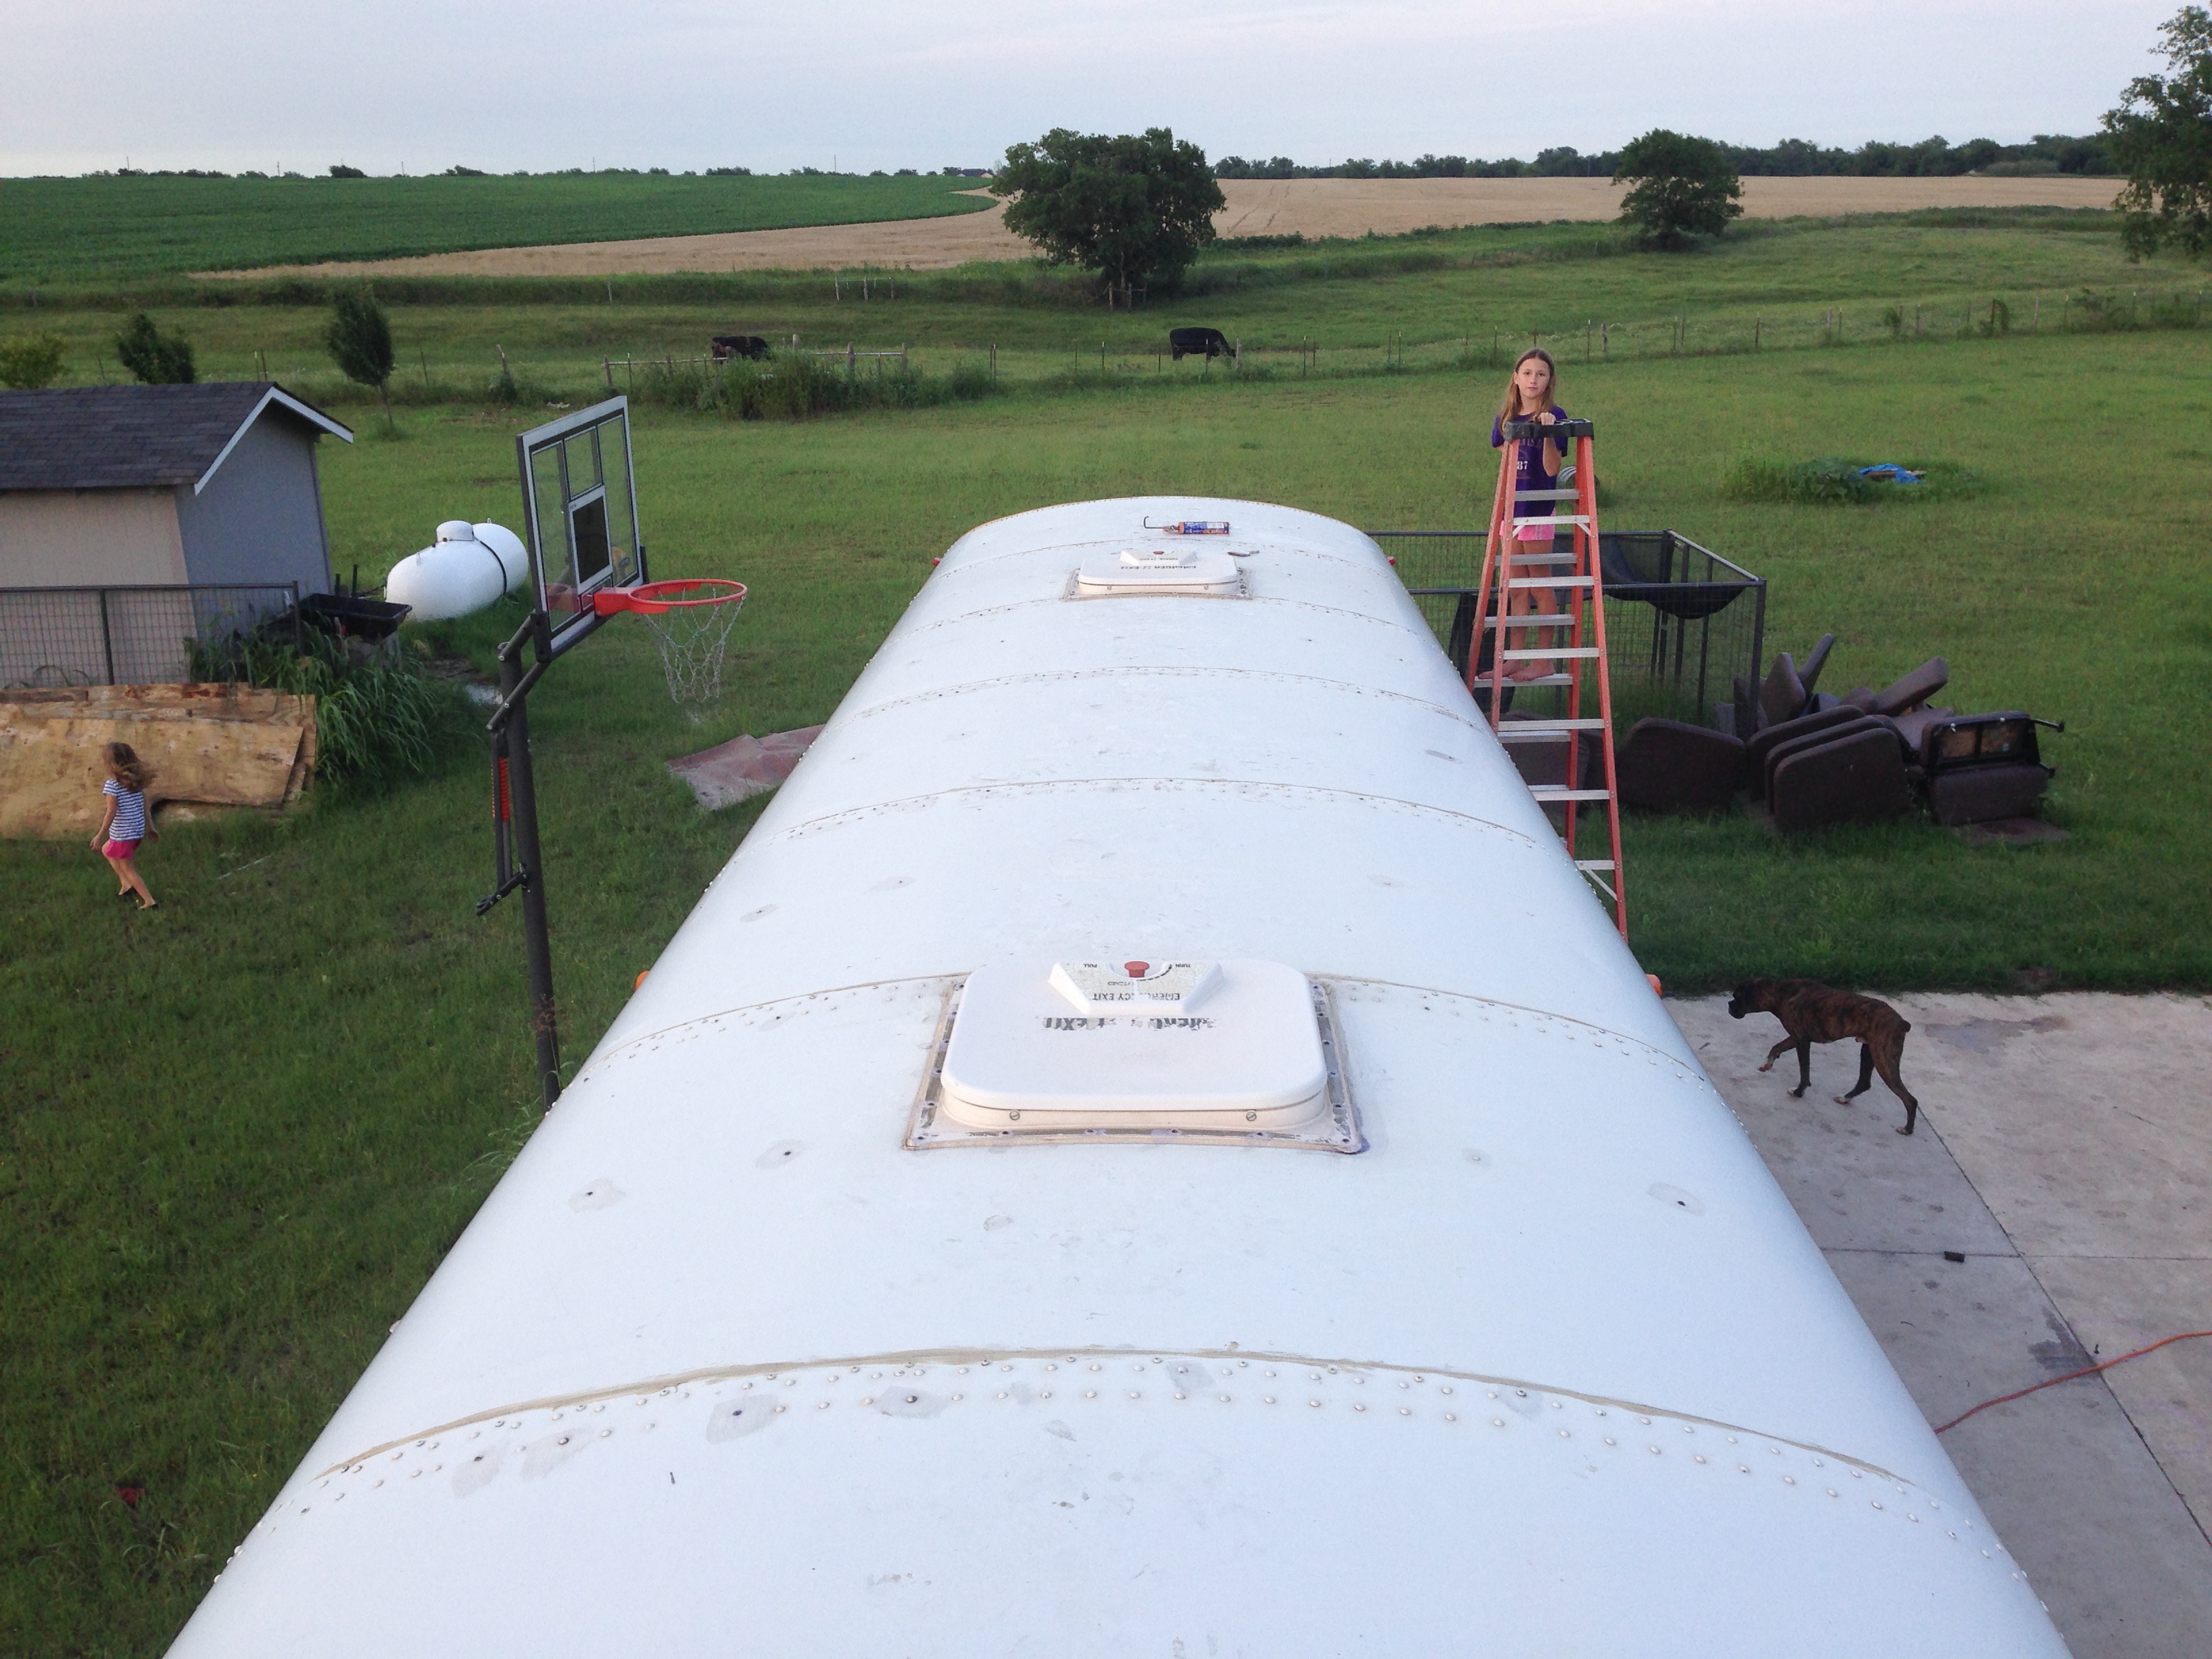
I ended up coming back up to the roof after getting more caulk and sealing all of the rusty screws I found as well as other screws where we saw water coming in at from inside of the bus. We had to stand in the bus while it was pouring rain to really see where everything was coming in at, then we sealed it.

I still have this on my hands as I type. I wore gloves the next time I had to use the caulk gun. And I have been wearing gloves to handle food all week too, lol. LESSON LEARNED!
DAY 2
Sealing the side seams and anywhere else that appeared to need a fresh coat of caulk was really the task to accomplish here. So, Crab started on one side of the bus with our original Polyurethane choice (the type used for the floor holes) after a quick resupply from HD. I started on the opposite side with a smaller tube of it, and then had to switch to the 2 in 1 polyurethane after I ran out. I call this Frankenstein/ChittyBang because she really looks funky right now. HAHA!


Now we are just waiting for it to rain so we can see how well we did!! We can definitely test it with a hose, but a real hard rain is definitely more realistic. I feel confident we fixed our leak problem!! All we need to do now to finish up our pre-build work is to do a quick clean out and one more coat of rustoleum on the floor to ensure we did not scuff up the paint while working on it.
Next week we will be buying the floor framing boards, insulation, and plywood! I can not wait!!
Stage 14: Paint the Floor…One More Time
or


Leave us a message!