STAGE 11: Remove Windows/Side Panels & Insulation, Re-Seal and Replace Windows
Part 1
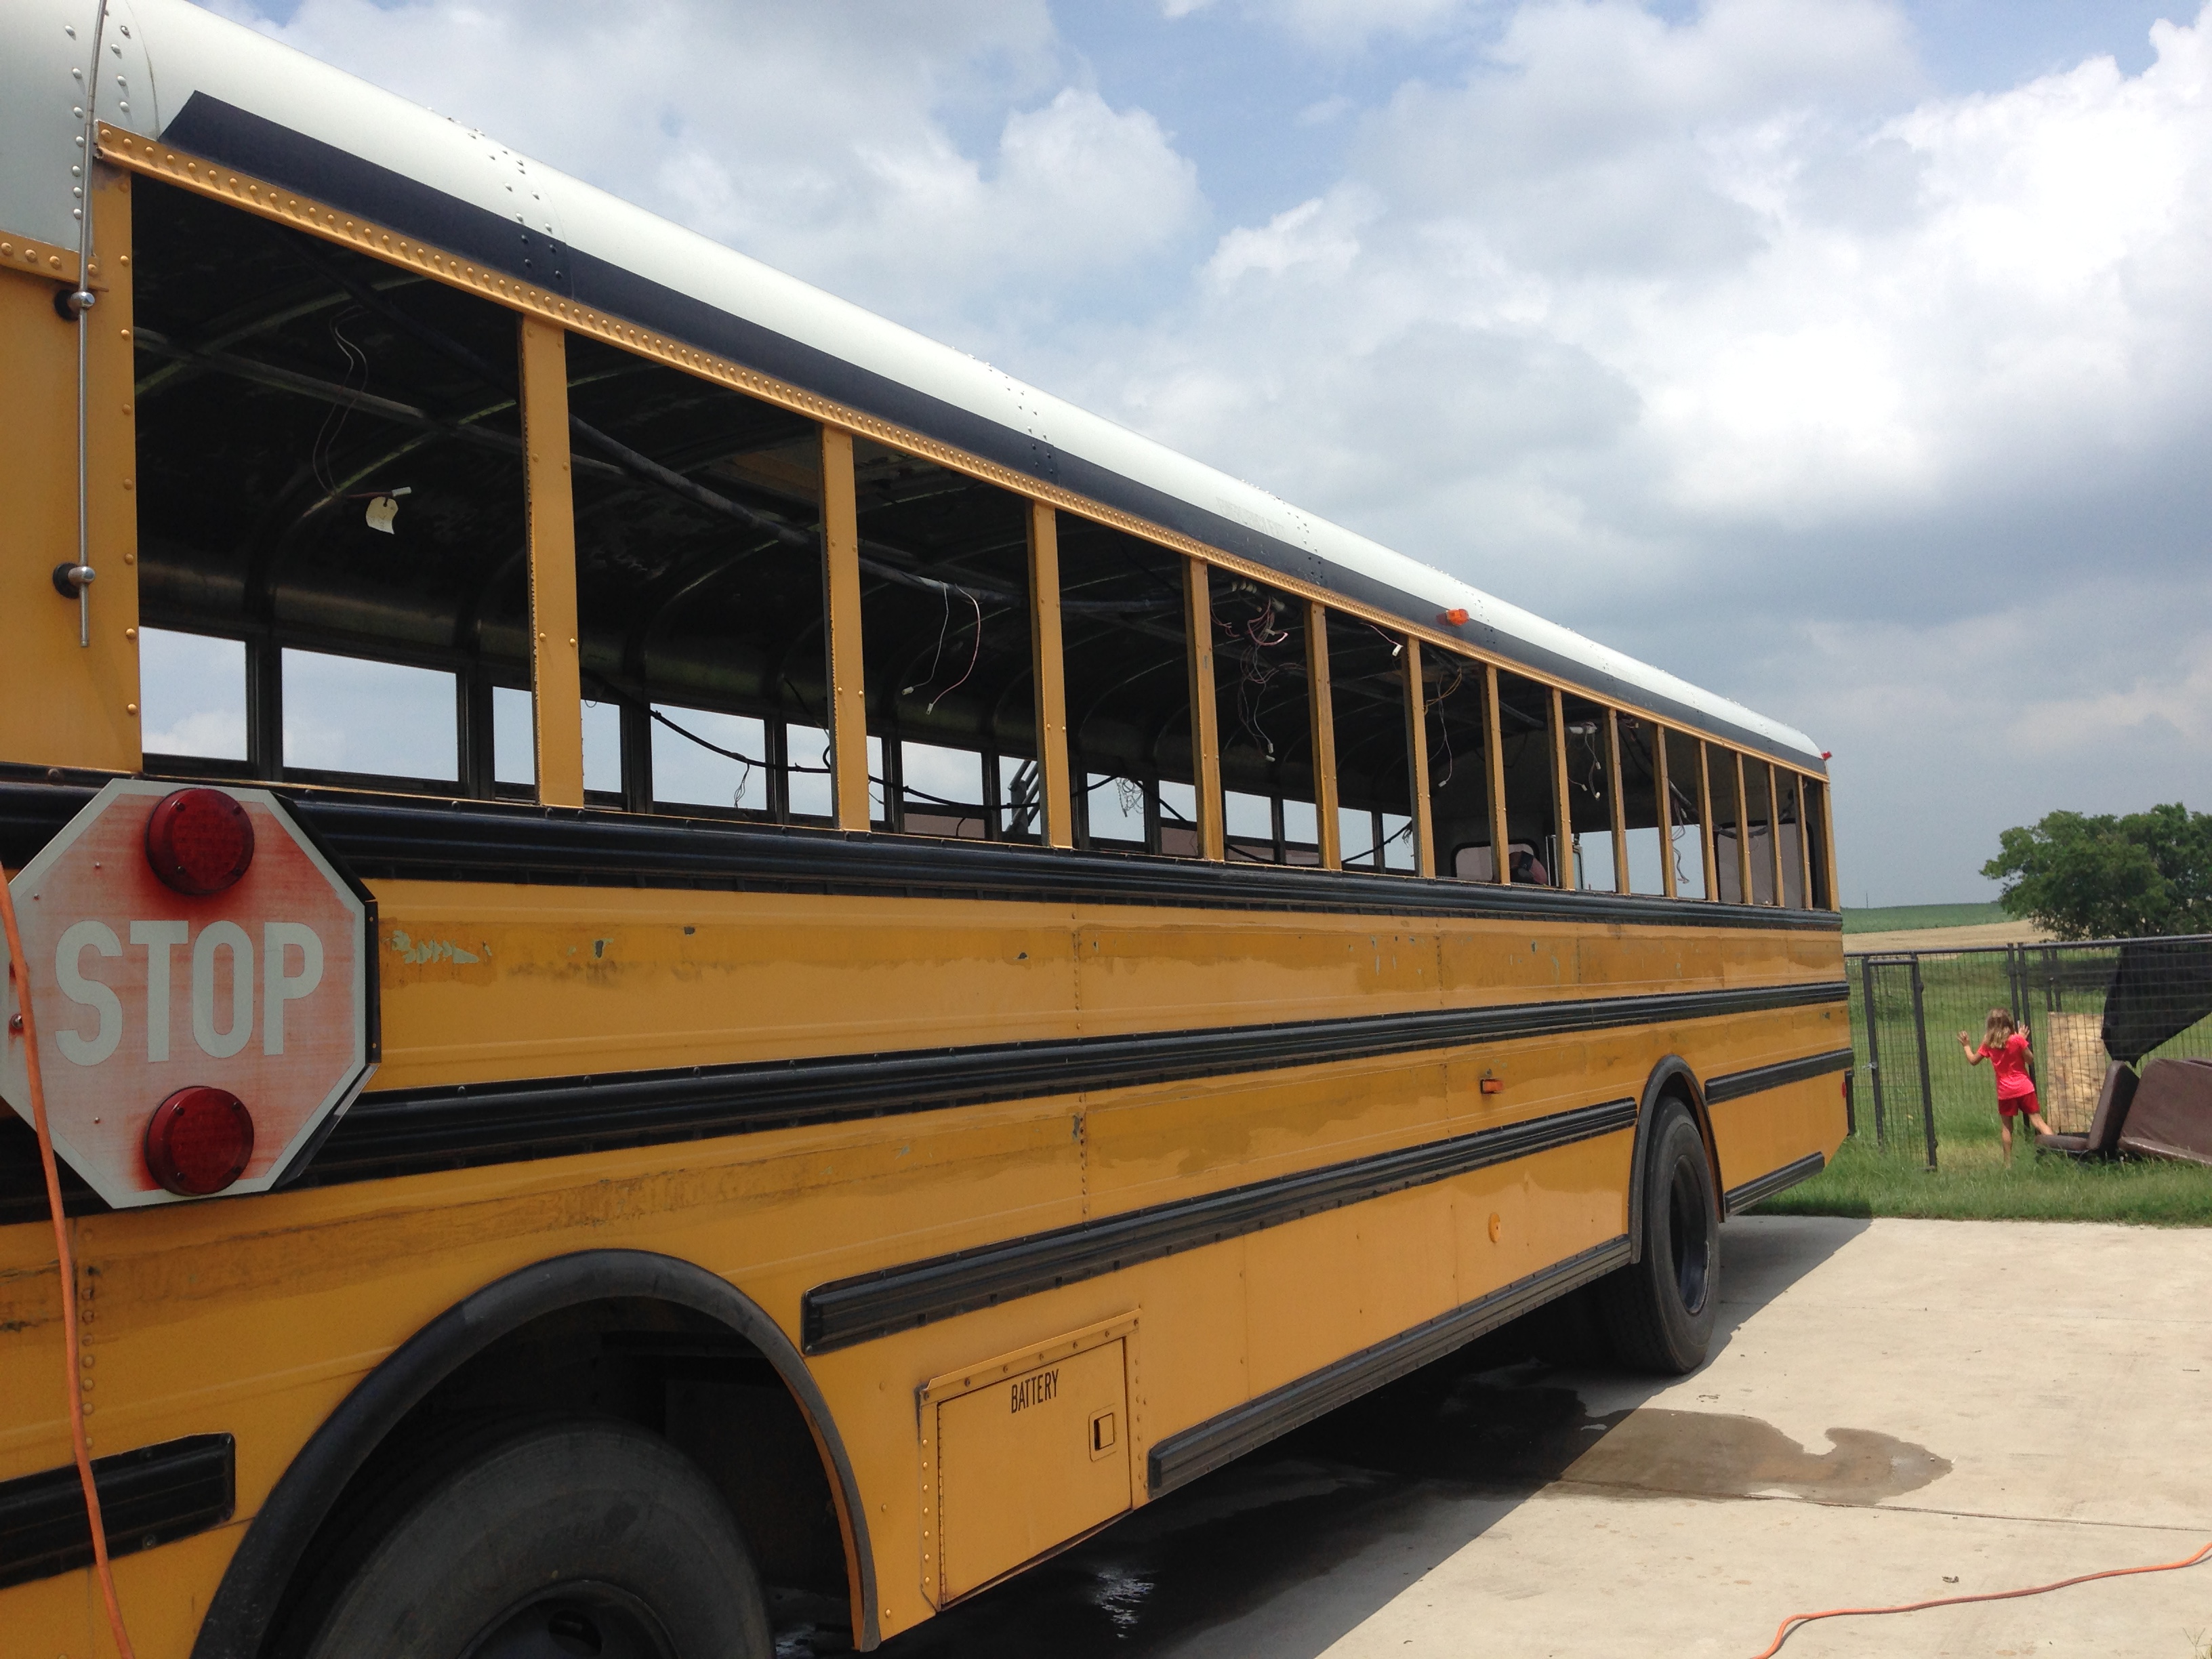
After much deliberation, we decided that removing the side panels and resealing all of the windows was the best route for us to take instead of starting the floor framing. A few reasons we decided to are:
1. We found some leaks and knew the windows were partly to blame.
2. If there were leaks, how far into the insulation under the panel did it get? Needed to know this answer.
3. We gained a couple of inches by taking them out and replacing it with better insulation and wall paneling, rather than just building over it.
4. We already demo’ed an entire bus, why stop here?
5. Windows are expensive to replace. And we would need a lot of windows. So, resealing seemed wise for us until we can replace some.
6. I needed to know that this bus had no leaks or hidden rust damage. That is just a personal preference.
In Texas (and most of the US), the last few weeks have given out a lot of rain. This prevented us from moving forward in the next step of our project because we had to remove the windows to complete it. Finally, we had a break in the weather one afternoon and some help from our Missouri friend, JB, and his dog, Dex, so we decided to go head first and figure this beast out.
DAY 1


We were so lucky to have JB over for the weekend to hang out! I immediately put him to work unscrewing the side panels with Crab lol 🙂

Windows out, screws out…..now how to detach the tops???
FAIL

FAIL

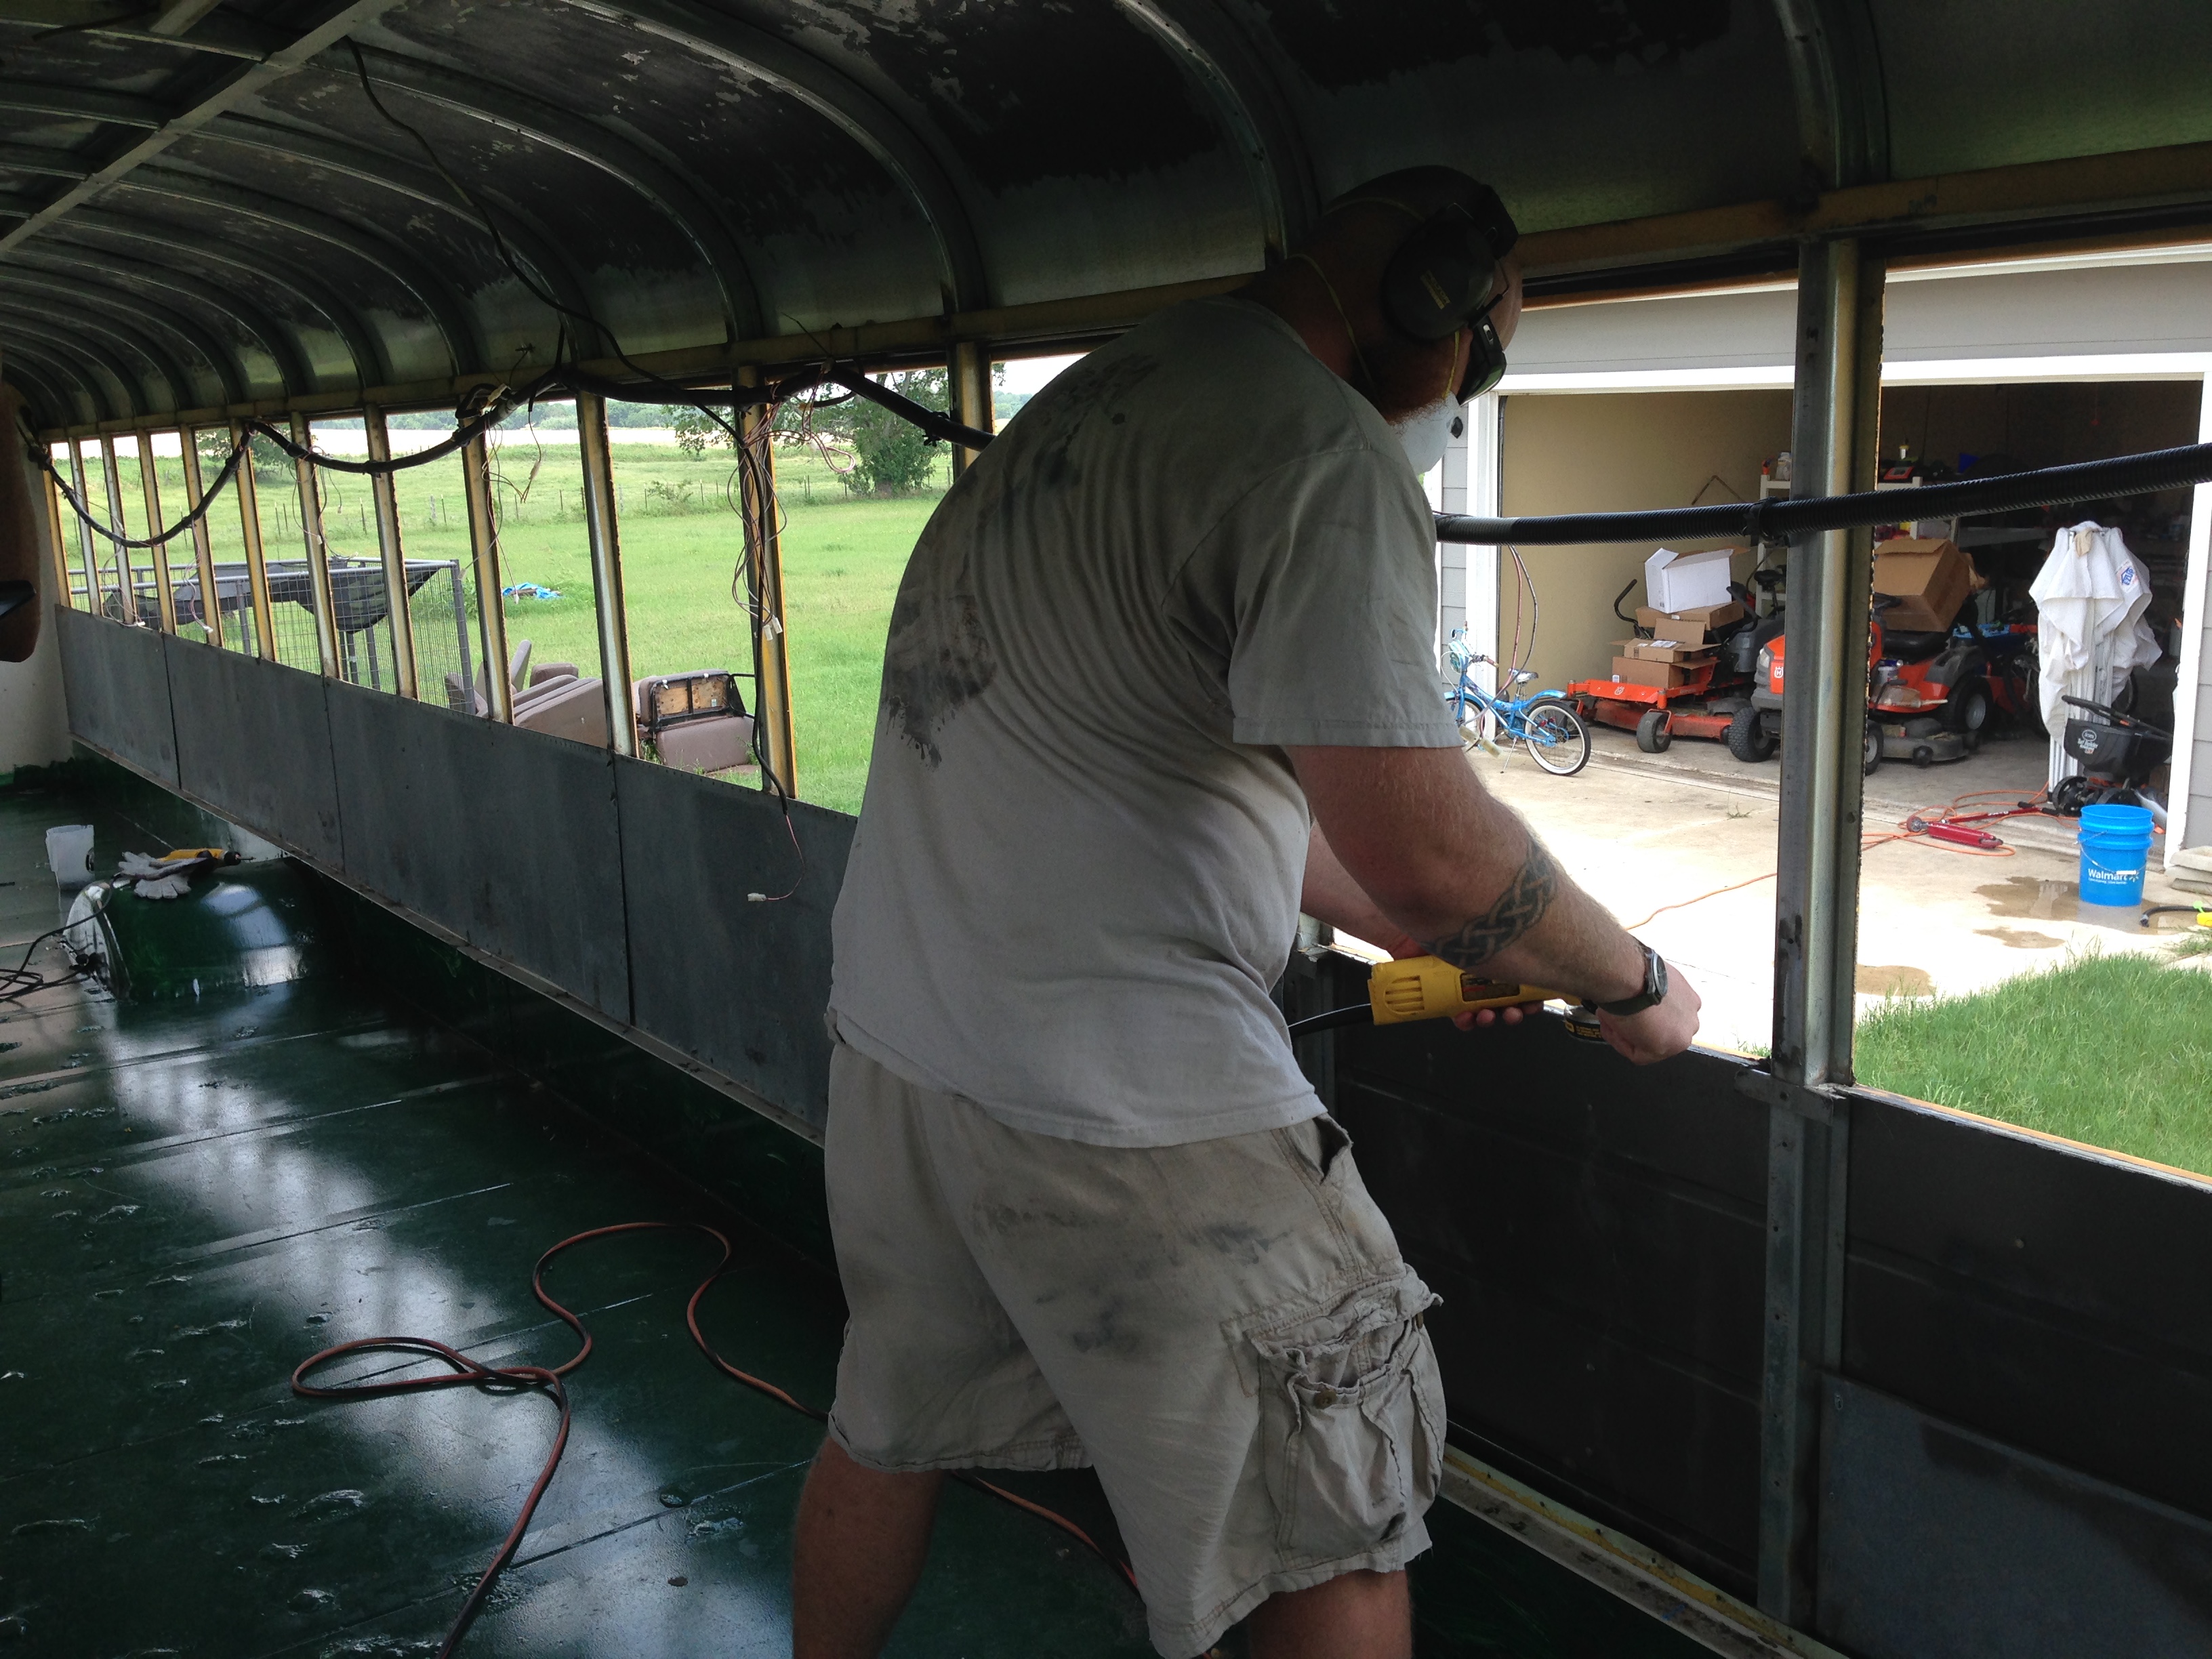
 We also removed the insulation from the walls. Some pieces were damp on some areas, but no rust was on the wall….PHEW!

Close Up of cutting action
We also used the metal brush on a drill (used for removing rust) to remove the left over fiberglass remnants.
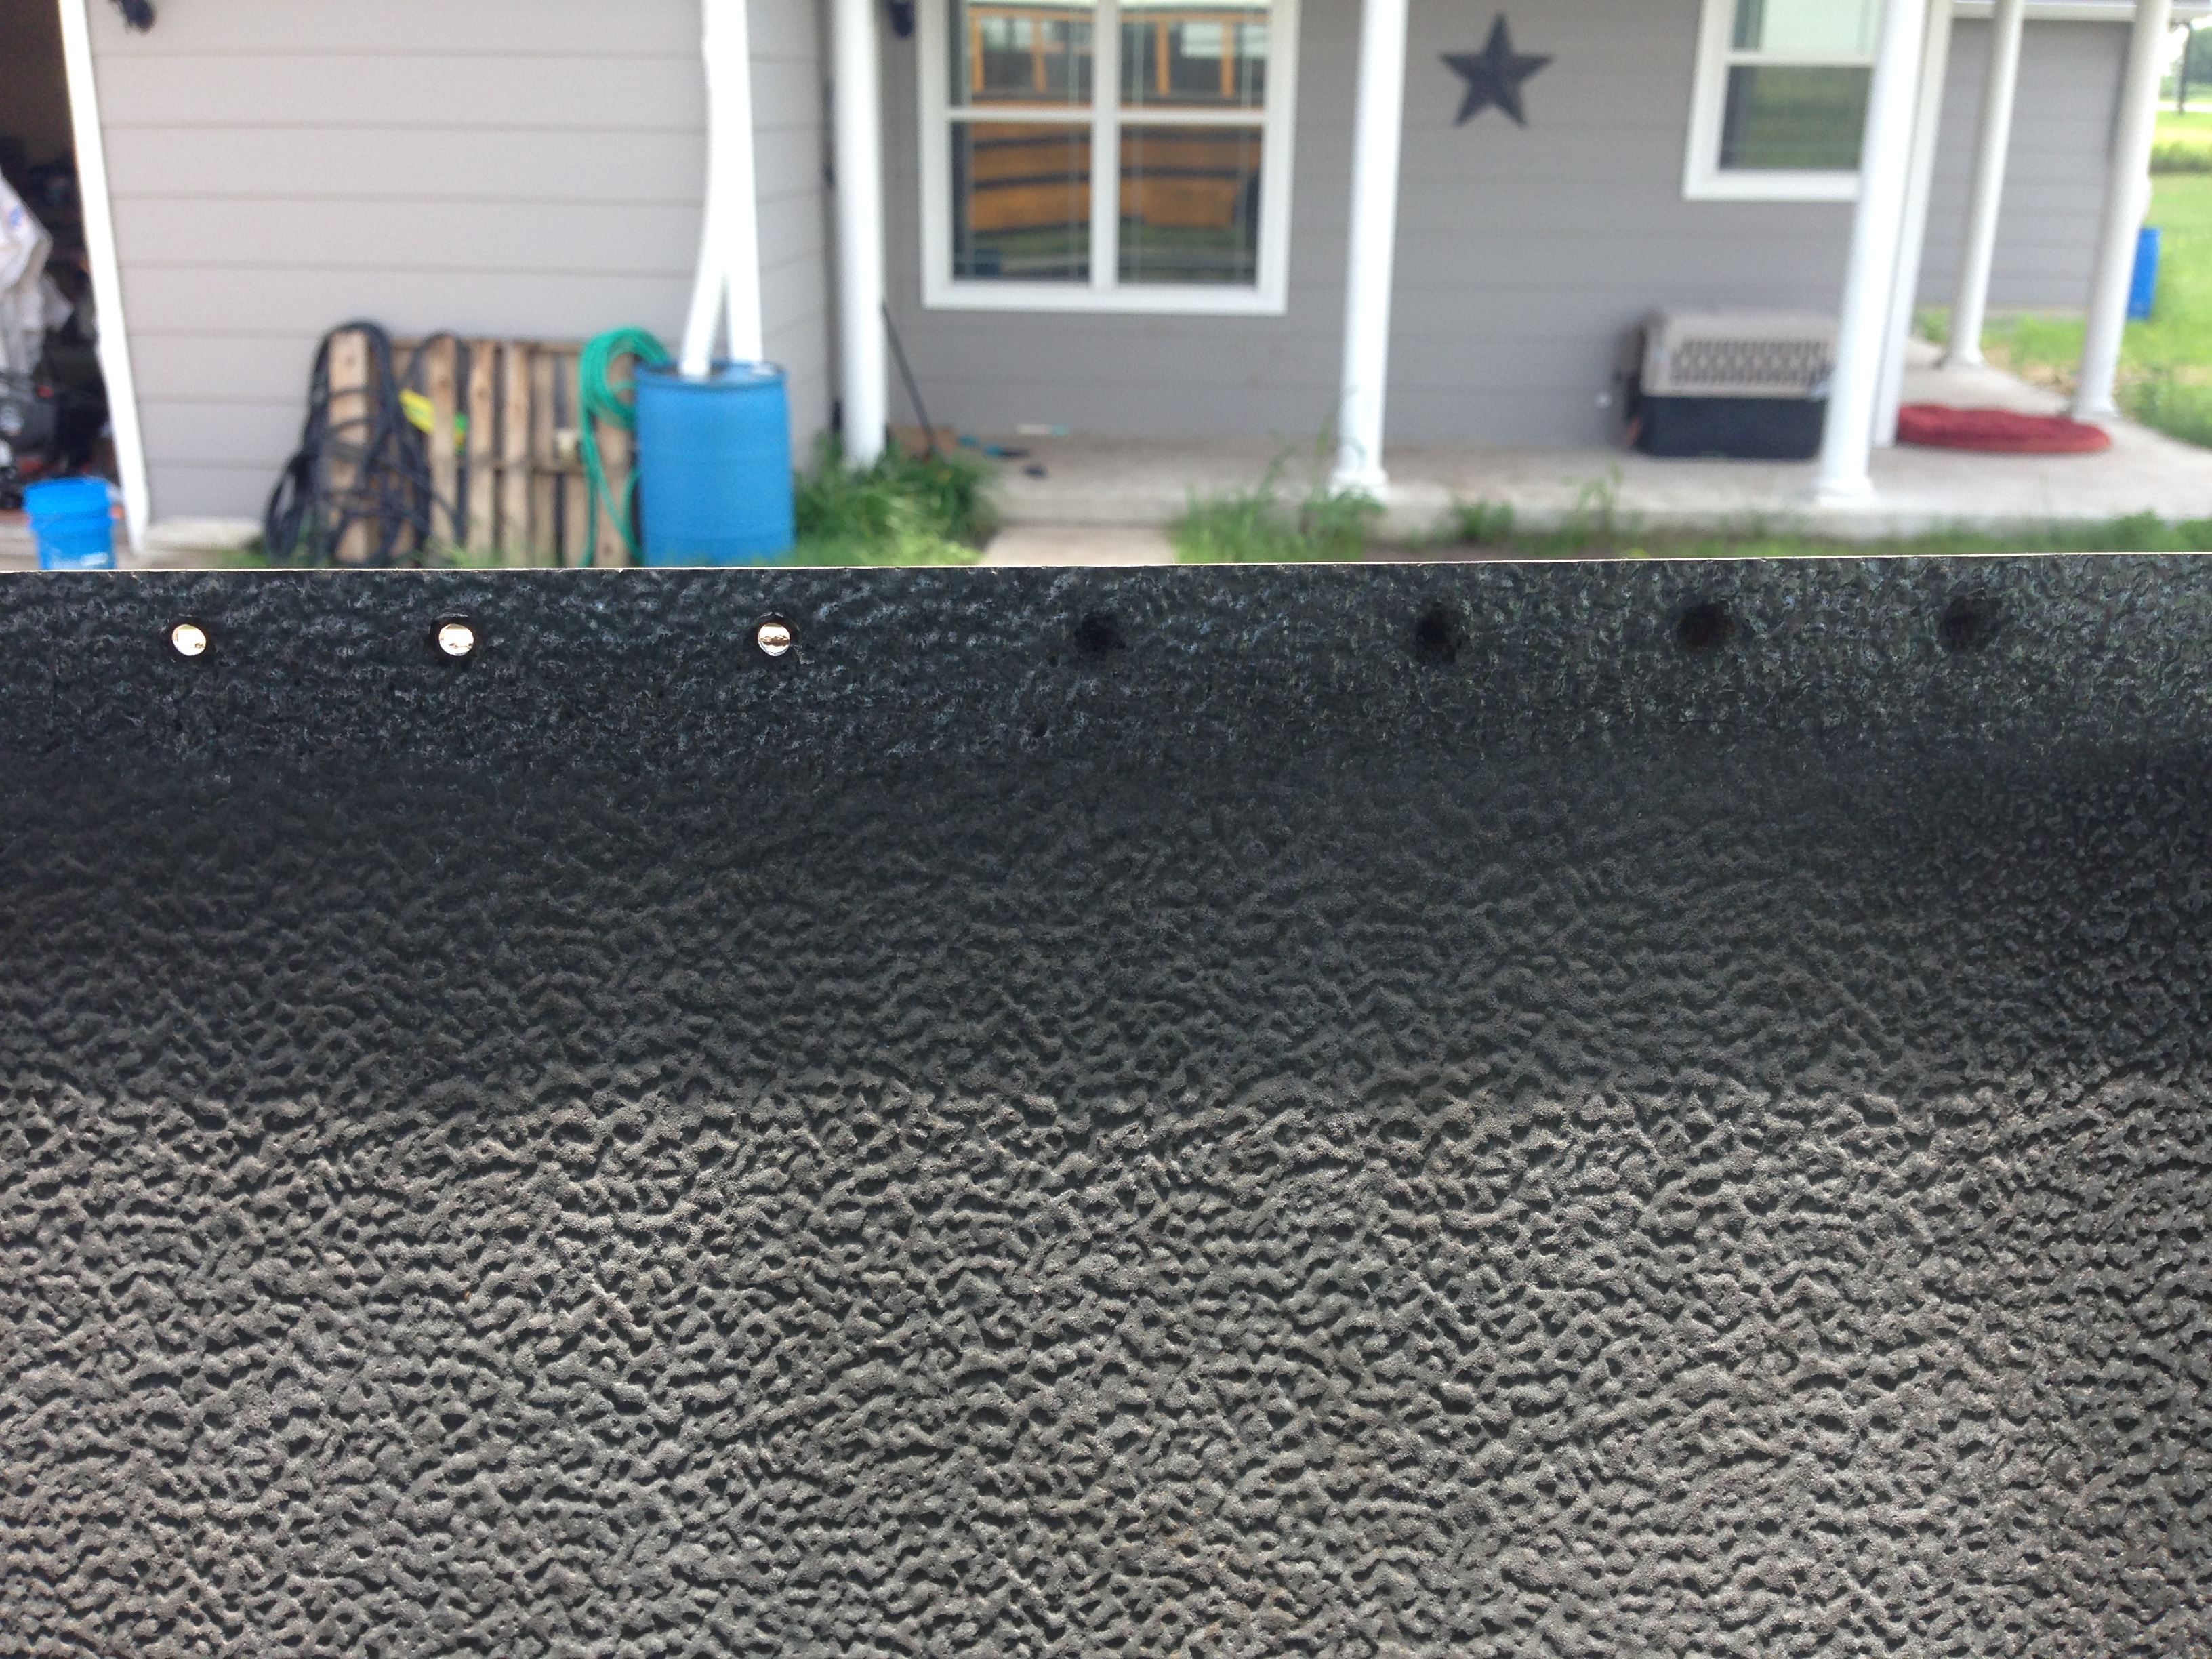
We also scraped the old caulk off of the sides of the window frames on the bus to give the new seal its best shot.
Well, I can’t be standing around all day taking pictures so…meanwhile outside of ChittyBang….


The Product Used:


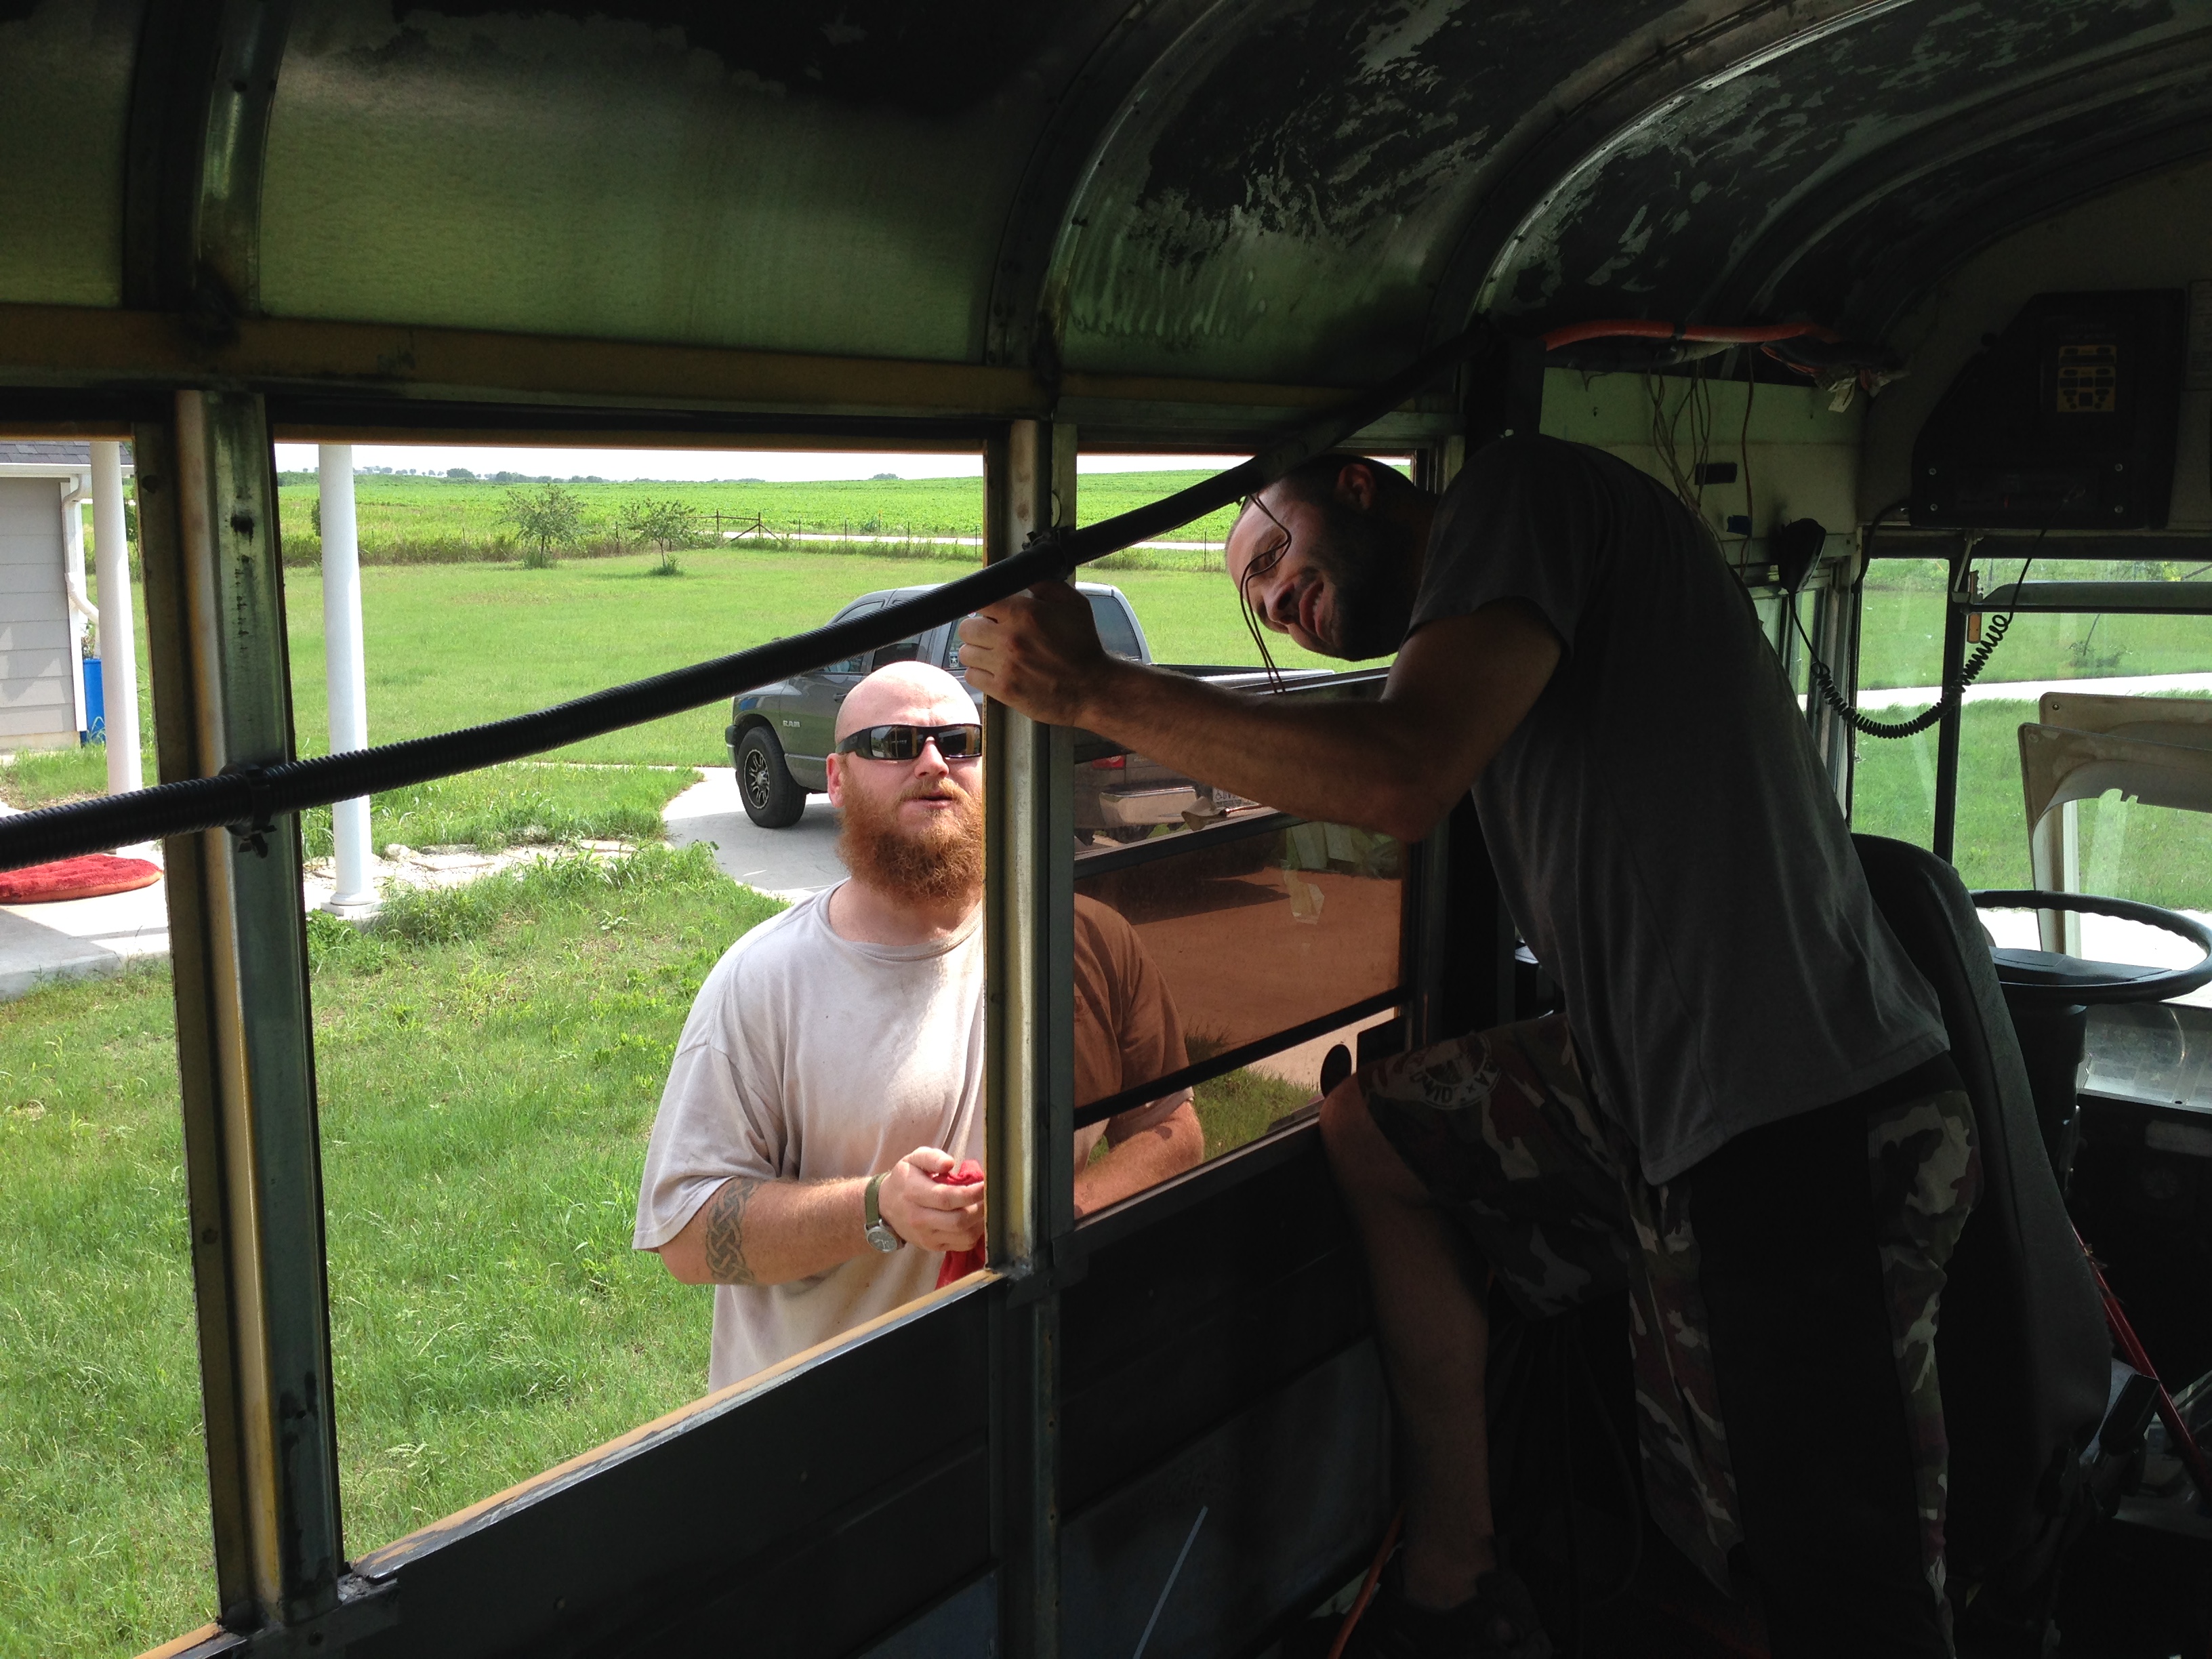
For the next part we had a pretty good system going. Crab was on a step ladder outside with some LocTite 2 in 1, and JB and I were inside re-sealing each window. Then the window was place back into its frame.
Man, time flew by…


Coming up next is Day 2: Stage 11, Part 2
or head back to
or


Leave us a message!