3: School Bus Floor Demo, Factory Heater Removal, and More

Stage 3 of Operation Chitty Bang was finishing up the prior day’s floor demo and tearing out some lights/speakers/panels that run along the top sides of the interior. This was the day we actually removed the heaters (did a little research on skoolie.net for heater help) and looped the coolant hoses under the bus.

Removing the rubber mats and plywood on one side, then figuring out how to remove the heaters on the other. This was a learning lesson we decided to sleep on and finish on Day 2!
The kids helped me take the flooring out from under the heaters while Crab ran to the store to get more coolant. We are about 25 minutes from a auto zone/walmart so we had some time to get this done before he got back!
Flooring and Heaters Removed. Success! We finished letting the coolant run into a big old dog bowl we found outside (On a homestead, sometimes things get carried/blown away and found a long time later, lol) and then were able to remove the heaters.

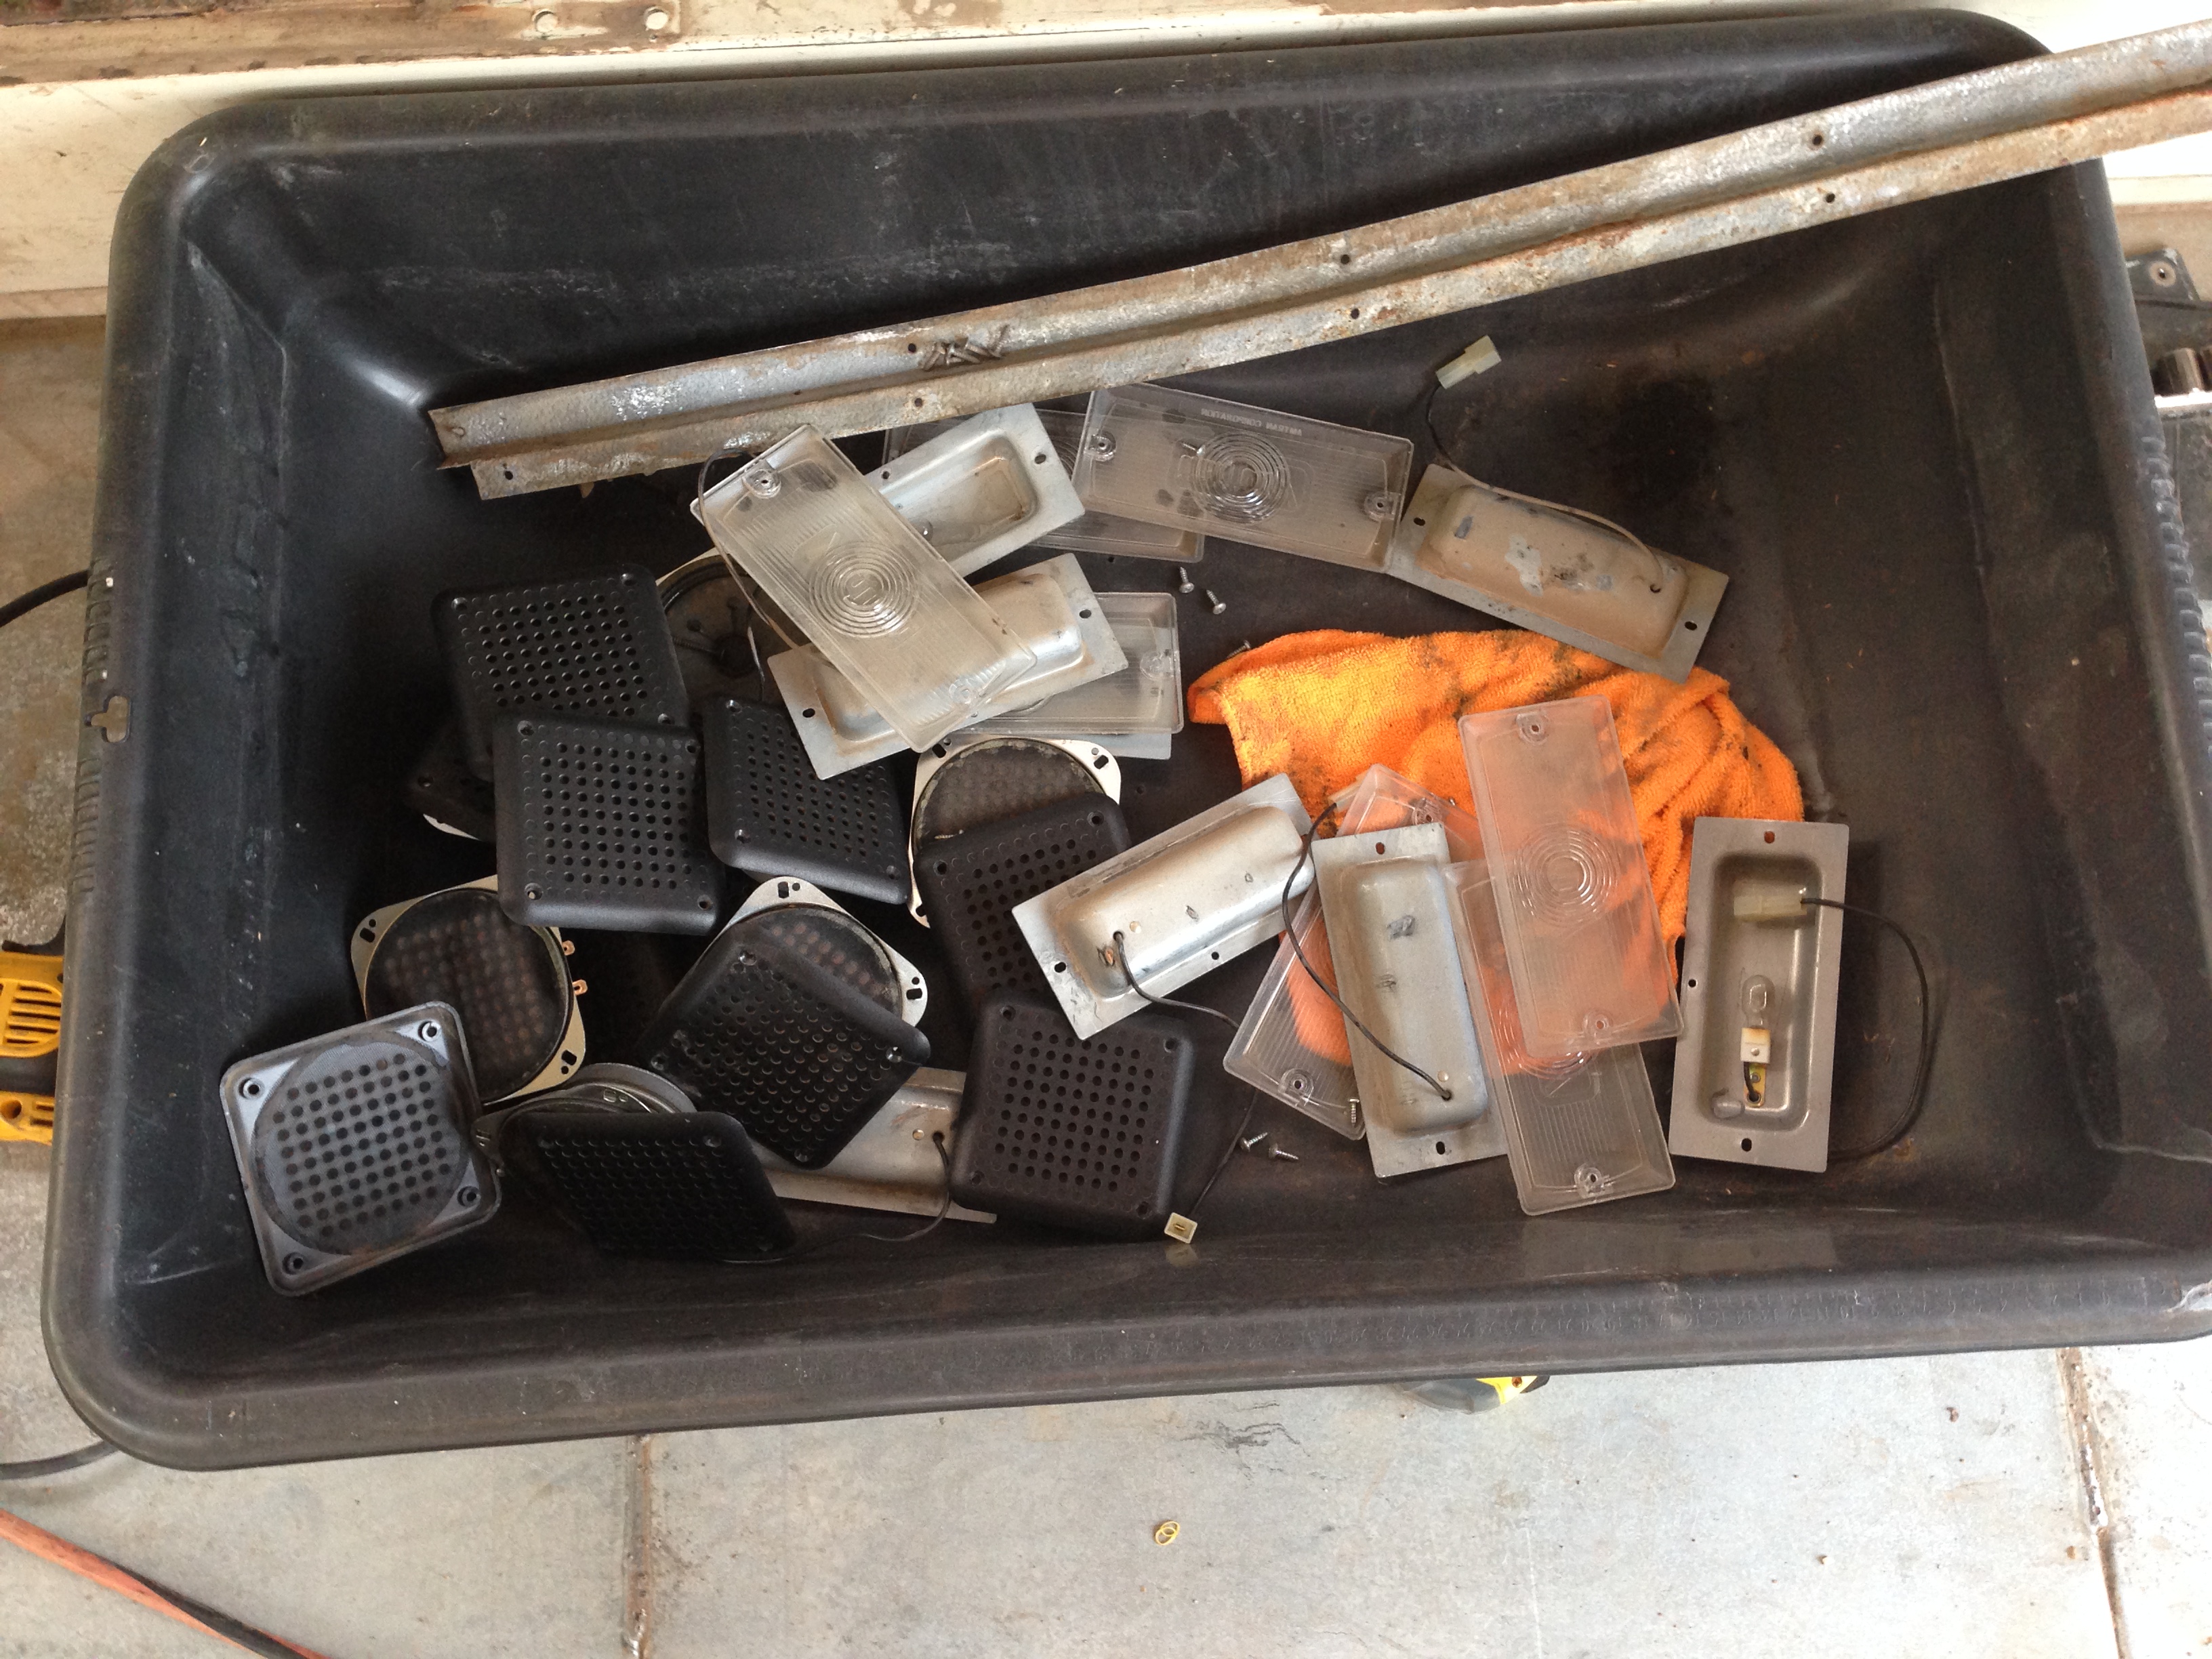
We finished the side panel removal where the speakers and lights were. This also exposed the fiberglass insulation that was underneath and under the roof. That project will prove to be a little more difficult than anticipated…

The upper side panels removed where the speakers and lights were. These were quick disconnects, which made uninstalling a breeze. A few screws and a little grunting, and voila, more space!

The hoses for the heaters went through a hole between the floor and behind the driver’s seat (something we will need to seal soon!). So we followed the lines under the bus and “looped” them the only way that seemed possible by cutting the hoses much shorter, and reclamping them to the pump they were connected to. I am sure we can take out more of the hoses and maybe even that pump, but that will be a project when we are with our diesel mechanic friend!

Looping the Radiator Hoses from the inside bus heaters. Re-used small part of the tubing, the clamps, and the copper tubing elbow.

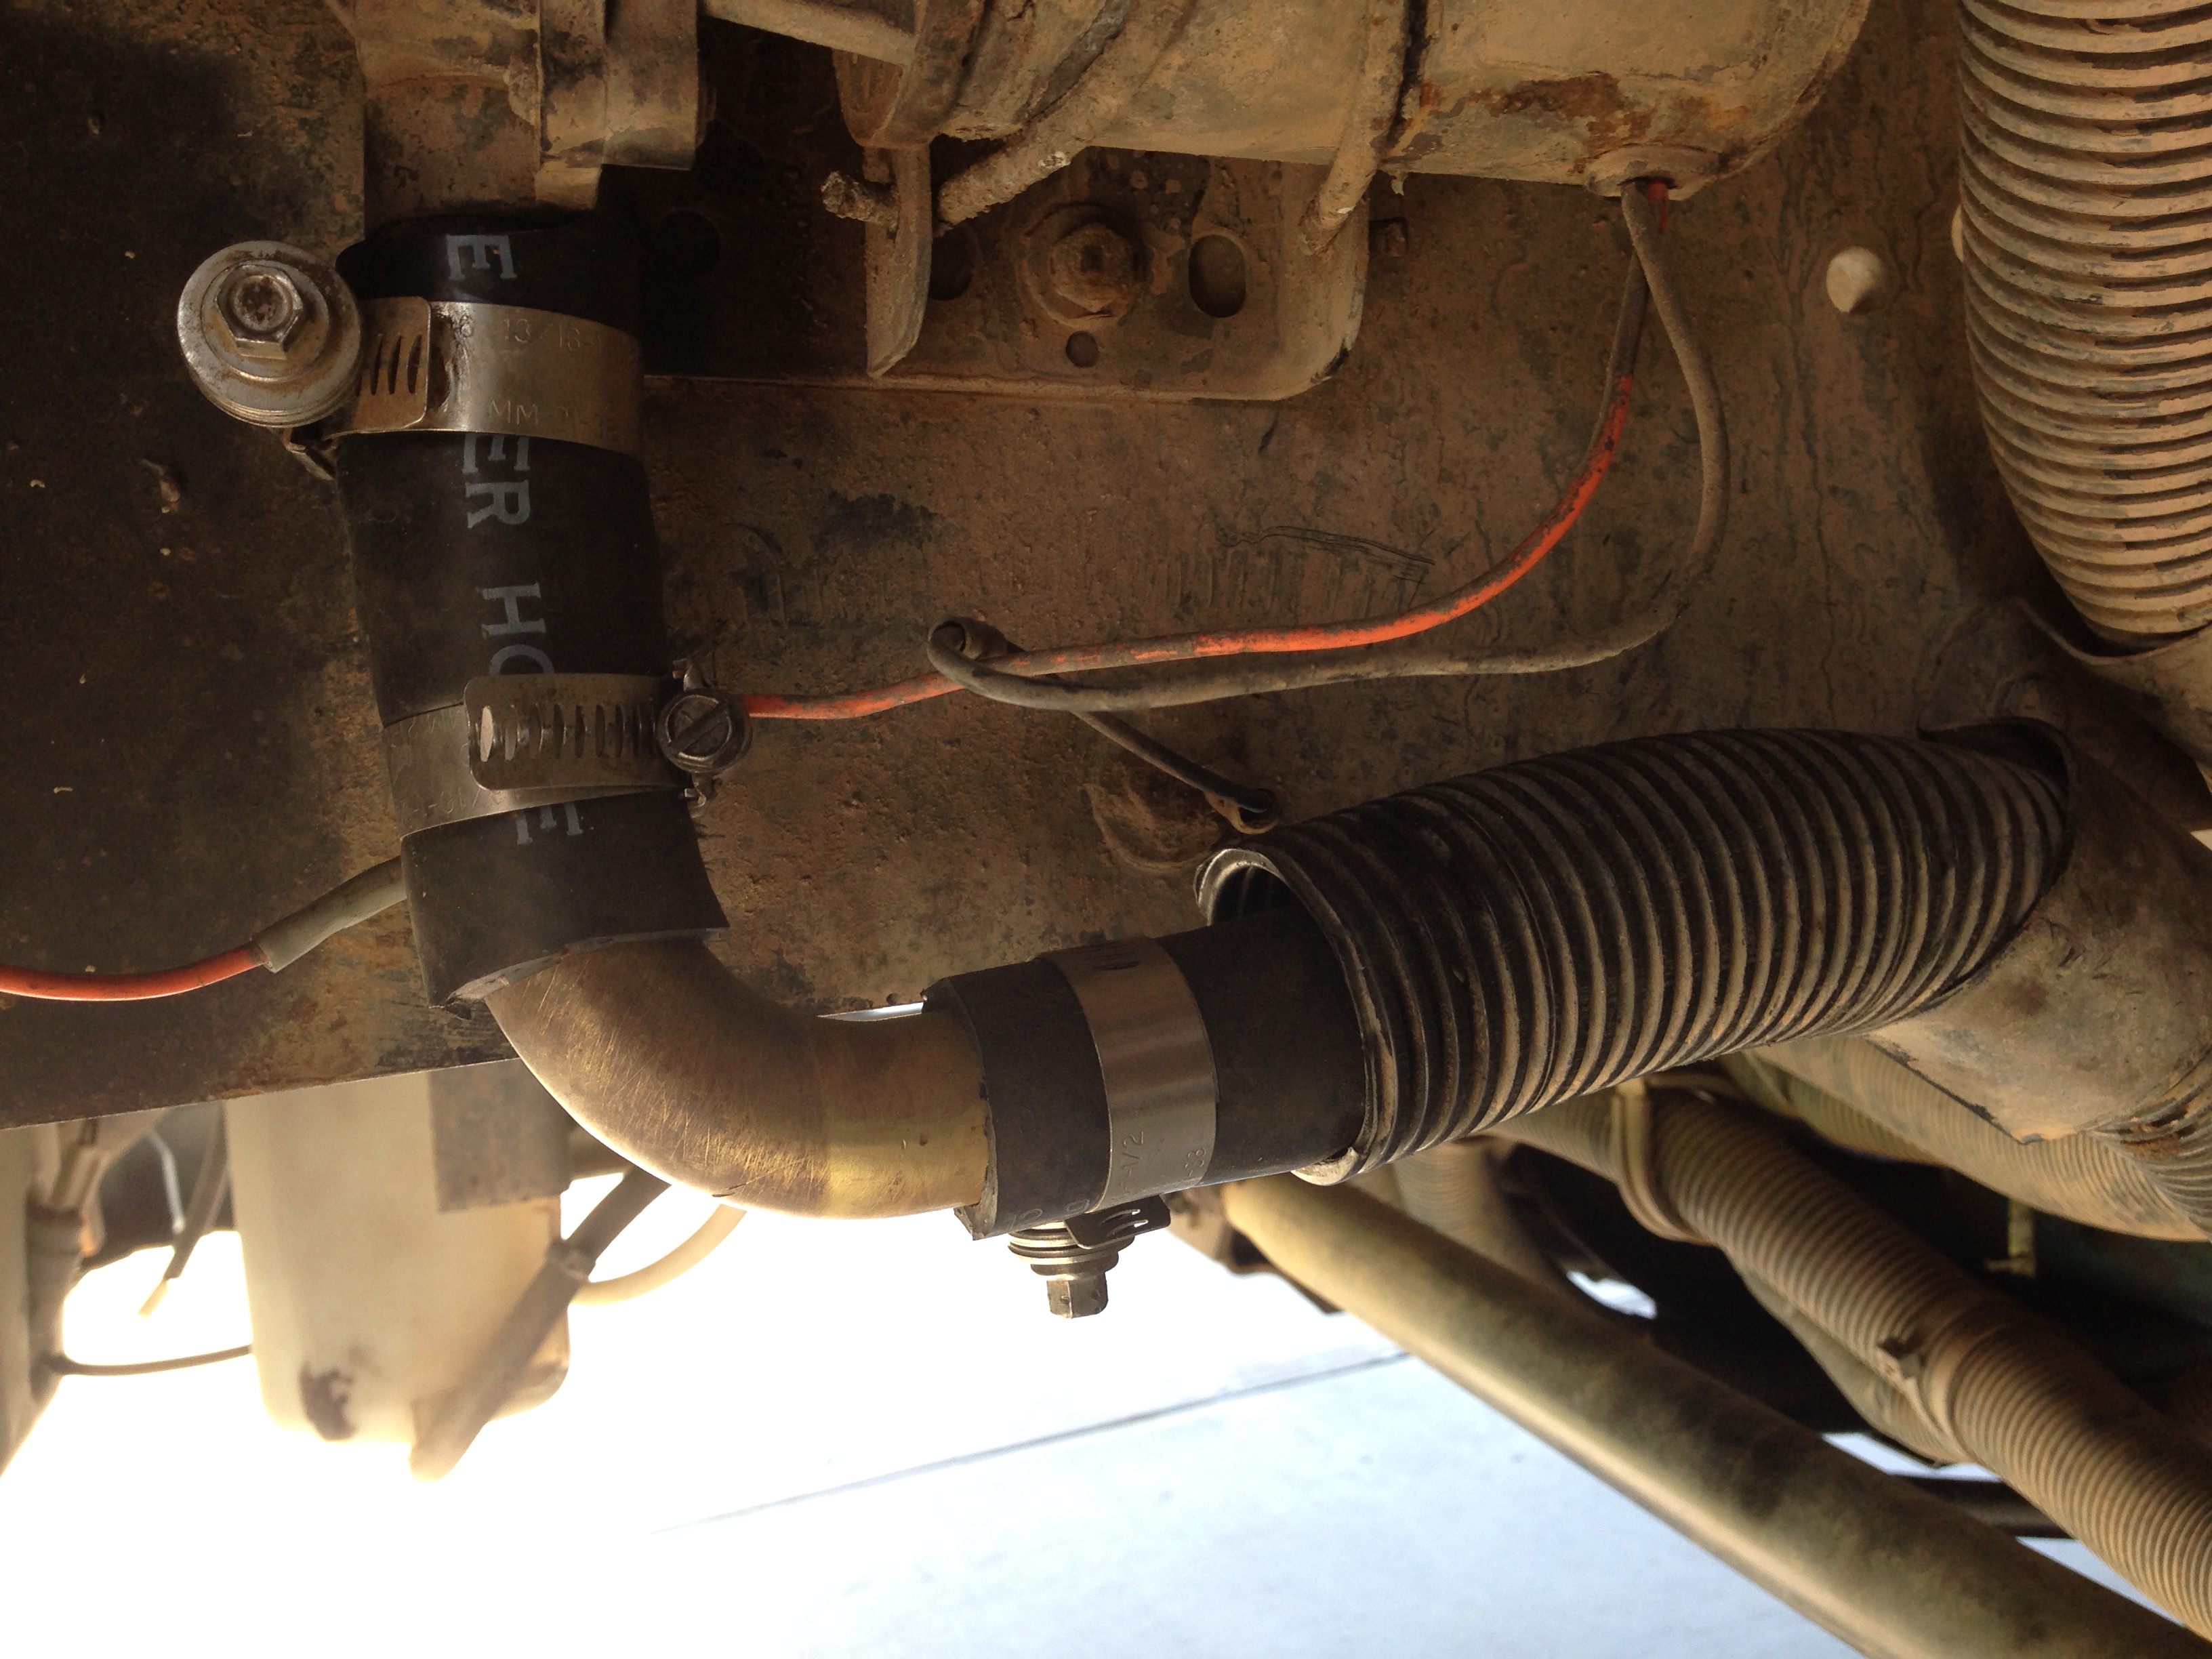
We let the bus run for about 20 minutes after we looped it and refilled the coolant to make sure all of the gauges stayed in the green, and no codes came up on the scan gauge reader. This helped us to be sure we did it right:)

Nuts and Bolts, Nuts and Bolts, We Got Lots of Screws!!

Bolts from the bus seats. I don't know if you can tell, but there are a lot! 7 bolts per seat!
Bolts from the bus seats. I don’t know if you can tell, but there are a lot! 7 bolts per seat!
Floor Screws removed
Lights and Speakers removed

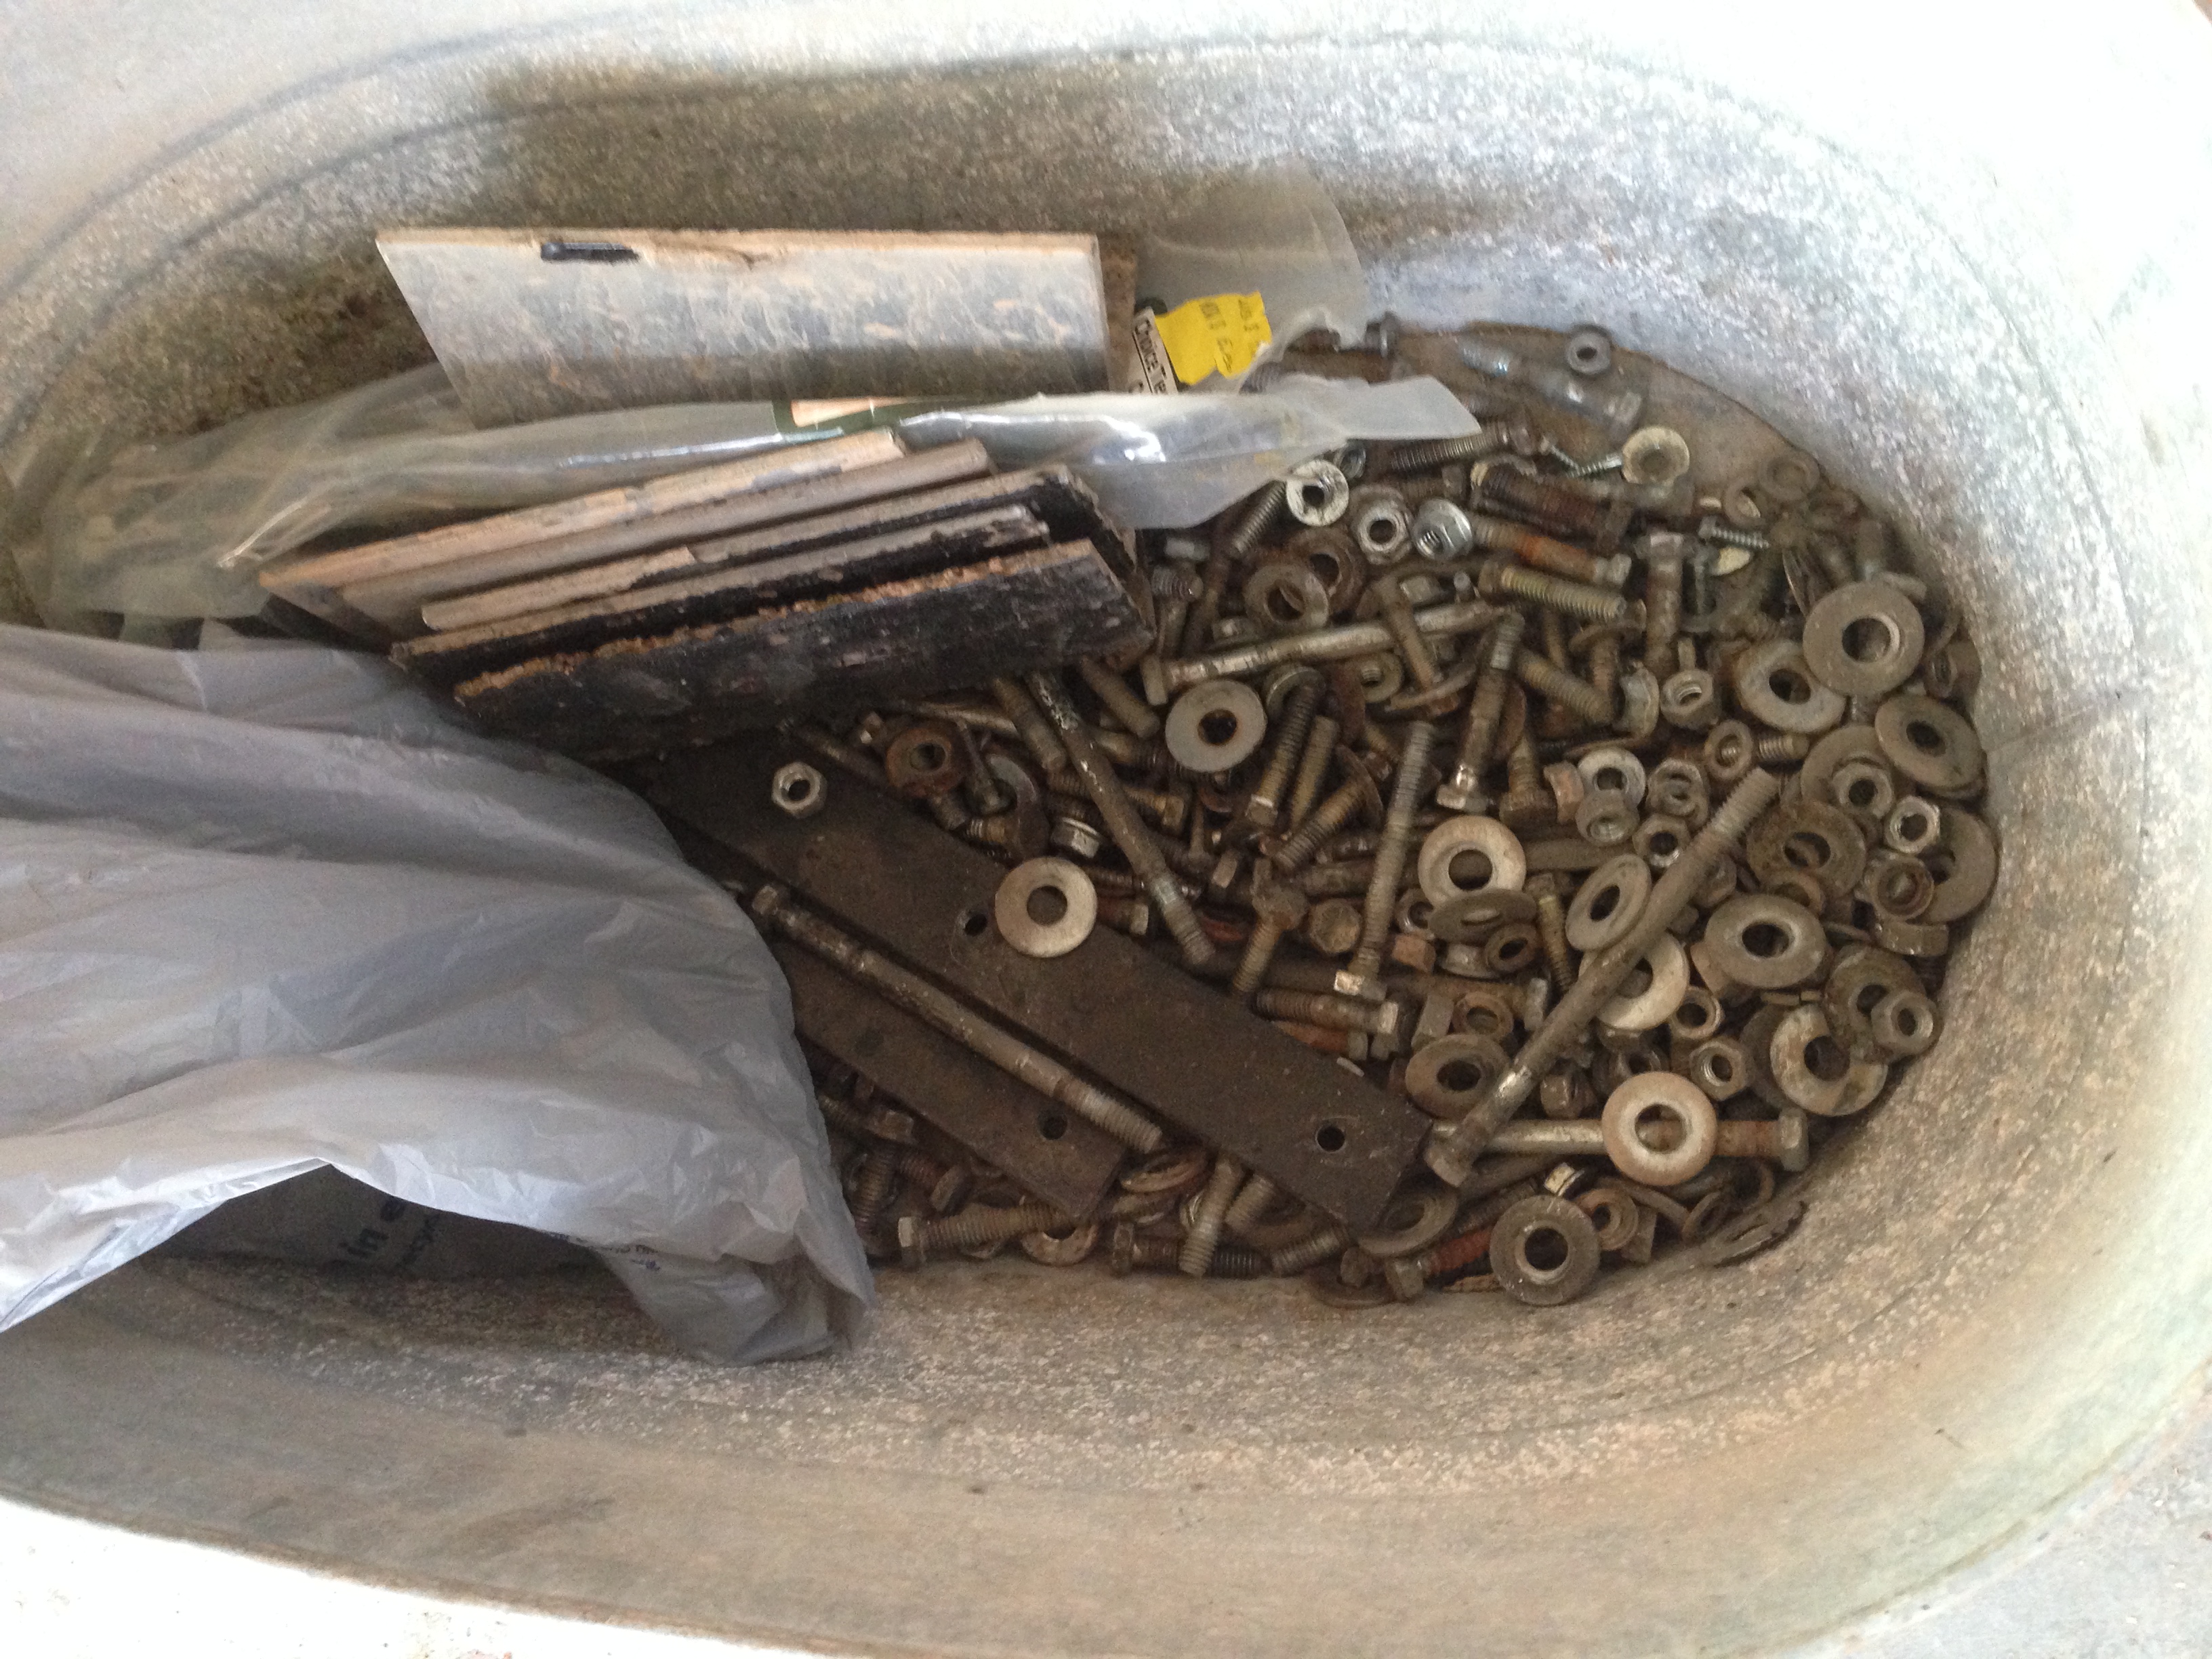
Yes, we are totally keeping all of these treasures because you know how it goes on a homestead. You can always re-use it!! Even if it’s broke, you can still try to fix it or use it in some other way. Or you sell it and make some money off of it:)

Onto later that night’s Stage 4: Scrubbing Chitty Bang

or

Editing Our Life Series

One comment

Leave a Reply