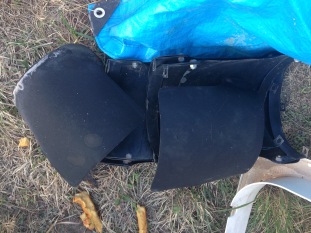
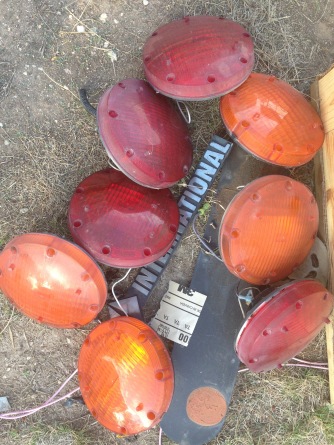
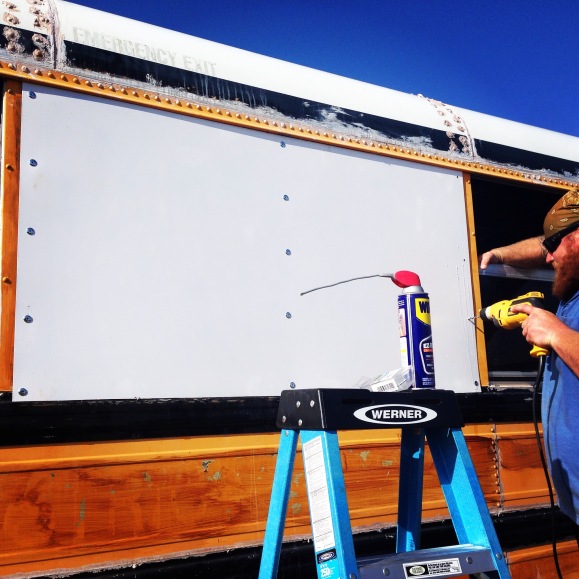
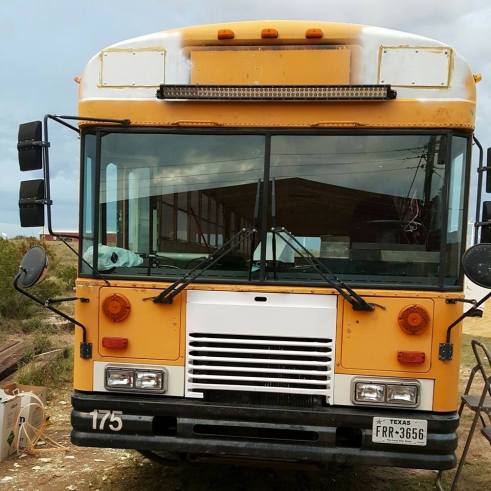
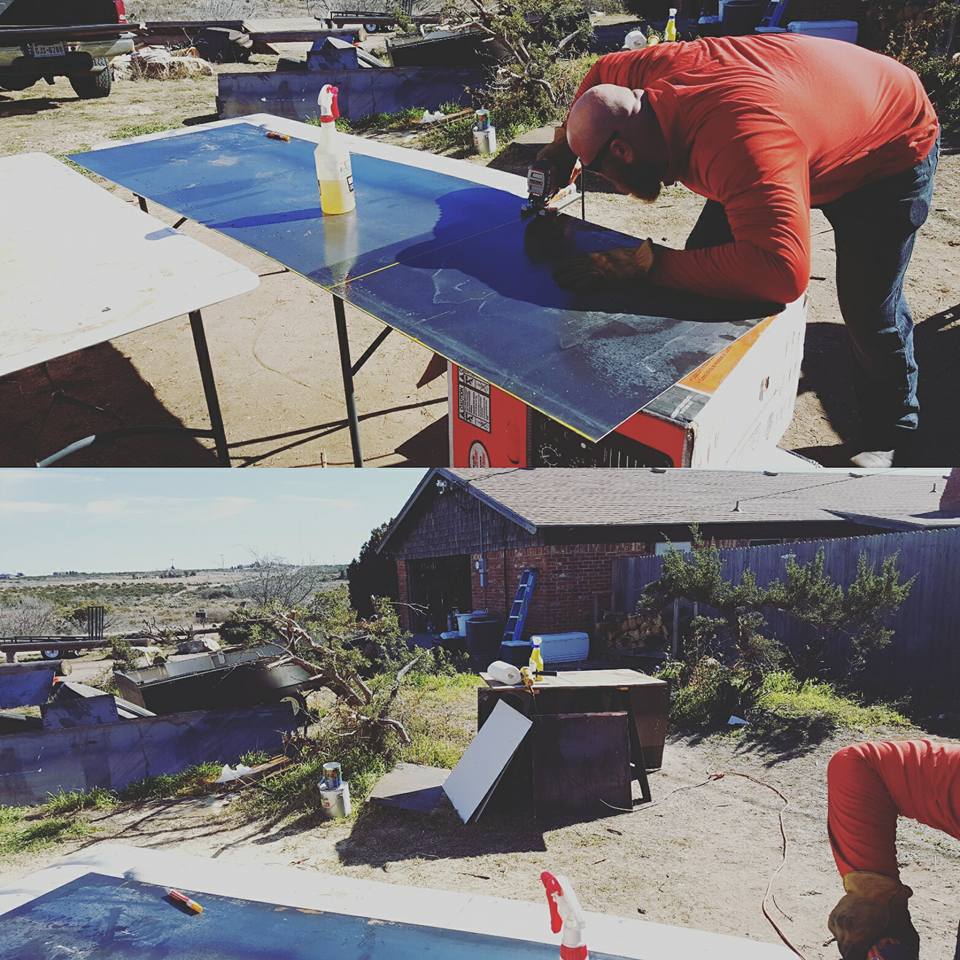
This part of the project was the first time we ever cut metal this thick and used an air rivet gun to rivet steel to something..more specifically, a bus:) We started off early in the project (same time we were figuring our our bus electrical) with covering 4 windows (2 emergency windows on either side that I had actually moved into specific positions when we took out all of the windows), a hole inside the bus where the indoor heater hoses ran through, the 4 flashing lights outside Chitty Bang, and some small holes where the STOP Sign Arm was.


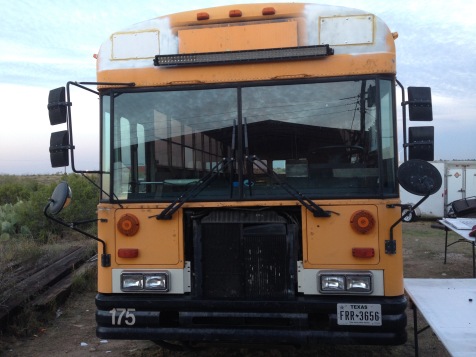
We also needed to fix the headlight holders and replace the headlights. Crab learned to weld for the first time using a stick welder on this project. We also bondo’ed the front grill, sanded and painted it. She is lookin’ good!
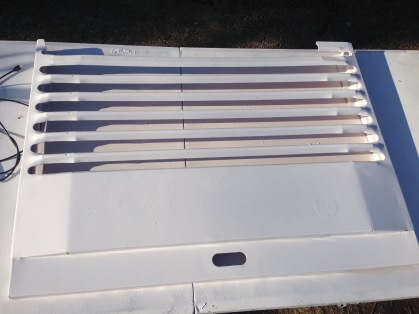
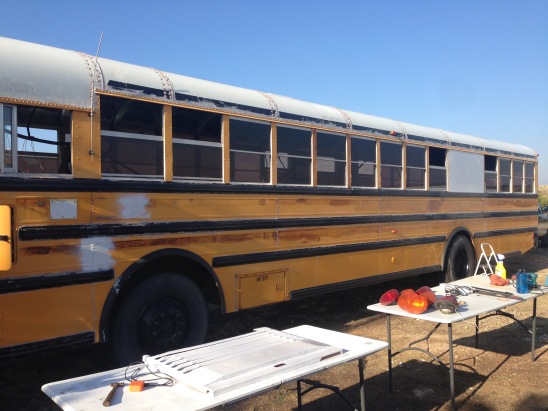
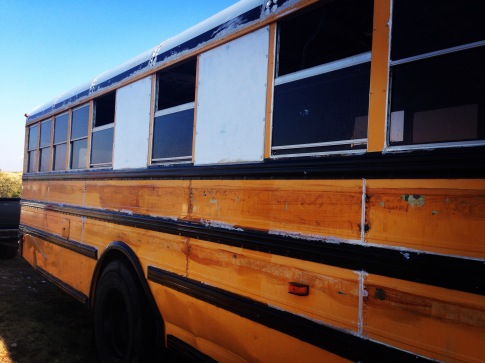
More recently (about 3 months later) we decided to cover more windows due to the complaints of fellow skoolie builders, and our realization that in the winter, these windows are effing cold. I did not want it to be a cave, but I don’t want it to be an ice box either. Decided to be a wise man and learn from others’ mistakes and we covered a few more windows.

Now we have 6 open windows on either side of the bus, not including the driver windows or door windows. It is much warmer inside late January and early February in West Texas. It snowed once while I was in the bus and although it was about 32 degrees outside, it stayed 49 inside….we also had foam insulation, walls and flooring in at this point too which totally helped. If you noticed the storage boxes and an rv ladder in this last pic…stay tuned! A blog about those will be coming soon!
Forward to Stage 16 Interior: Insulating the Covered Windows
Go to Stage 17: Flooring Prep 1
of Back to Stage 15: Wiring in New Toys
or Fast Forward to Stage 20: New Windshield and RV Ladder
and Stage 21: Installing External Storage Boxes Part 1


Leave a reply to Stage 17: Flooring Prep 1 | The Crabs' Homestead Cancel reply