Here we are…still contemplating those damn wainscotting walls…but the great thing about a project like this is that we had so much to do, we could float onto other projects while we contemplated others. Sometimes it is best ot just clear your brain and move onto something else and then….the idea will come to you:)
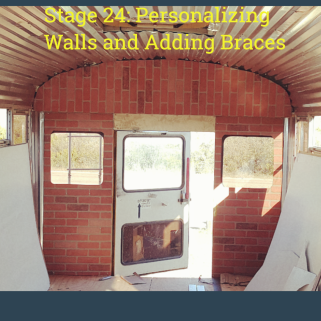
Moving onto the walls for the Master Bed area….
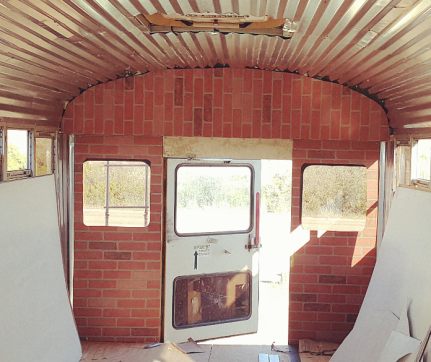
While we were shopping around Home Depot (one of the millions of times we went to look around for ideas) we found a faux brick wall panel. Amazing. We both looked at each other like, “Where in the hell is this going to go because we have to have it!” We always wanted a brick wall in a house we owned. Now that can come true 🙂
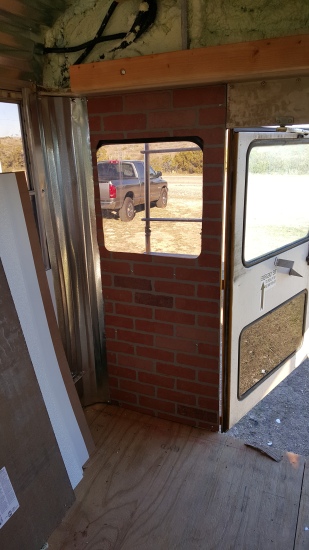
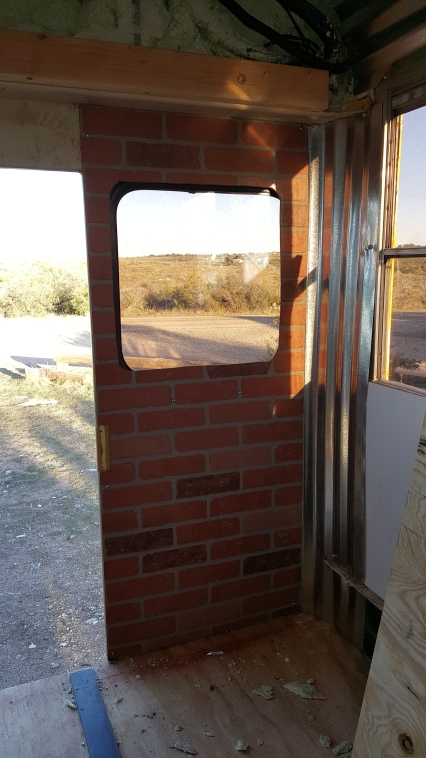
Then we could not figure out how to fill in the corner gaps between the brick wall and the side walls. That area actually curves, unless you want to square it up. But why do that when you can add flexible tin! Now, you should definitely wear gloves when working with this stuff…WORK HAZARD for sure! But, man did it look nice after we were done!
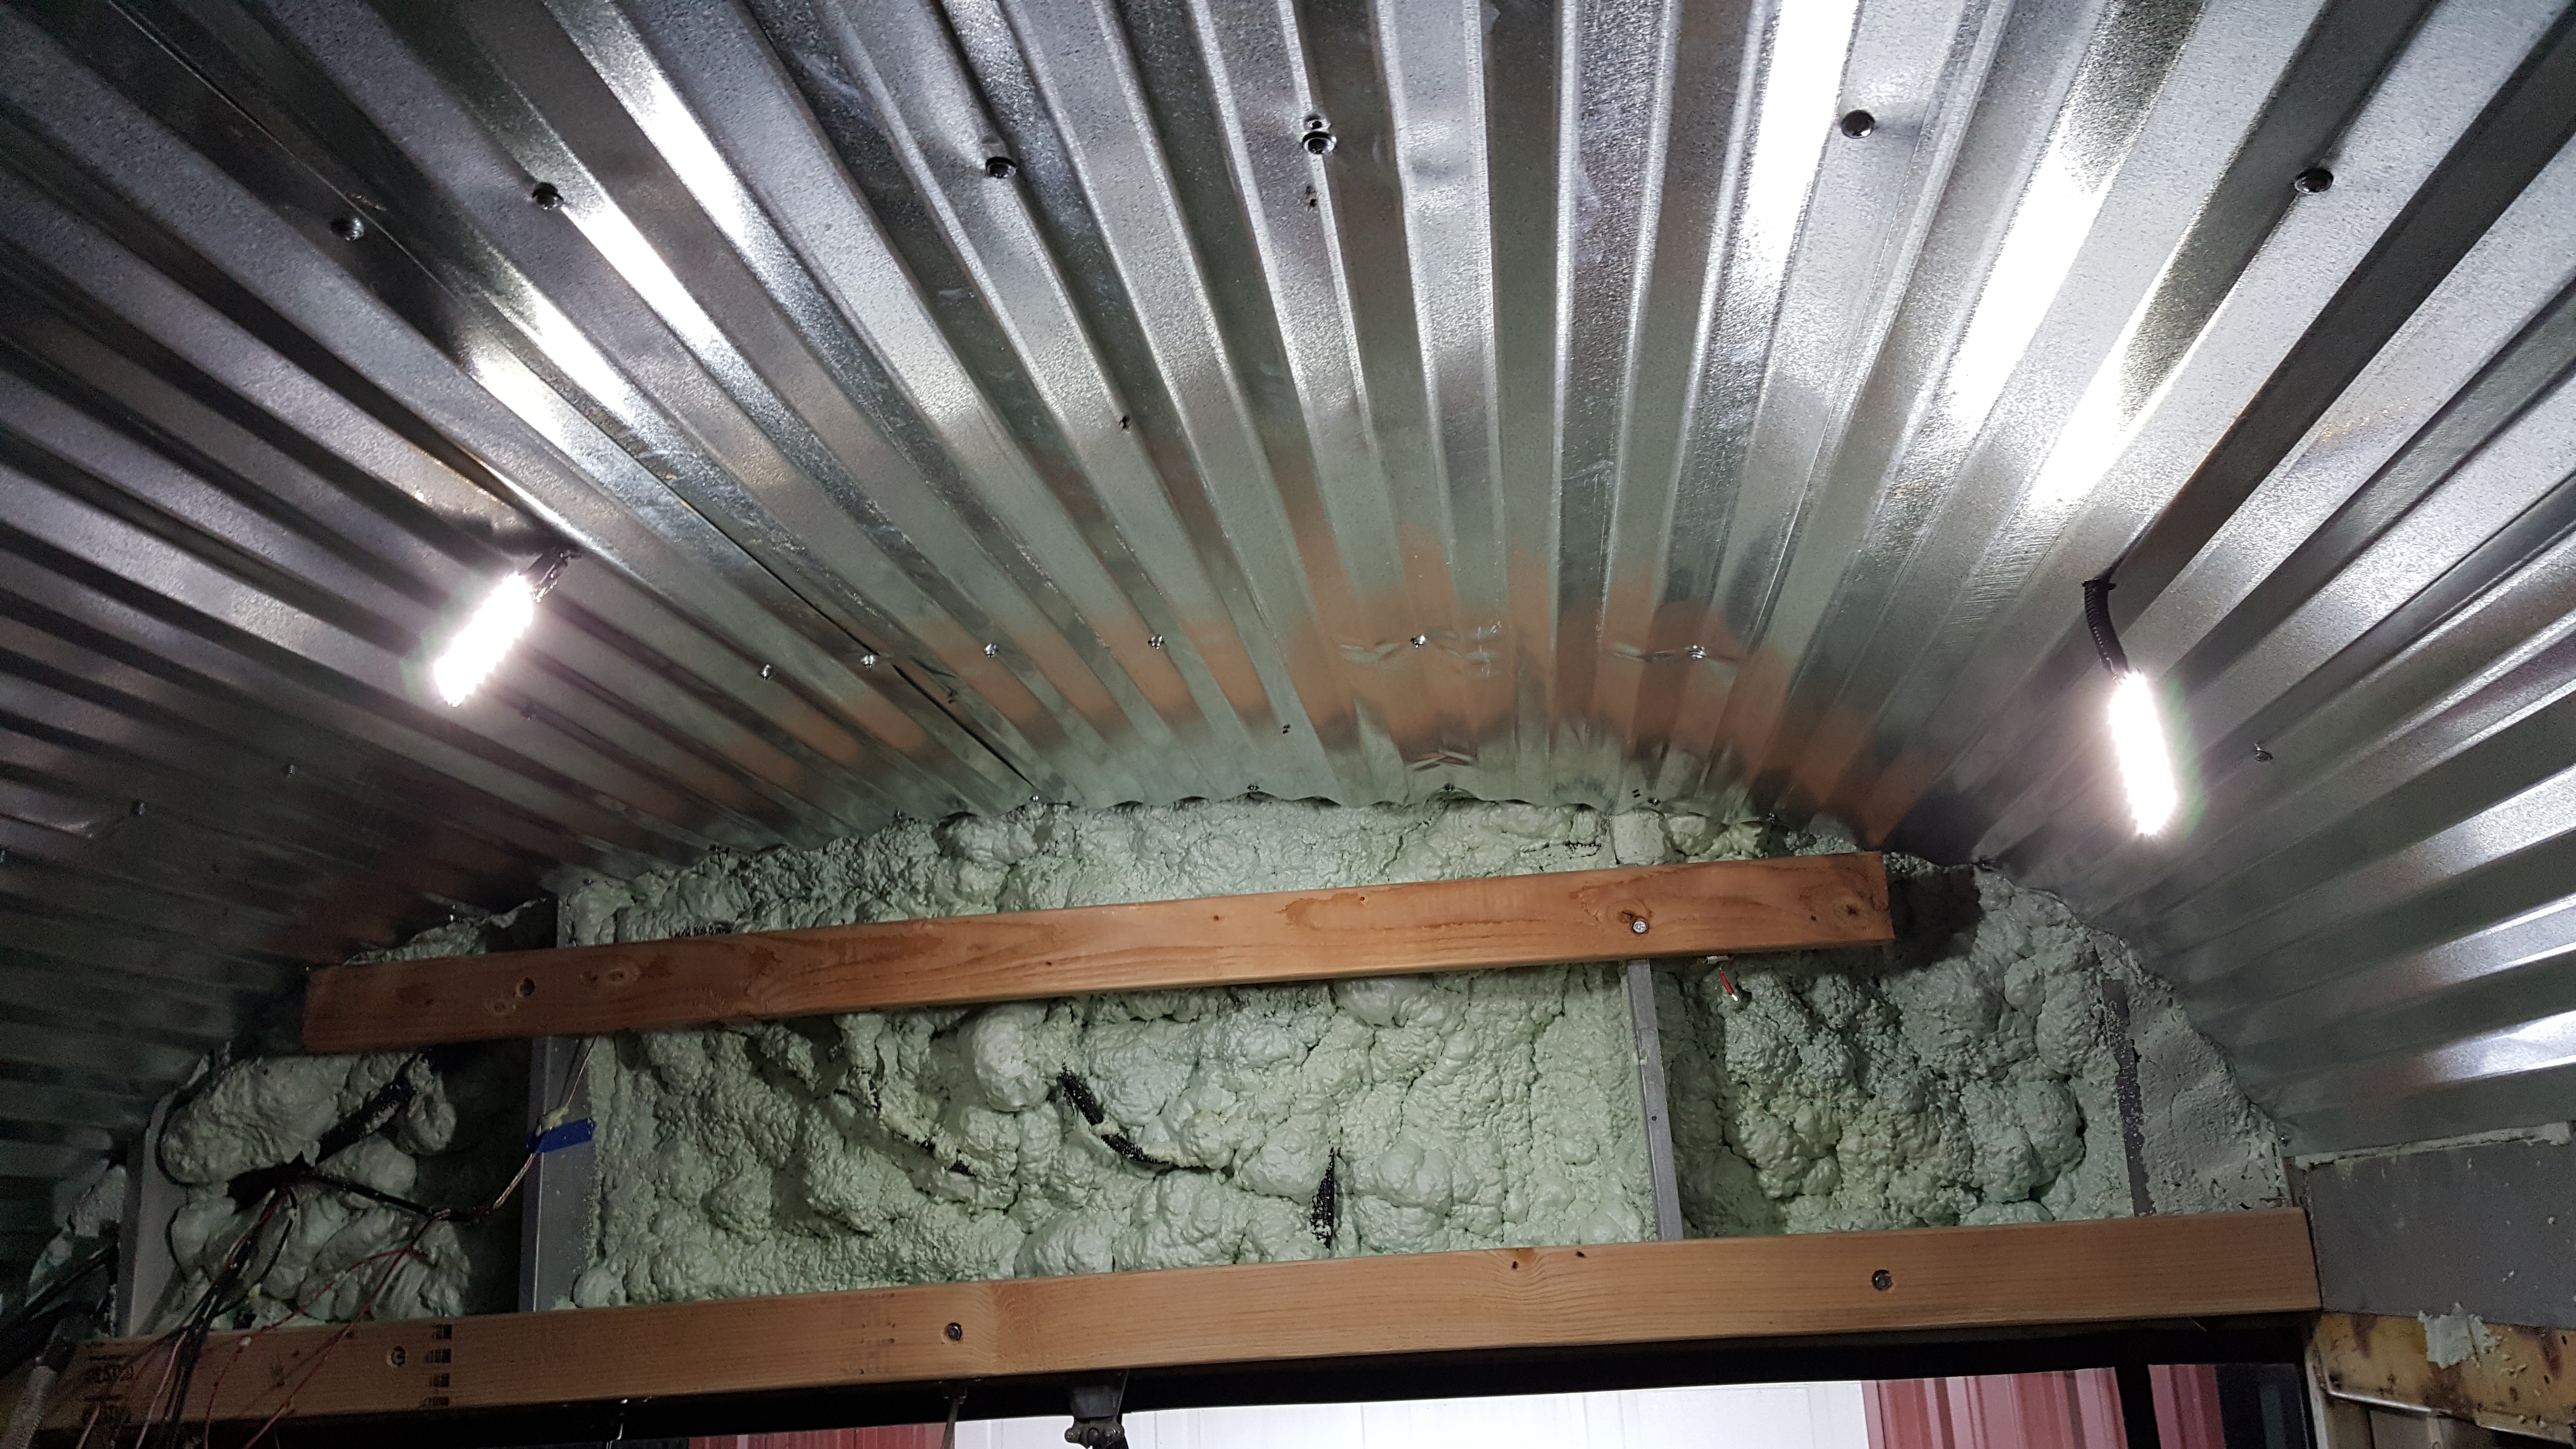
We also needed to add braces to the front and rear headers so we could attach a wall there, as well as have some wooden studs to hang shelves and other stuff there. We used some bolts, washers, and nuts for this to make sure we were getting a really enforced stud. It also gave us a good space to put all of the excess bus wires we had loomed, as well as the wires for the back up camera and LED light bars.
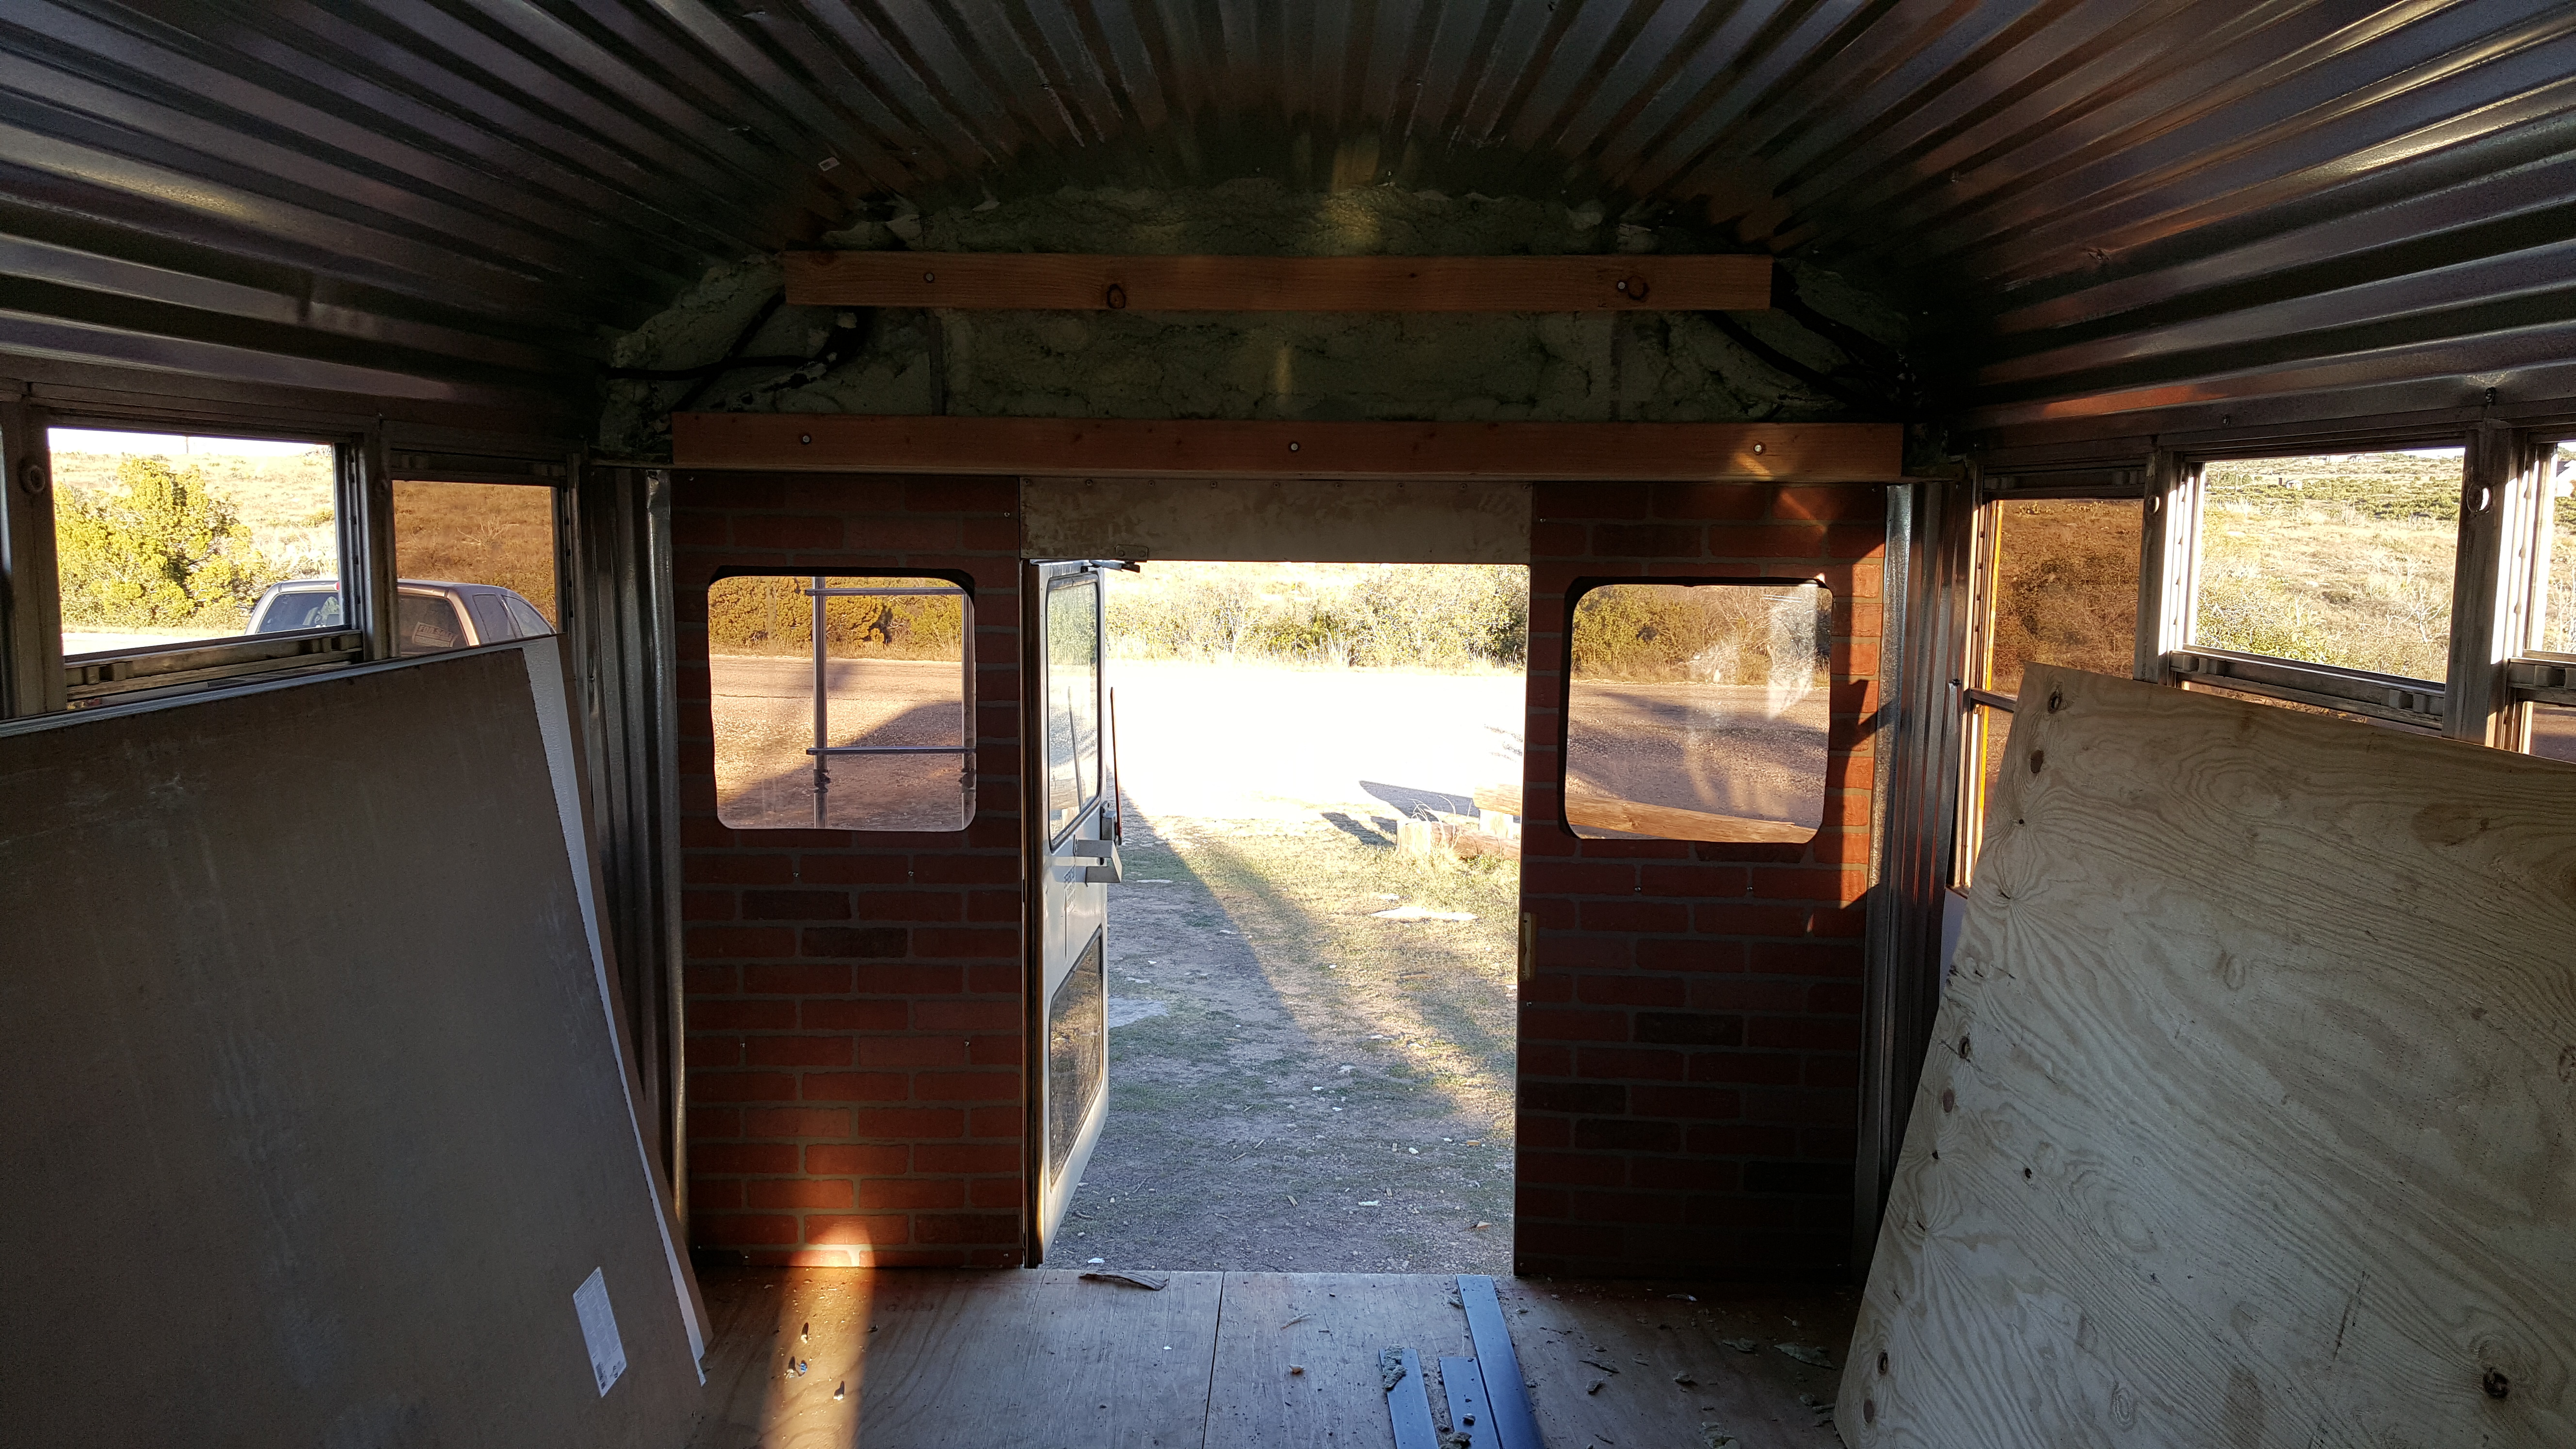
Then we used some cardboard and made a cut out of the faux brick wall panel to fit the curve of the rear header. Attached it to the studs in teh rear. Then Voila! A Brick Wall in my Tiny House!
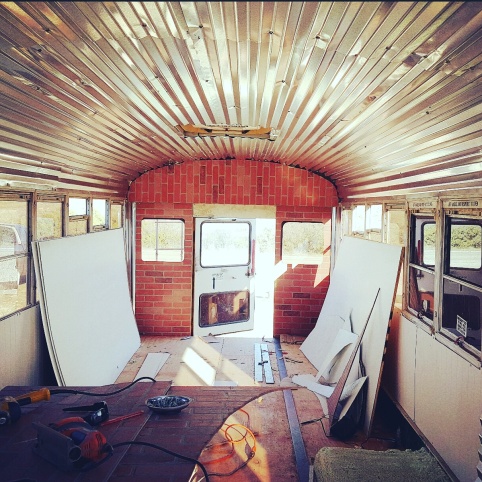
Then, later on in the project when we decided to cover more windows because it was so cold in the bus. I covered this in the earlier stages. Well, the back windows were two really useless windows, we decided. You can’t open or close them, so lets just cover those. We had an extra brick wall that we had not returned yet, so we just replaced that panel with the new ones. (Another panel that we wasted money on. Although we did turn these scrap pieces into great jigs for other projects!)
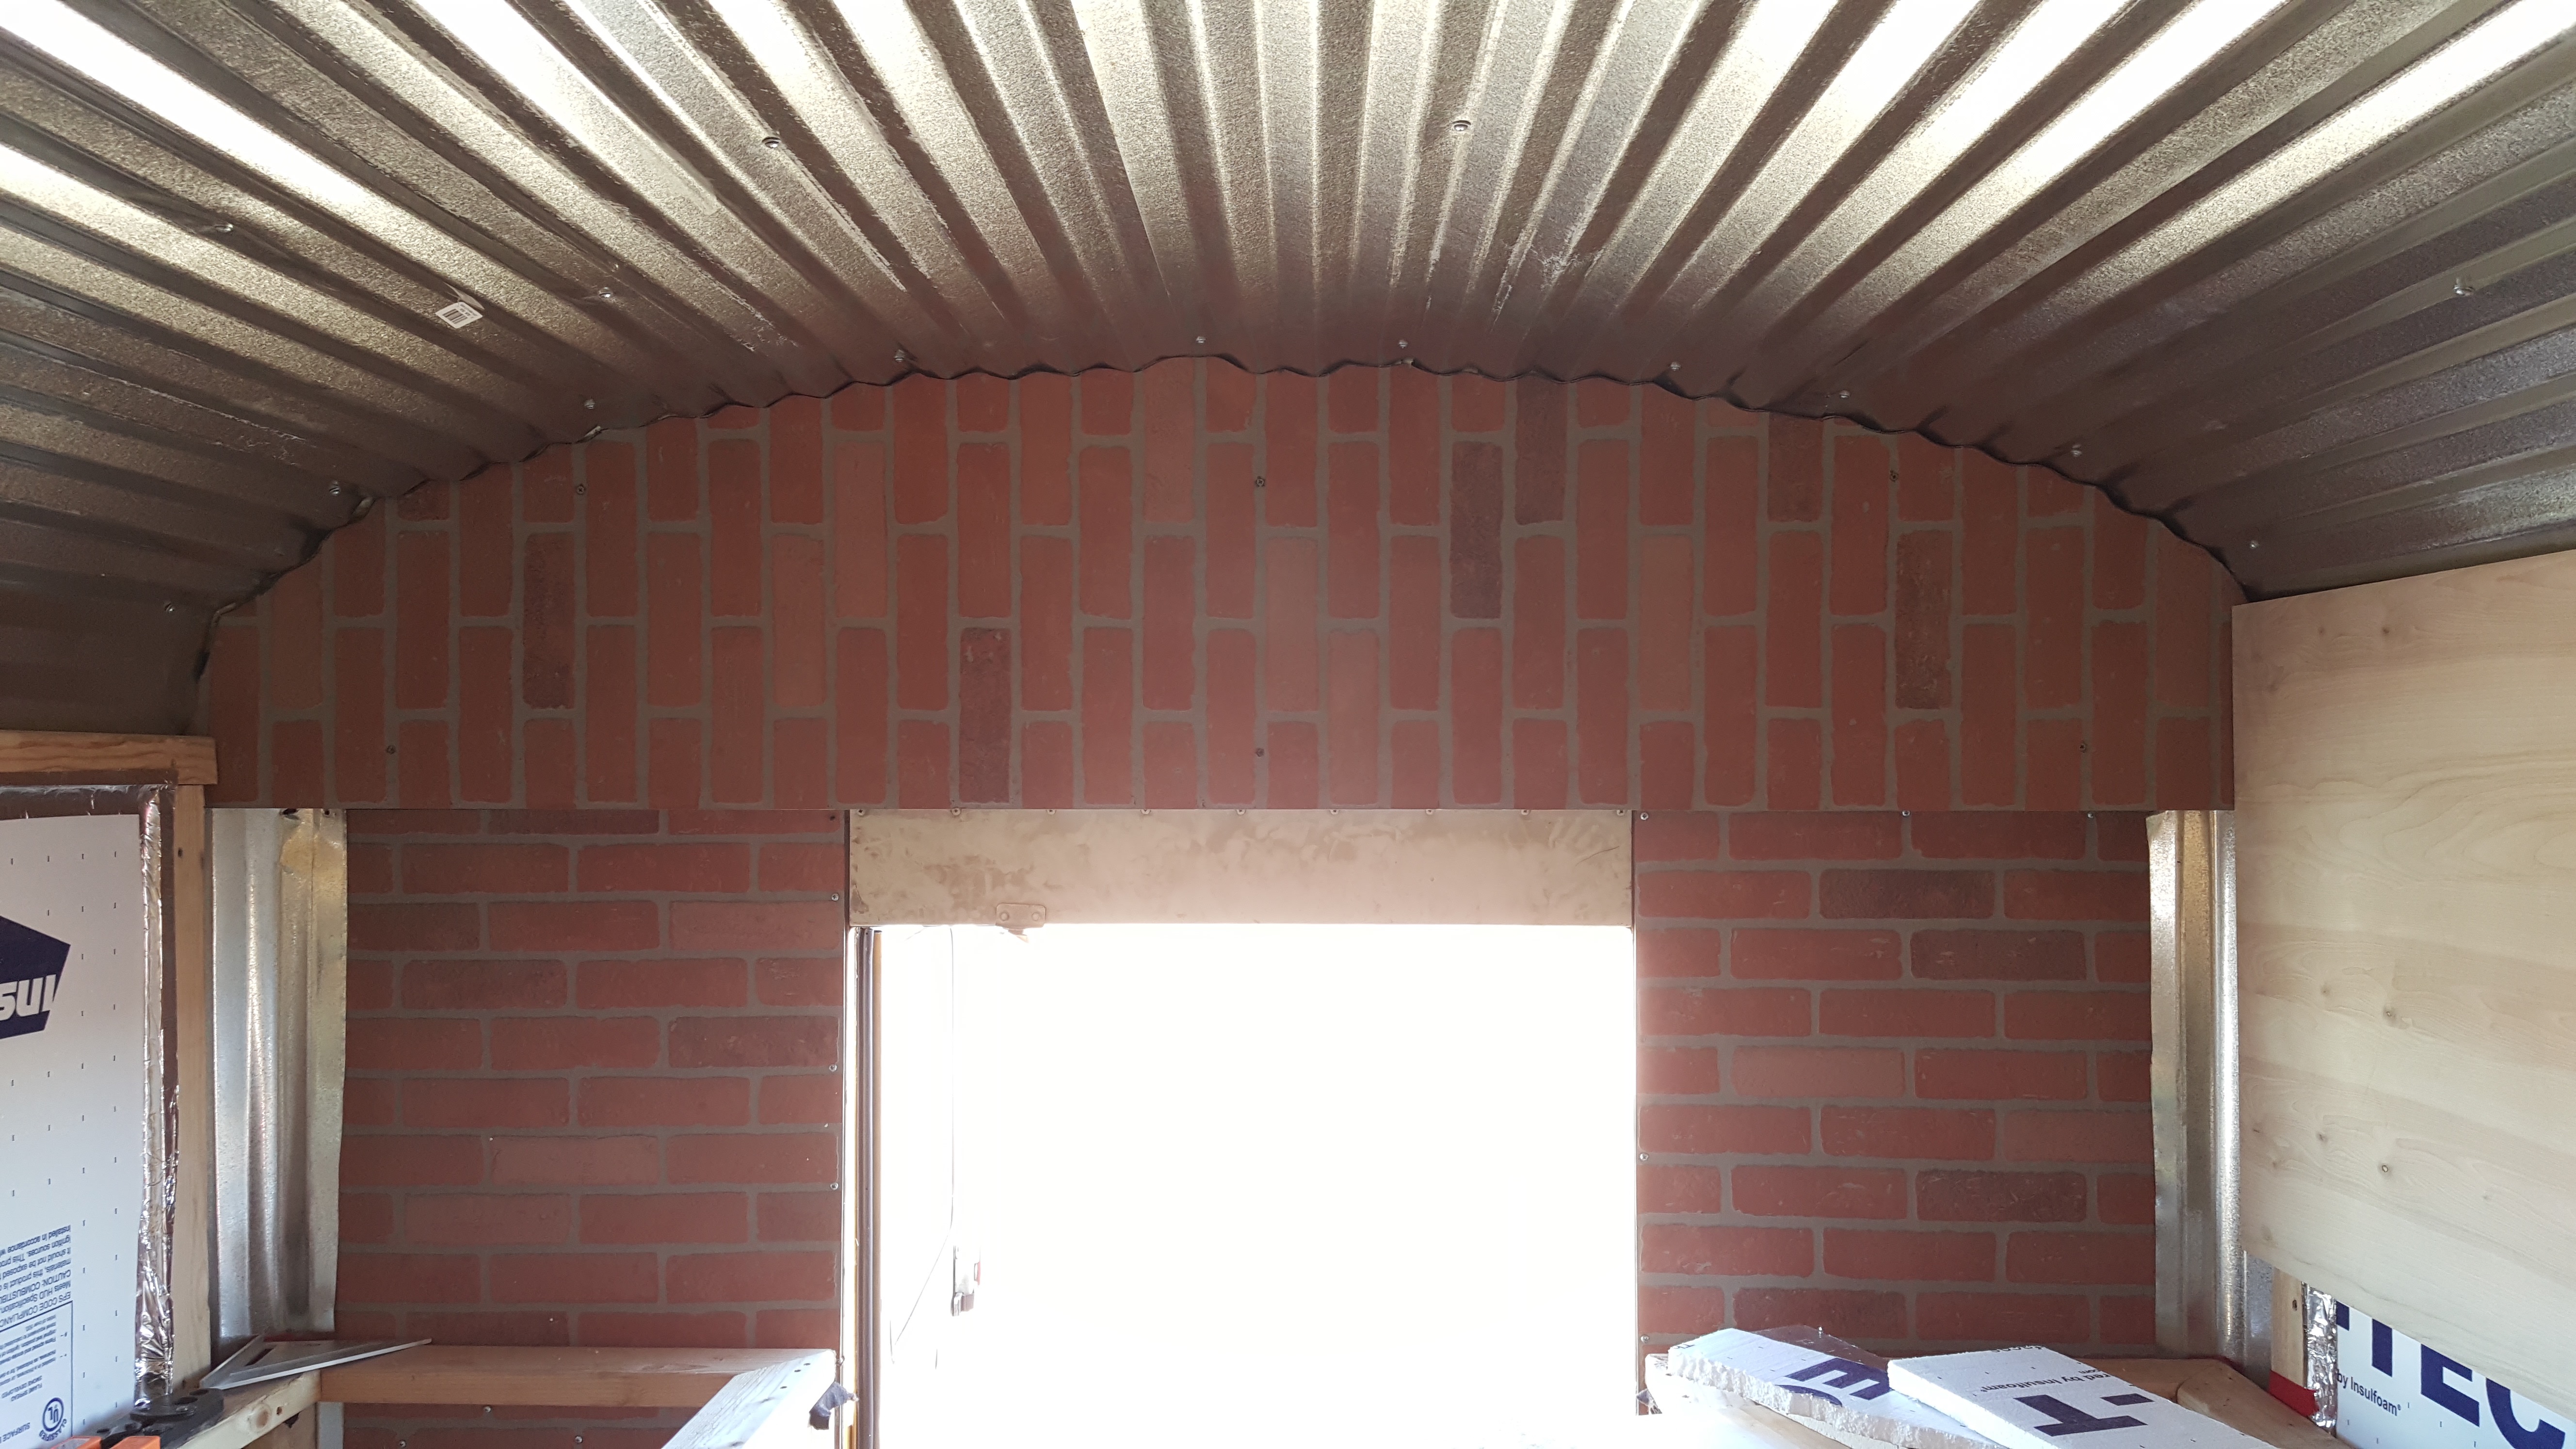
Also, in a later post, we bought a PERFECT BUTT profile scriber and scribed a new faux brick panel for the rear header so it would fit the tin ceiling grooves better.
Lots of changing of the minds happening….but that is what you get for writing your own “How to build a house out of a bus” Guide LOL!
Stage 25: Framing the Side Walls (Stage 22 Do-Over)


Leave us a message!