Stage 23: Building The Master Bedroom

Once the Bunks were done, the Master bedroom was easy to tackle. We just needed a bed frame, some walls and closets.
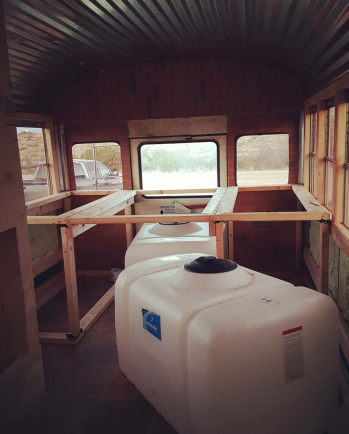
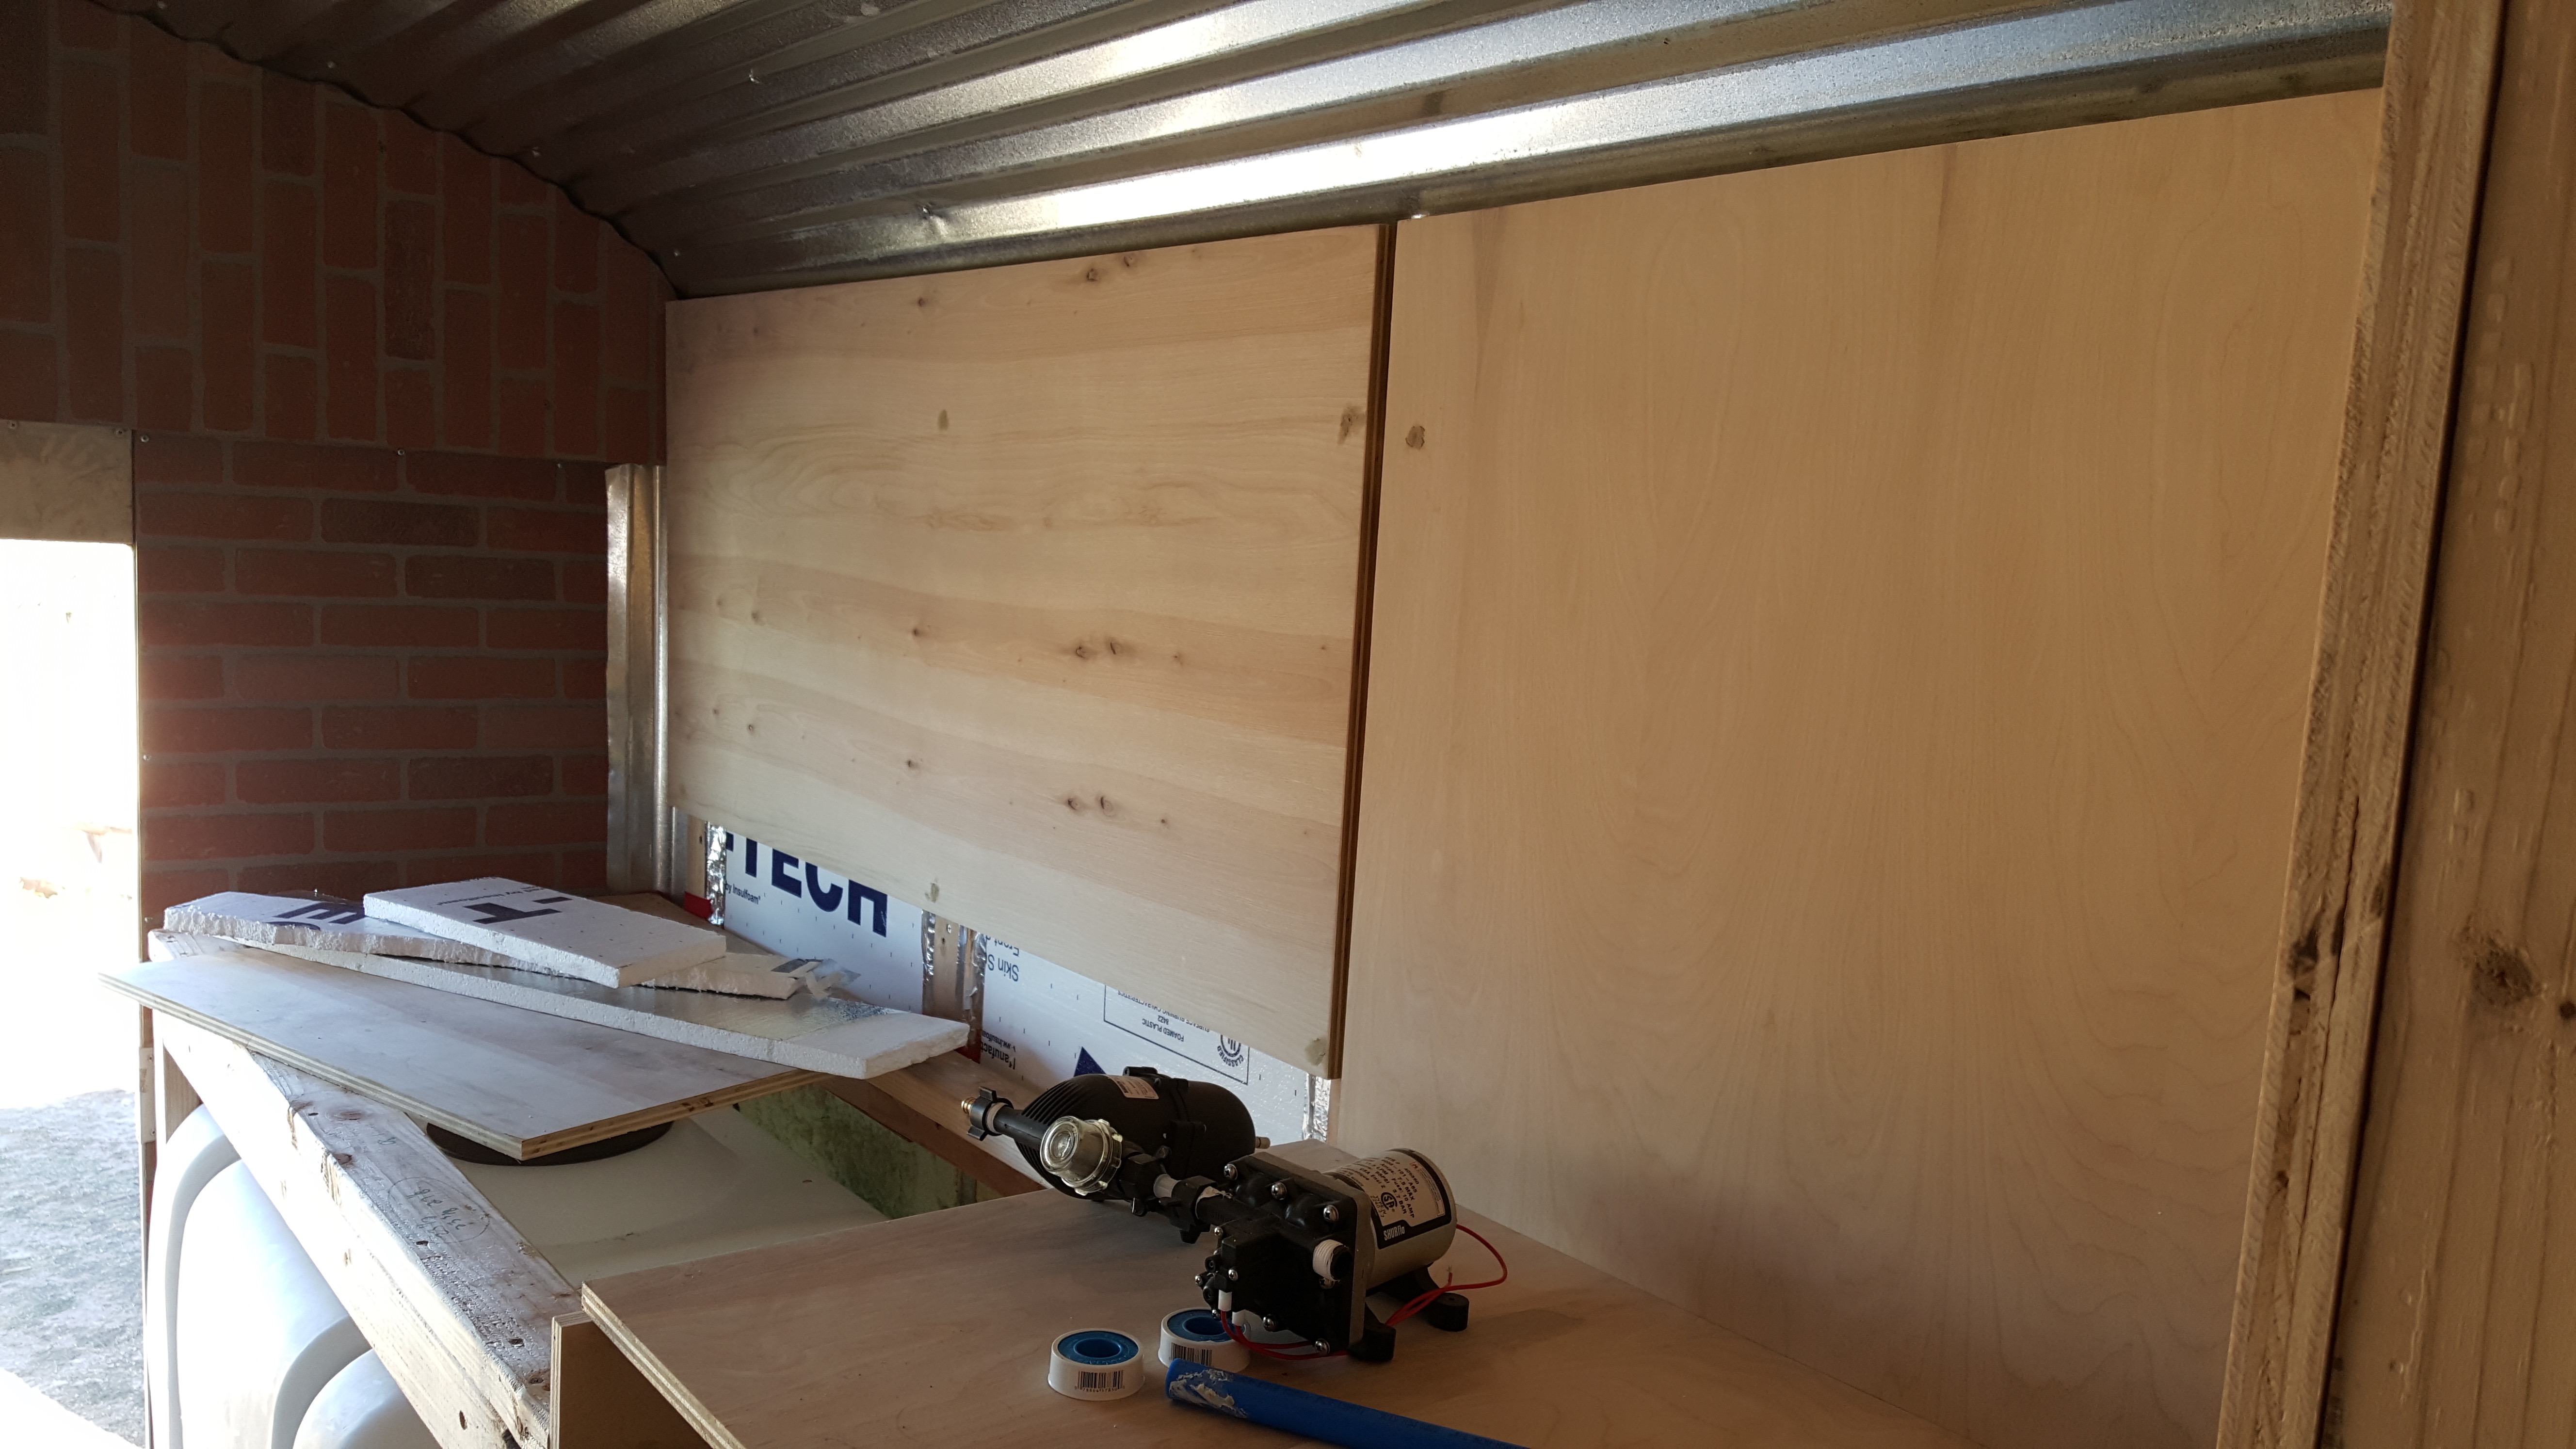
However, we wanted to be able to be in cold places in the winter, so we decided that our water tank should be inside where it would not freeze. Along with our other water lines. And, at the time, we thought we would be boon docking more so we wanted 2- 100 gallon water tanks under the bed. These tanks come in all sizes. We found ours at an irrigation supply store in Odessa, TX. We used bulk heads and pex piping to plumb it out into our residential plumbing we later installed. The tanks I found were rather tall, which meant we were building a loft bed at the time.
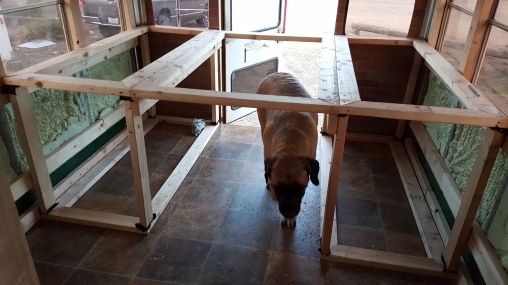
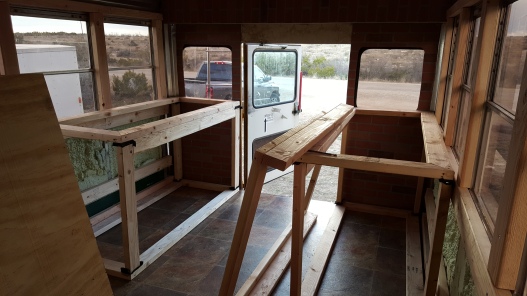
We also made the bed in three pieces so we could detach the middle of the bed to use the back exit door if we ever needed to. We got this idea from an Alaskan couple on YouTube who built their bed this way for that reason. We have actually had to take the bed apart quite a bit since installing it to access the tail light wires (behind the brick wall), take out the water tanks and put in a new one, to build a new bed frame, etc. So that idea worked well!
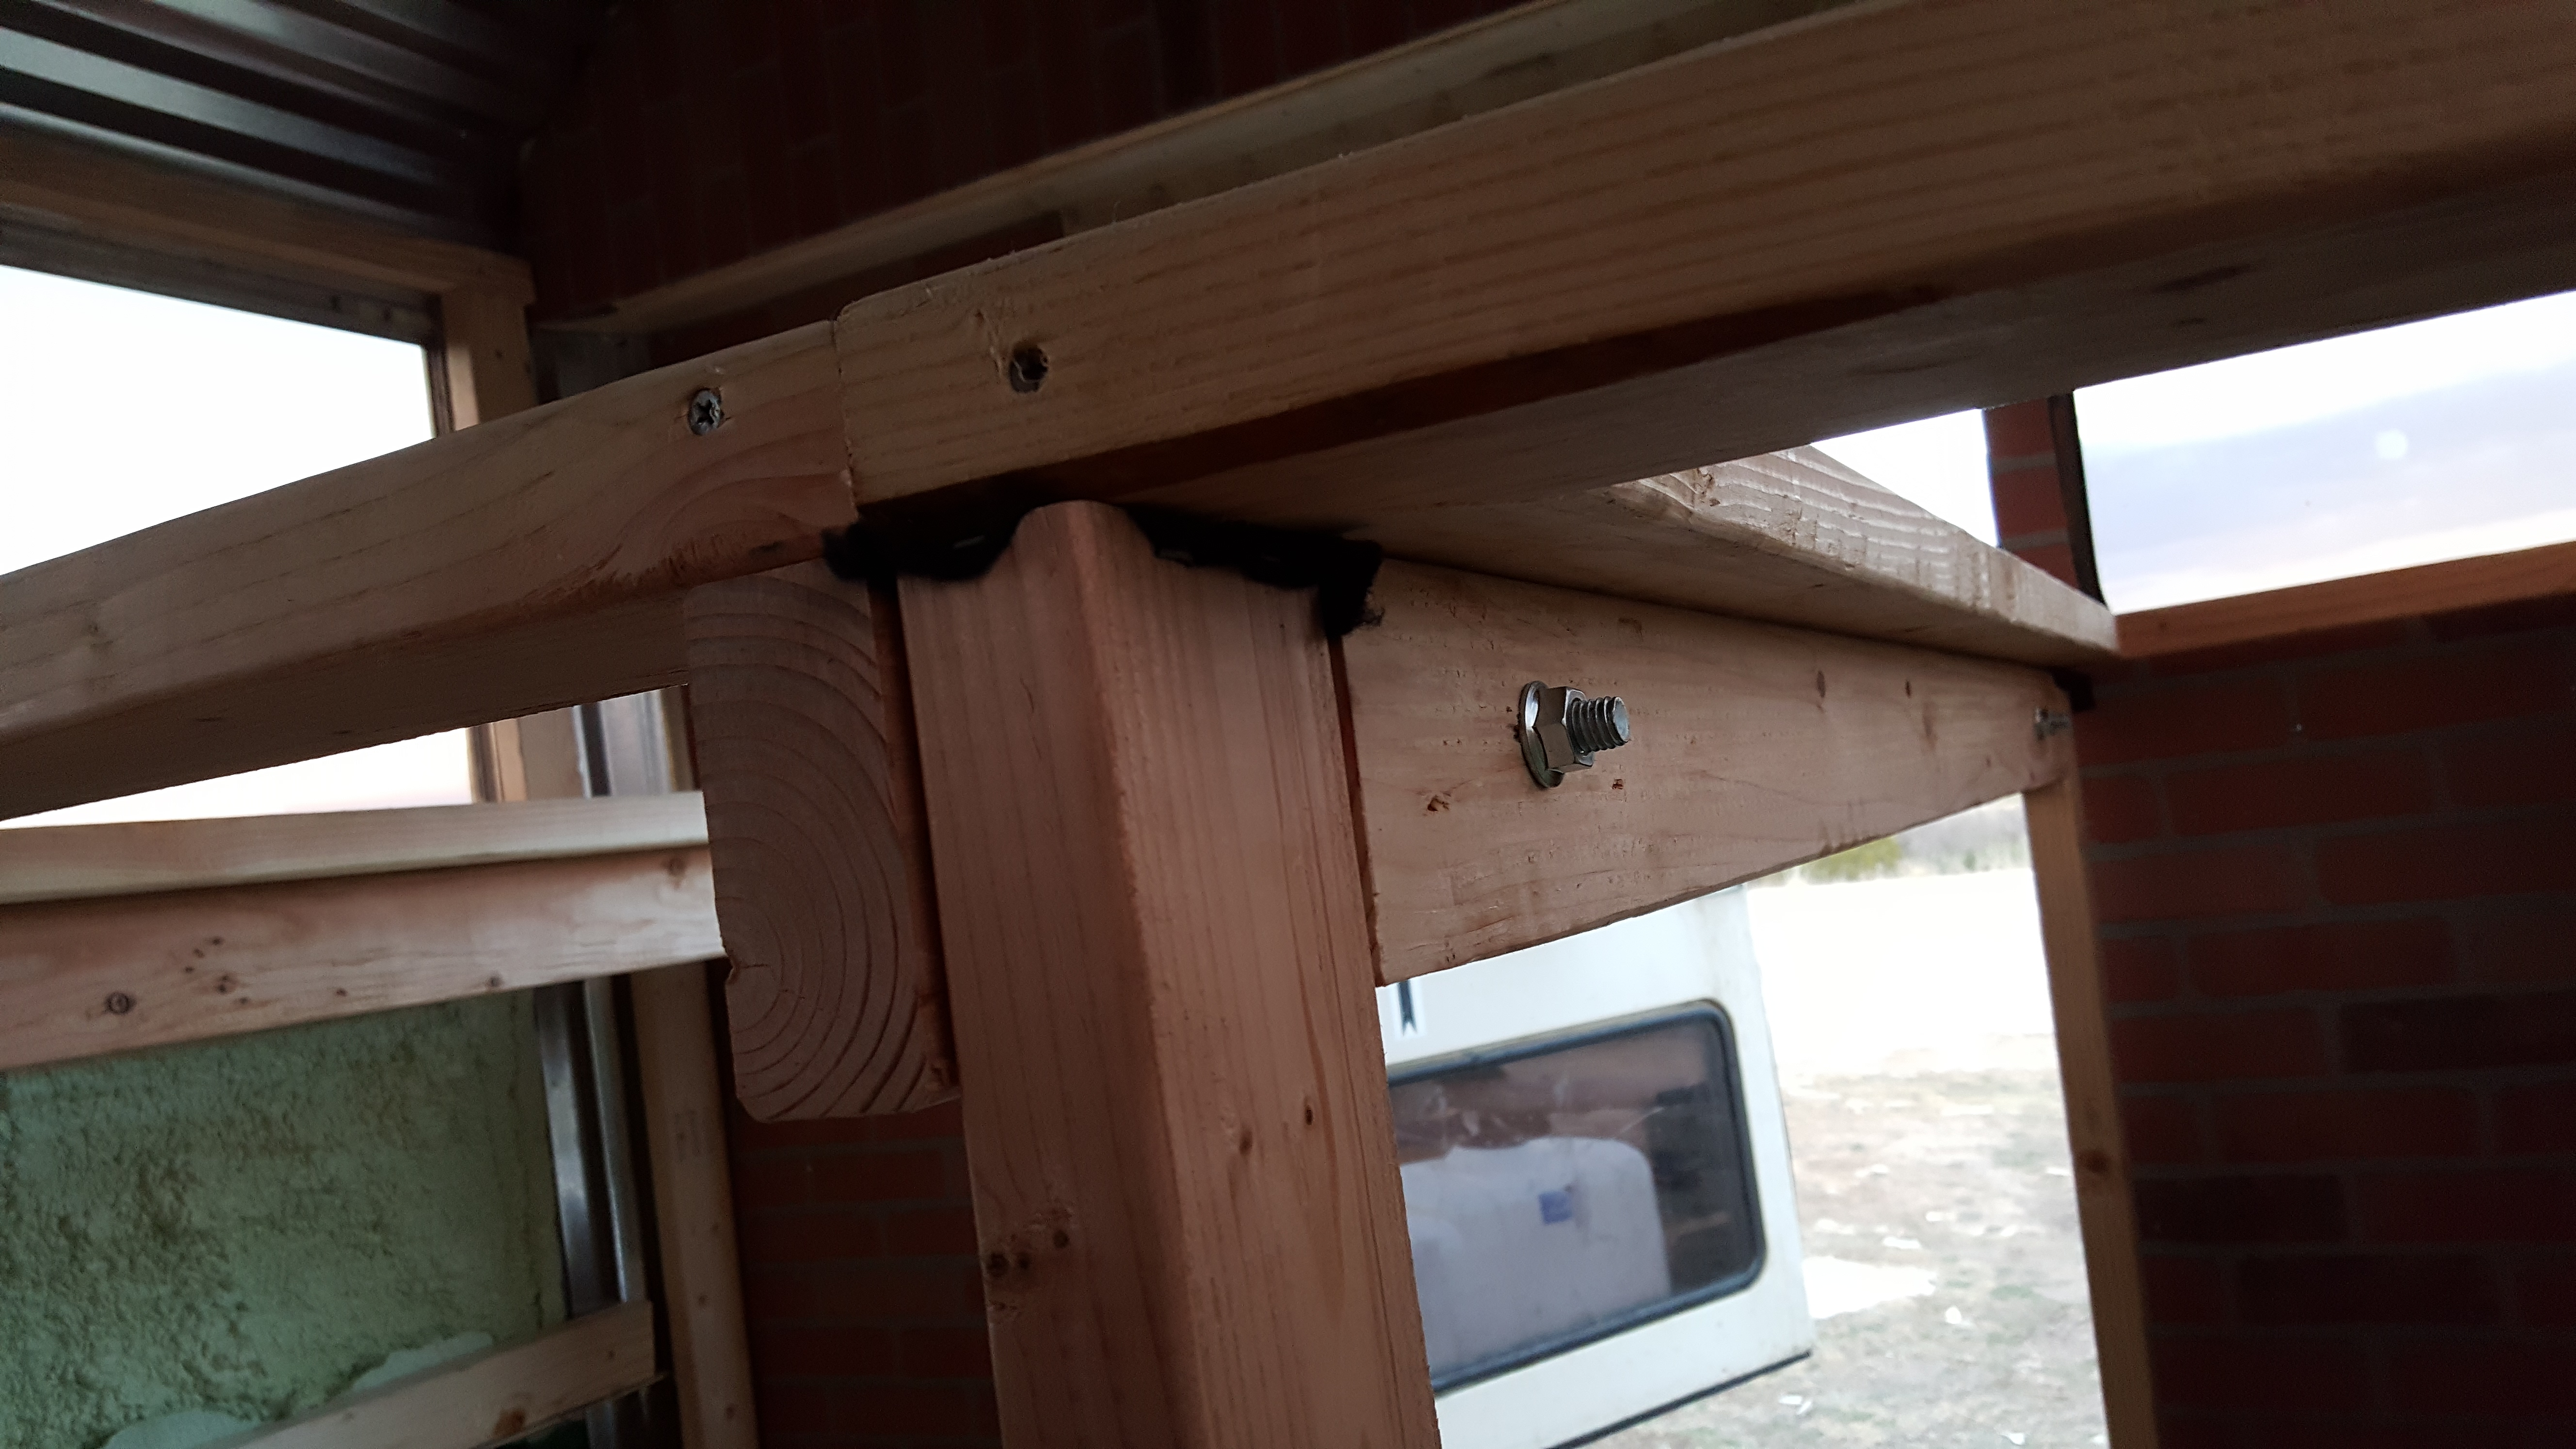
We also screwed the bed frame to the 2×4’s In the wall by countersinking the screws, and we screwed it to the floor as well. The frame took up the entire width of the bus so that it would be able to be screwed into the bus wall, and later we add a foot board with secret storage here!

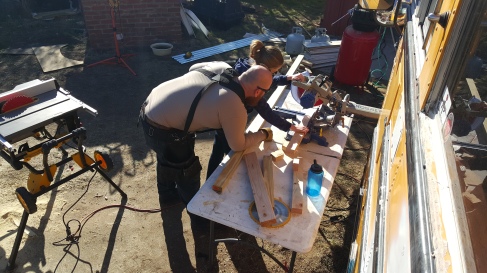
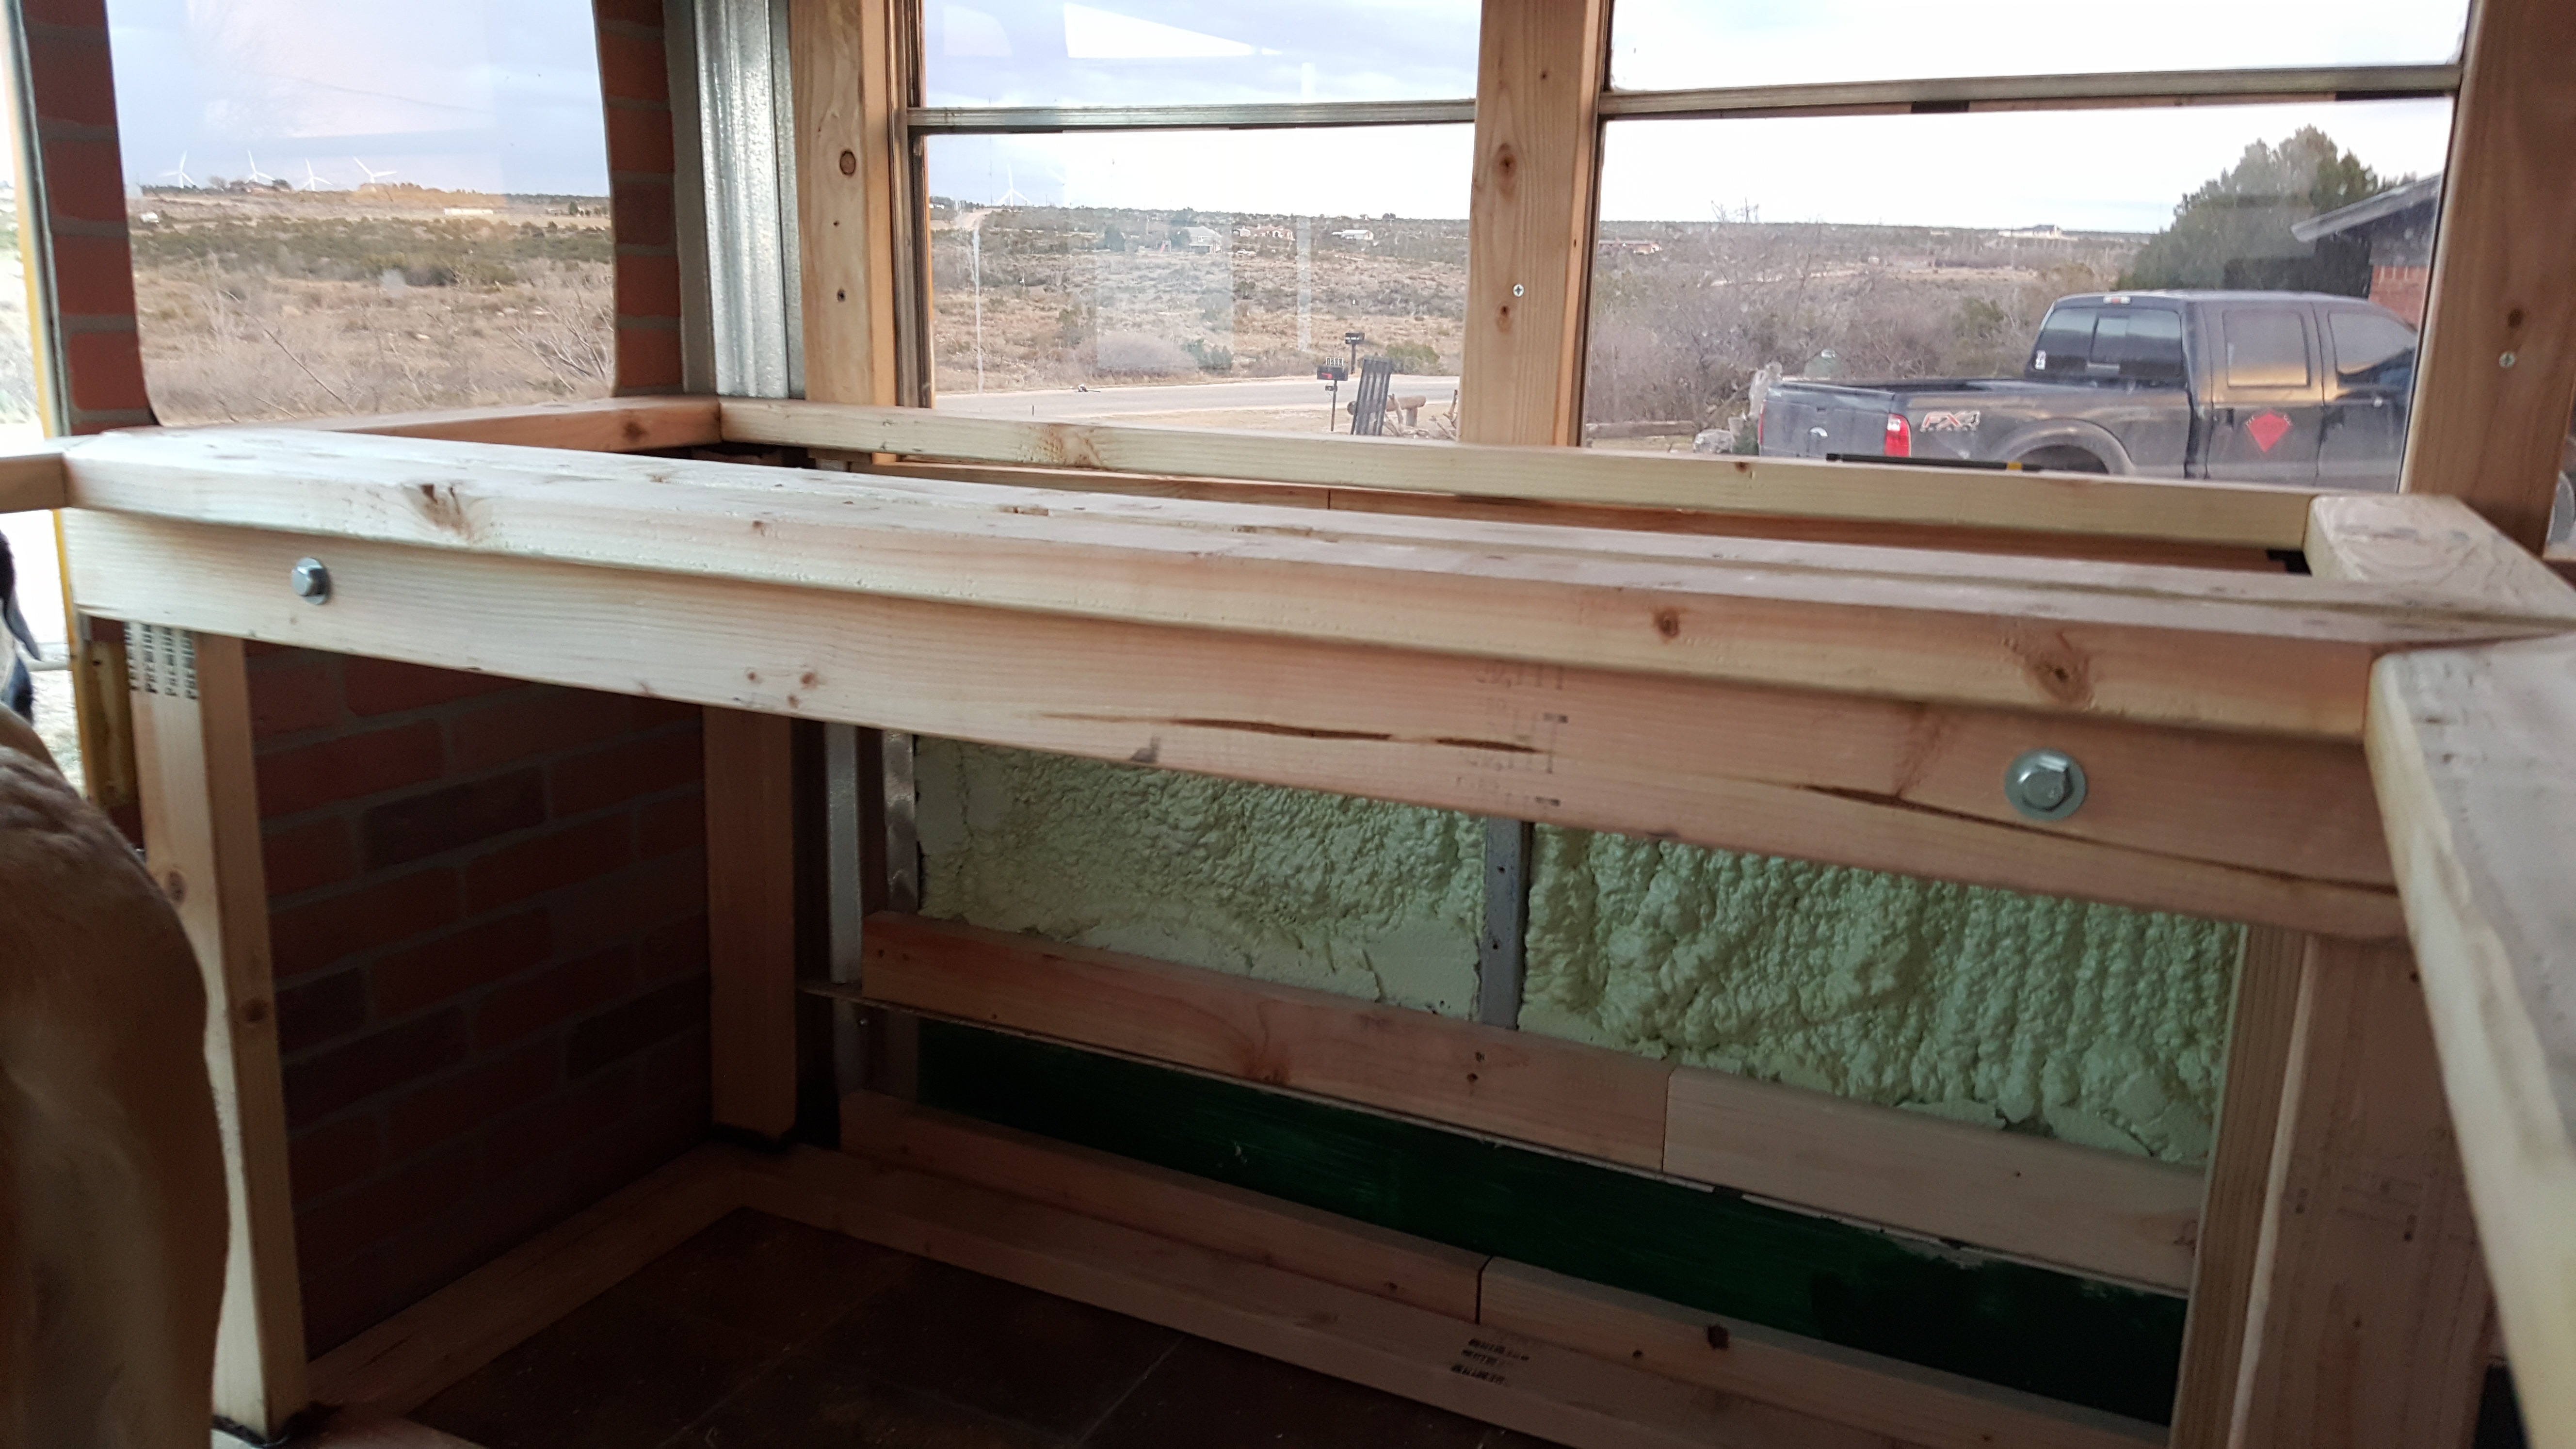
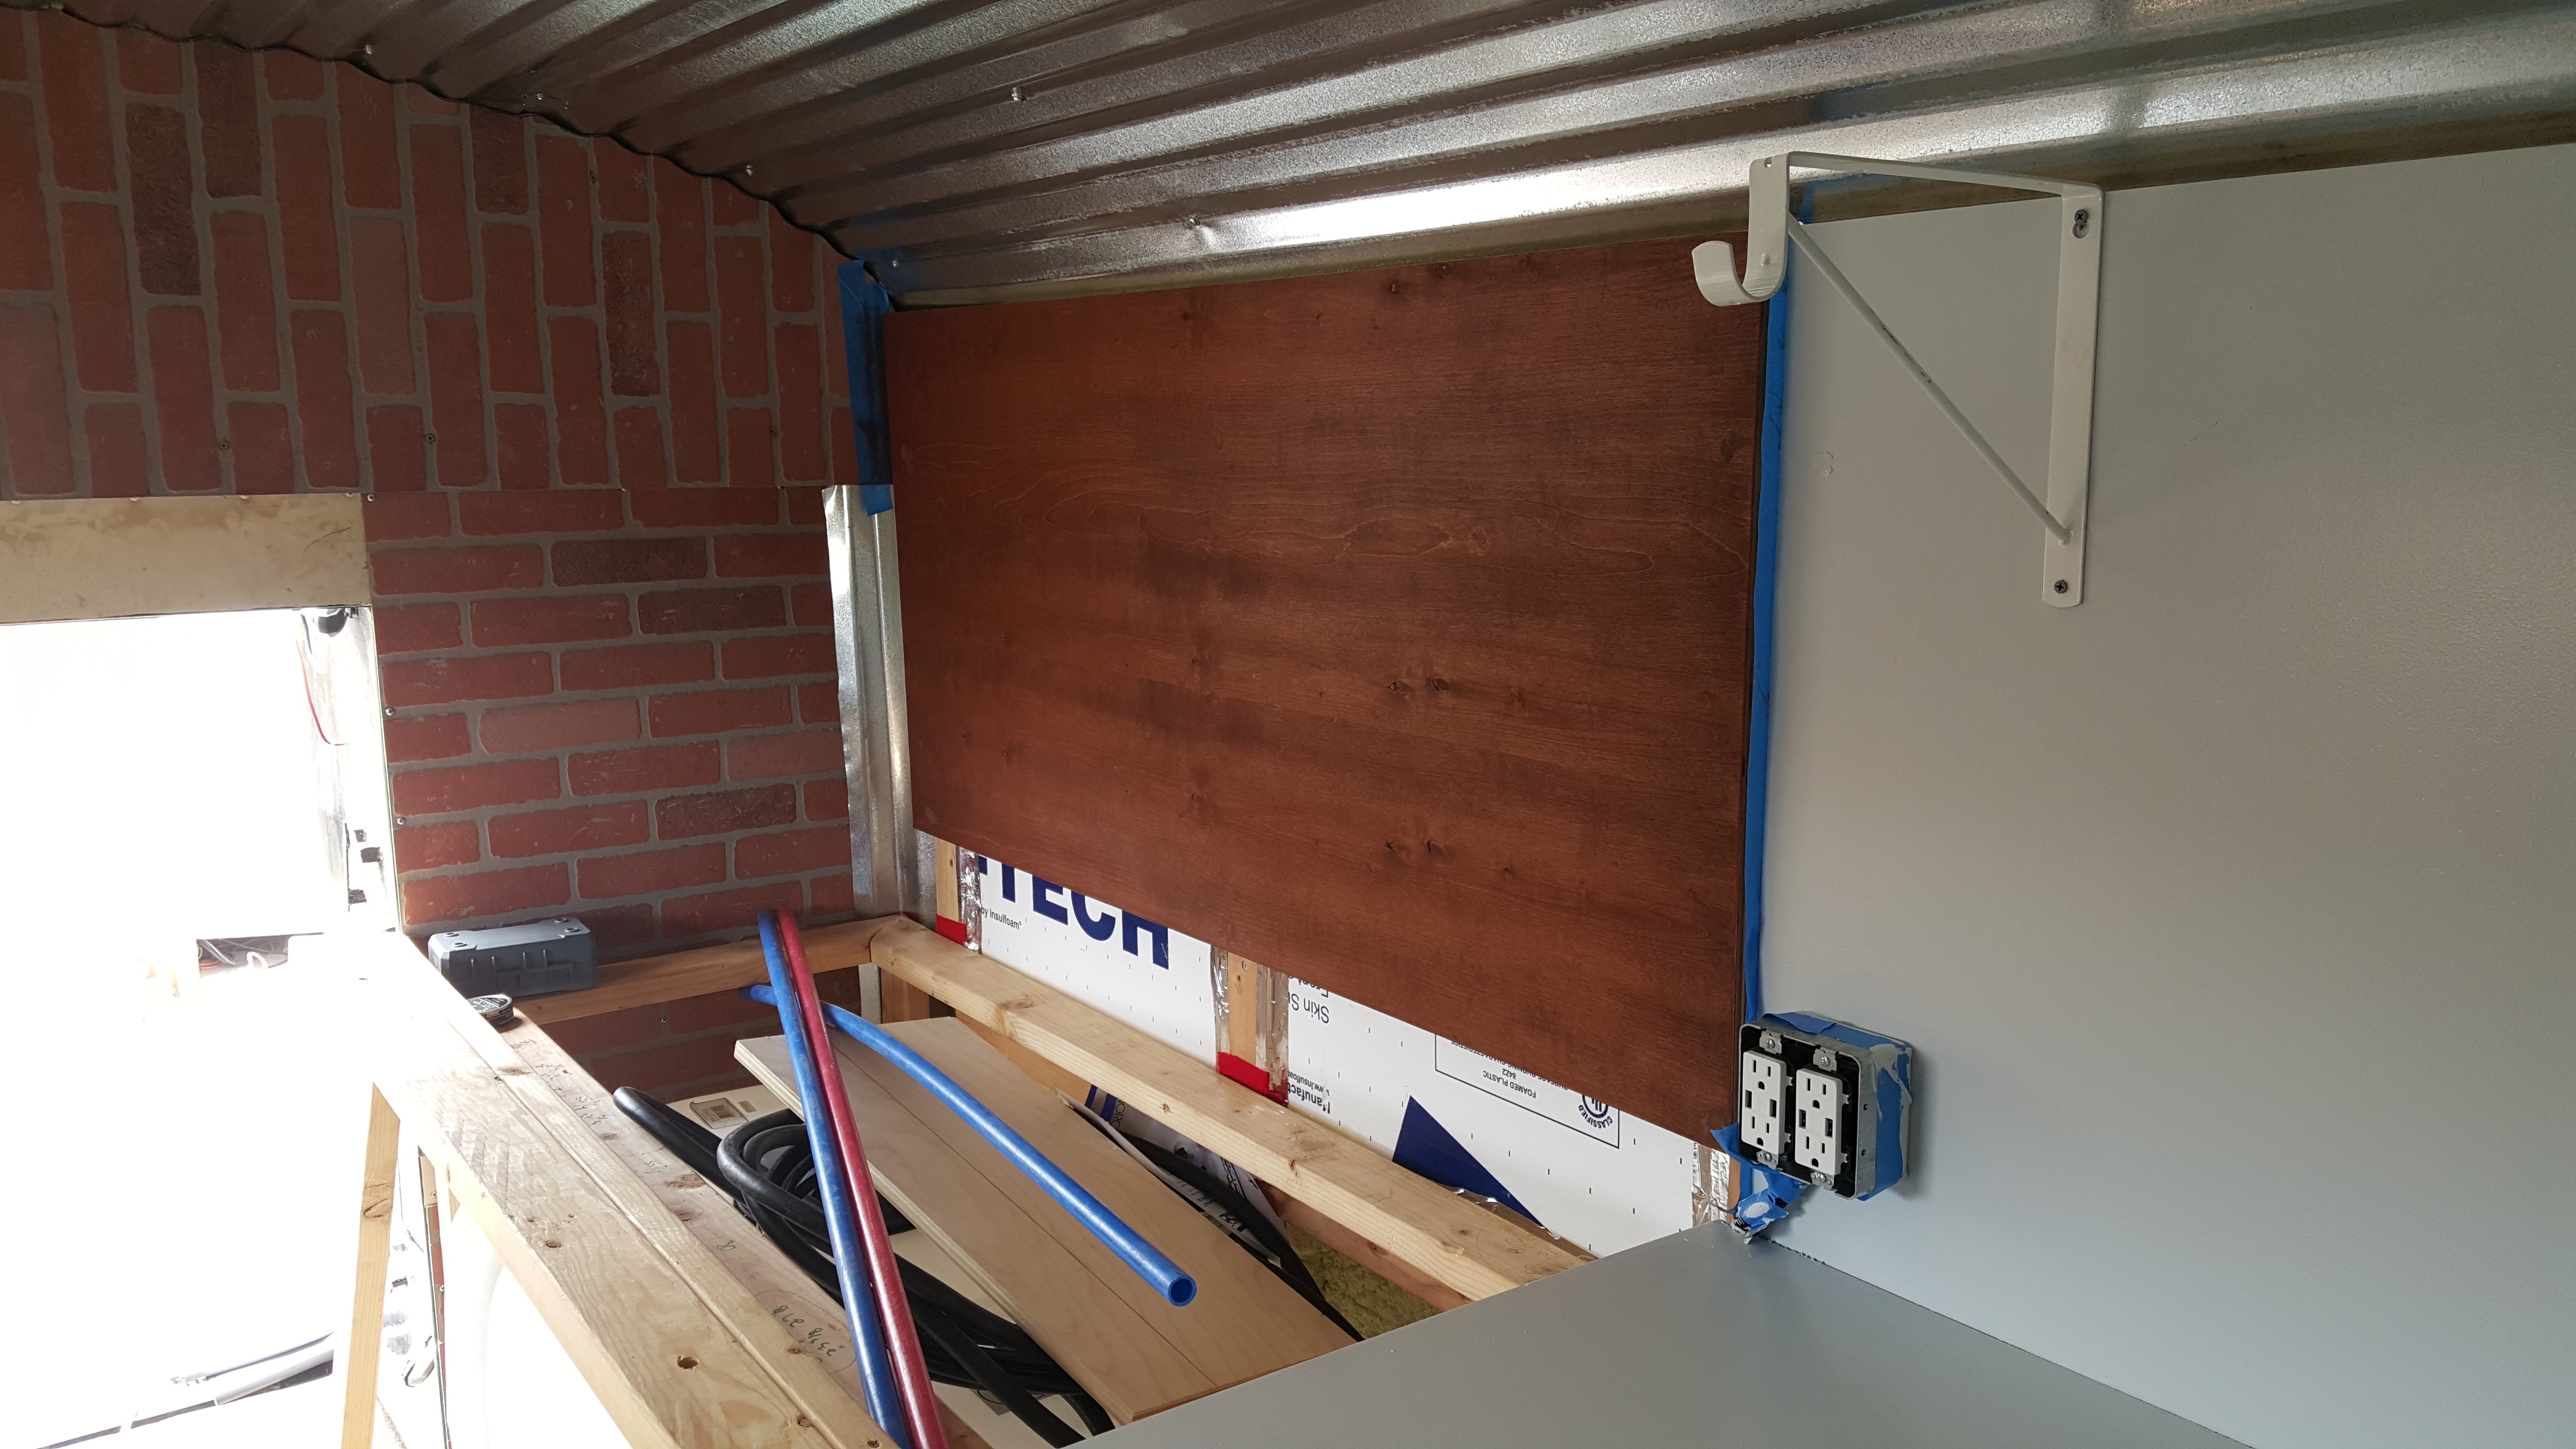
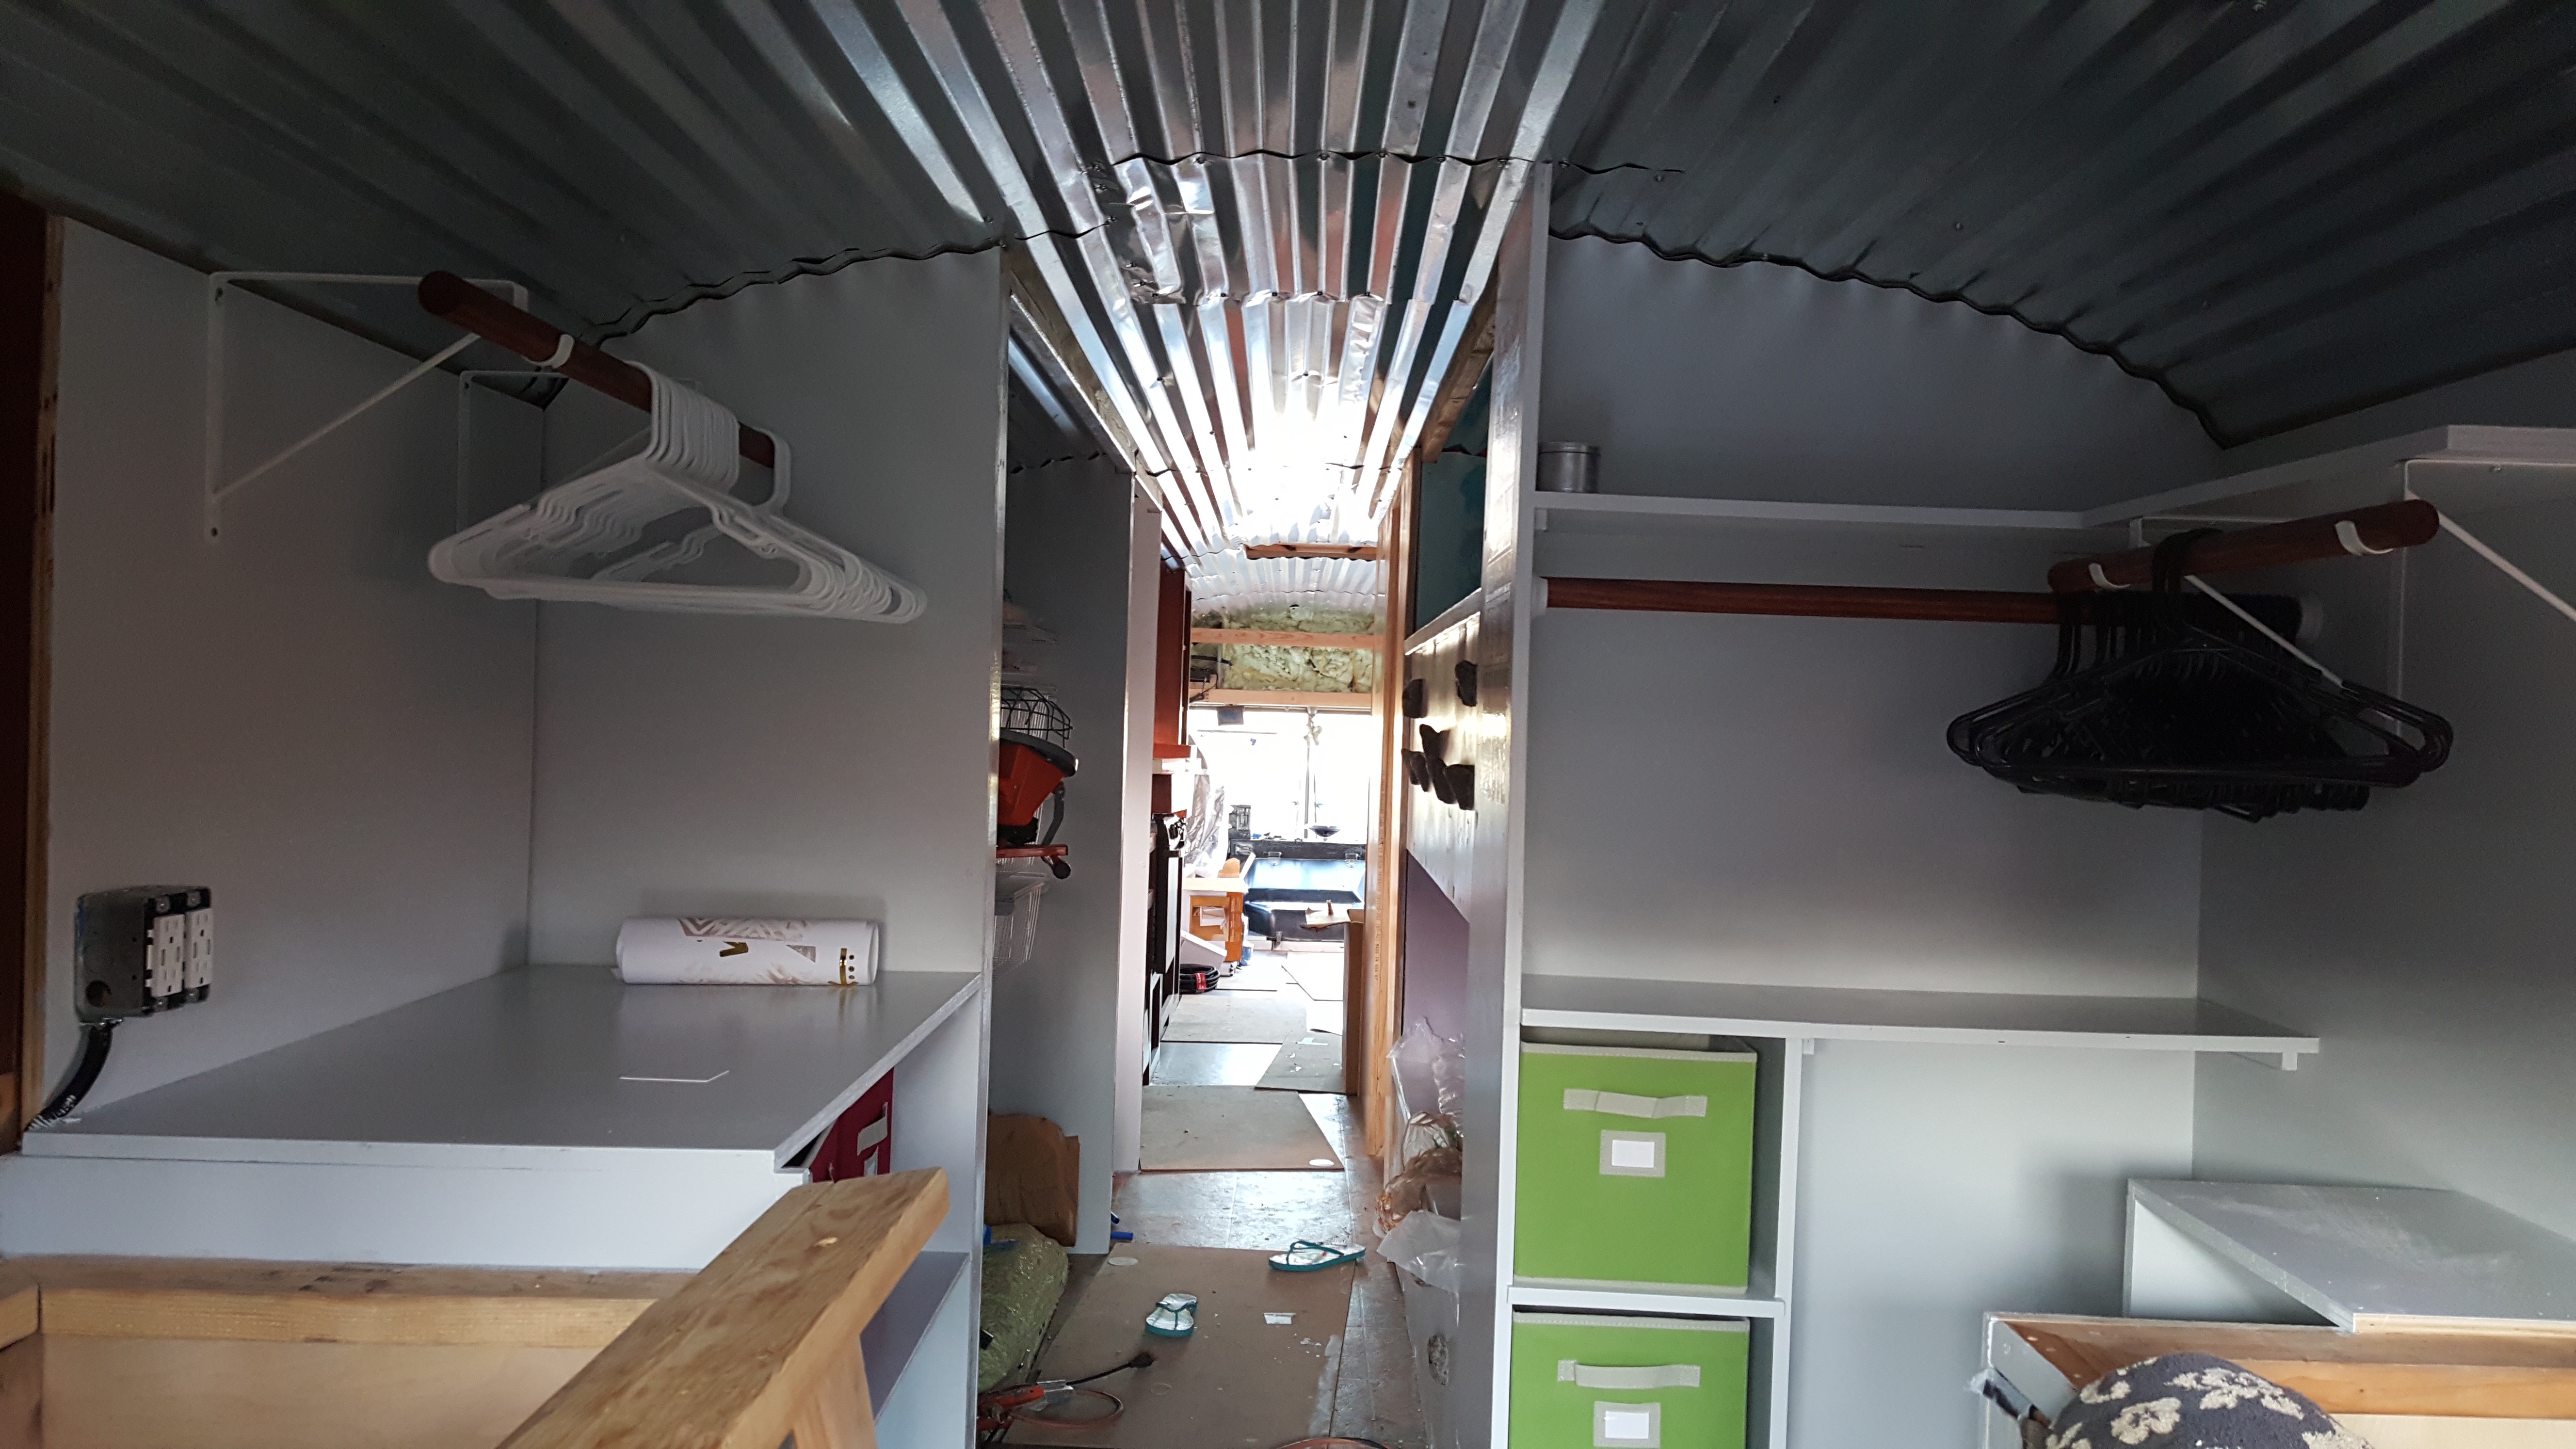
At this point we learned of the Perfect Butt and began using it on the walls. Notice how the wall in Ryon’s closet fits snugly to the curves of the corrugated metal. This took some time to do. We had to have a scrap trace piece and eventually got it perfect…trace, cut, fit…trace, cut, fit. But it looks great! For these walls we used ¾” plywood but we could have went with ½ “ plywood. It was just on special so we went with the thicker wood that was cheaper!
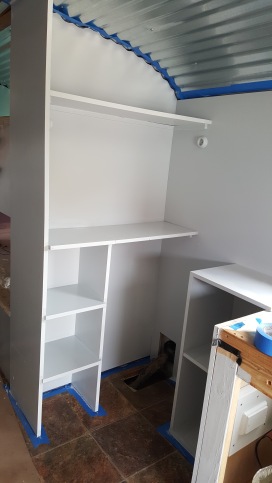
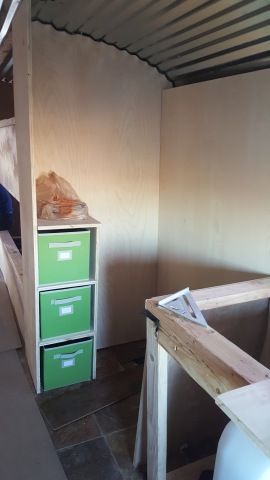
I built my side of the closet…it is not square lol!

My Closet and Headboard Before (we should have just came all the way down with that board. I don’t know what we were thinking. We had to add a piece of wood when we dropped the bed 1.5 years later. Link below article.
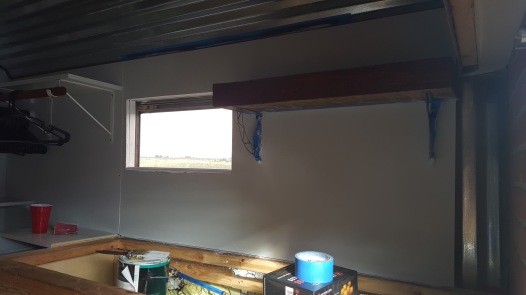
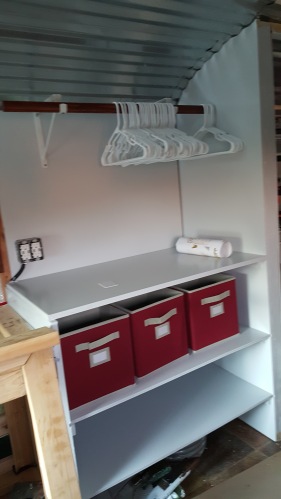
Pretty Much DONE!
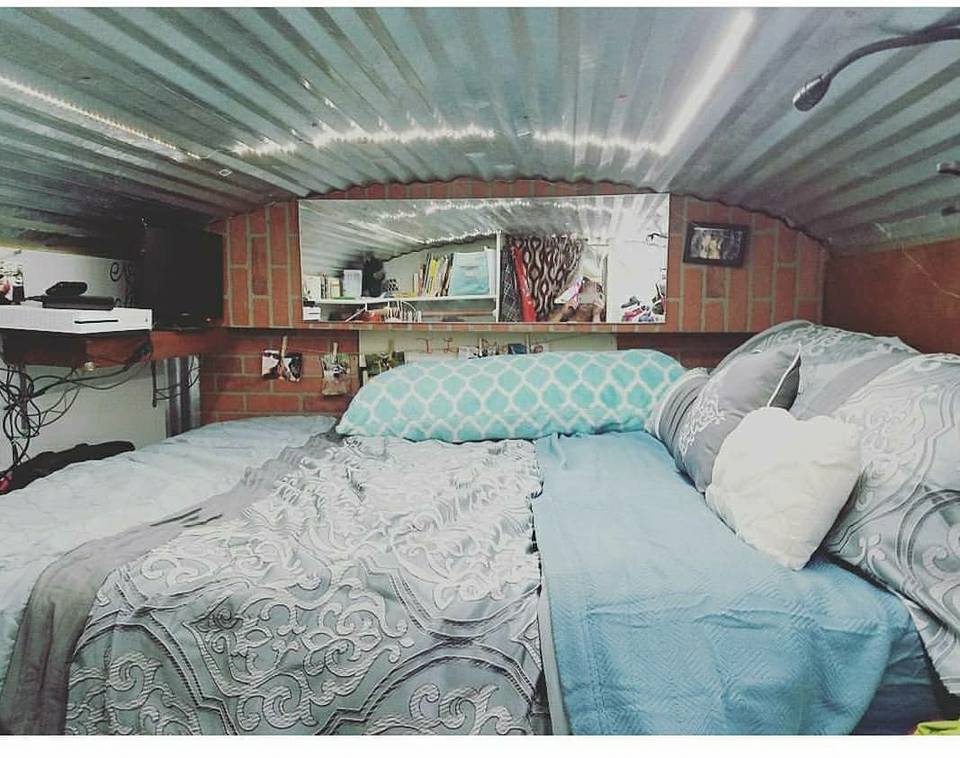
Here is what the bedroom looked like all done. We purchased a Queen Foam Zinus mattress from Amazon. It came all rolled up so it was easy to bring in the bus and unroll. We had to let it set for 24 hours so it would rise throughly, but it still works fine 2 years later!
A year and a half later we decided we were only using 1- 100 gallon water tank of the 2. 1 tank would last us 3-4 days if we were boondocking, but honestly, we just weren’t doing it enough to justify the added weight and higher bed. Plus, sex was kind of uncomfortable being so close to the ceiling! We also discovered you can find water anywhere on the road. So we found a 42 gallon fresh water tank from https://www.pplmotorhomes.com/ (free shipping deal, total cost $80), replumbed it to fit the RV fittings, and lowered the bed J I will eventually have a link here to direct you to how we plumbed everything.
Back to Stage 22: Building Bunk Beds
Here is the link to the Stage 23 Re-Do: RENOVATION of the MASTER BEDROOM (COMING SOON).


Leave us a message!