I have been needing to put my bags of rice, beans, flour, sugar, and other grains into my buckets for a while now. I would say about 2 months….SHAME! SO…what is Long Term Food Storage (LTFS) and why do I believe my family and I need it? Why do I need car, homeowner, or life insurance? Well, coming from a woman who was rear ended twice in one year, then lost her home and 99.9% of her belongings in an “act of God” house fire (No kidding. That is what was concluded in all the reports. Nice closure huh? lol) the next year, and then being fired from her corporate job the next (yeah the hits just kept on coming for a few years! haha)…I would say, “Just in case something happens outside of my control and I don’t have the means to fix it/replace it/or make it better as close to INSTANTLY AS HUMANLY POSSIBLE. For the Double Time Car Damage, it took 2-4 weeks; my home, nearly 9 months (Thanks so much Wells Fargo Property Loss Department!!); my confidence in our economy and that I will get paid what I am worth, about a year after I lost my job I decided I have to be my own boss and not a slave to the dollar; my trust in others to look out for me and my family….ummmm…yeah. SO! LTFS is for those moments we don’t suspect anything will happen. When I lost my job, I was happy we had some reserve flour, sugar, rice, pasta, and spices. That really can add to a grocery bill when your budget is tight. Number One: I am dipping into my food insurance. Number Two: I live so far away from the grocery store, it would cost more in gas for me to get whatever it was that I needed. So, Here is my DIY on how to store those 25-50 pound bags of sugar, flour, beans, whatever you can buy at any big superstore for 10-30 years!!
Materials:
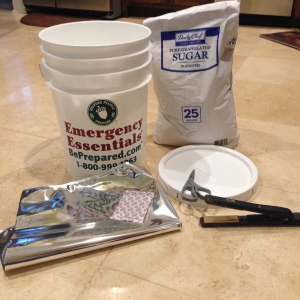
-Food Grade Buckets (I have 6 gallon ones)
-Bucket Lids
-Oxygen Absorbers (I Used 1-2000cc for the compacted stuff, 2- 2000cc for beans and loos stuff.)
-Mylar Bags
-Your Food
-Scissors
-Flat iron (I used my old one, or get a cheap one from the store)
-Sharpie (If you want to write on your buckets)
-Tape (If you don’t want to write on your buckets)
-Rubber Mallet*
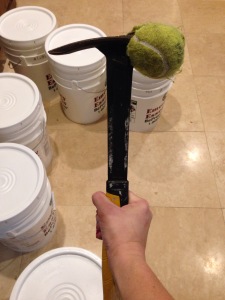
If you don’t have a rubber mallet, make your own (instructions further down):
-Hammer
-Tennis Ball
– Knife
I bought most of my bulk food at Wal-Mart or Sams Club, but here are some links to the site I got my buckets and all from, and a link to which kind and how many O2 absorbers you need:
Buckets: http://beprepared.com/5-gallon-bucket-with-lid.html
Mylar Bags: http://beprepared.com/metallized-liner-for-buckets.html
Oxygen Absorbers: http://beprepared.com/oxygen-absorbers-2000-cc.html
O2 Chart: https://www.usaemergencysupply.com/emergency_supplies/oxygen_absorber_recommended_amounts.htm
How To Do It
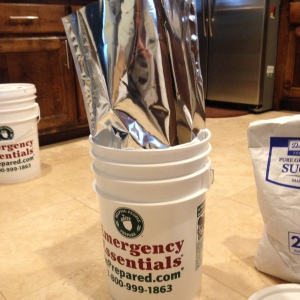
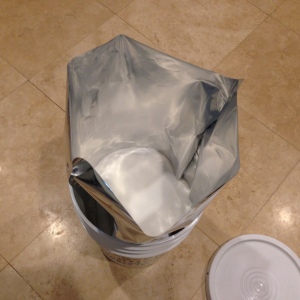
-Gather the bag together at the top and pick up and set down the bucket to shake all of the contents to a level surface. This allows max space consumption so you can fit all of your goodies in there. 🙂
I found that in my 5 Gallon Bucket, a 25 lb. bag of food fits nice inside, and a 50 lb. bag had a little too much. I was only able to fit about 40 lbs. of it in there. So, do the math and get extra bags to fill up another bucket or two, or use leftover containers/jars for the excess and use in the next few months.
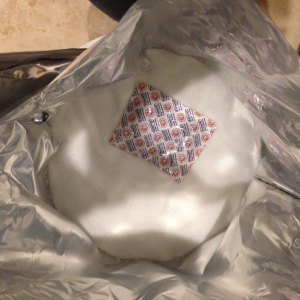
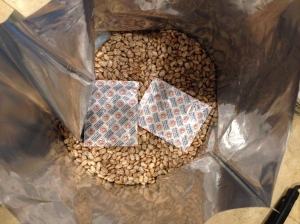
-Add your Oxygen Absorbers-
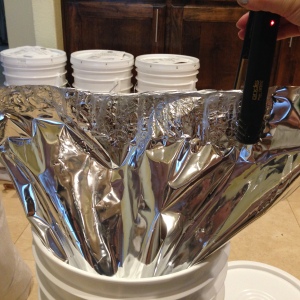
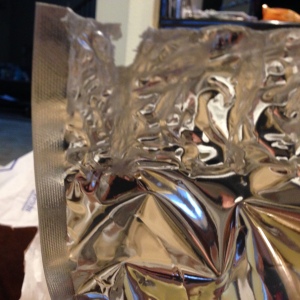
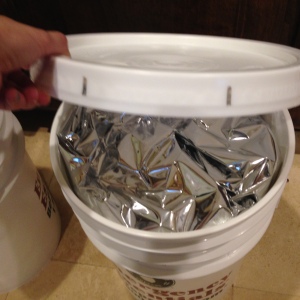
-Use a Rubber Mallet to beat the lid’s outer edges onto the bucket. A few heavy hits around the lid and you have a great seal!-
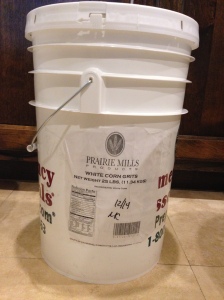
This is where you can tape your old bag’s label (the on that the food came in) onto the bucket, or just write it on the bucket in sharpie.
If you ever need to get the sharpie off, just use hairspray or alcohol.
-Don’t forget to date your bucket with the month and year you packaged it! I wrote mine on the label, but it would probably last longer if you wrote on the bucket directly. I also initial it.-
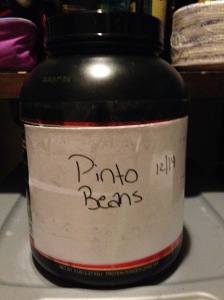
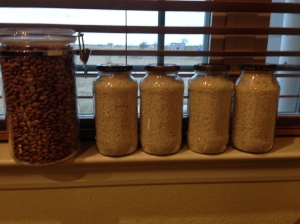
*If you have leftover food that did not fit into your bucket, this is where you can use your McGyver Skills and find things to put them in that are food grade (i.e. old spaghetti jars, pickle jars, etc). I have read that you can use the silica packets found in new purses, shoes, etc to put in these containers to help keep it fresher for a longer time. I have not done this yet. You can also use the O2 guide above and buy the size you would need for your containers.
I am not Mormon but they have some great ideas, LDS CANNING LOCATIONS, and great tips on Long Term Food Storage. Here is a link to their site that talks about LTFS and their recommendations:
https://www.lds.org/topics/food-storage/longer-term-food-supply?lang=eng#1
I hope this helped you! Please comment below with questions!

Leave us a message!