The Current Project on the homestead is the best one yet! NO more chicken and Turkey poop covering my walk ways and deck! I love my free range birds, but their poop is not fun. We decided to open the gates and let all the critters run wild and forage for food. IT cut down on feed costs, but instead of cleaning out my wallet, these guys are making me clean my shoes. And my floors…from this messy predicament. Ok, it probably is not THAT Bad…but I feel it is, and we came up with a solution. After a year of off and on talking about it, different ideas thrown around, we finally decided we were finally going to do it! Also, we want to get ducks, so we need penned up areas for our other poultry. We can also choose where to put our birds and allow them to fertilize a specific area. So they still get to “free range” they just have limits now.
So Sgt Crab tore down our two 40’x40′ chicken/turkey pens we had up so we could re-use our materials. We had plenty of 2×4, chicken fence, and nails left over. Not to mention the posts, but we can’t dig those out until we have some dirt to fill those holes with. Those holes are a broken leg waiting to happen..or a dead chick or turkey.
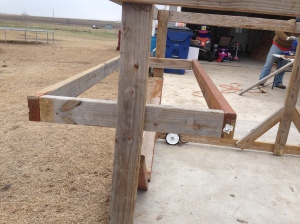
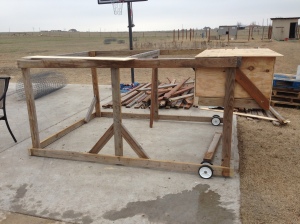
We started yesterday afternoon with the Chicken Tractor. Framing of the 6’x8′ project was complete.
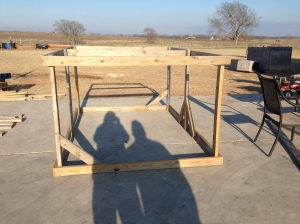
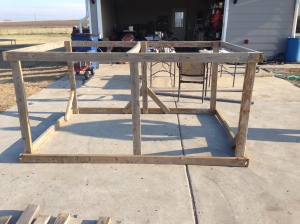
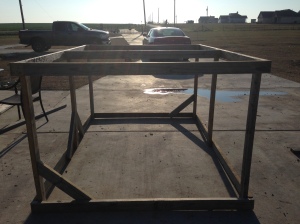
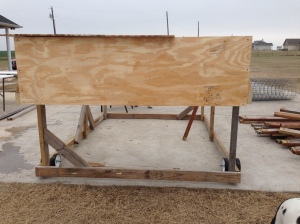
Then today, we got to the wheels and nest box/shelter area
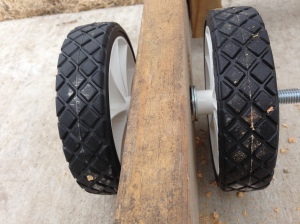
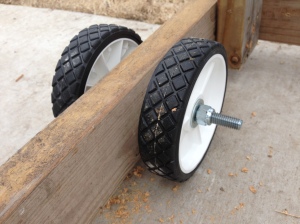
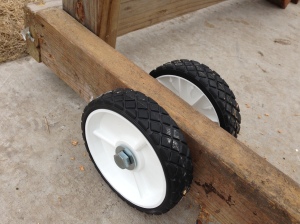
We ordered the wheels and they were sent to a local farm supply store. You can find them online and tractor supply too. We used 2 wheels on each side of each rear side board for extra stability.
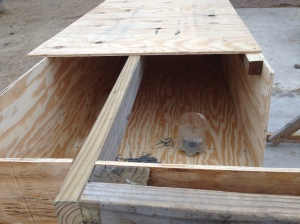
The Next Box is made out of thin plywood and small screws. We decided on a bump out, large nesting area filled with hay. I kept a lip in the front of it so hay won’t spill out. We will hinge the over hang roof into a door. We did not want to cut up another pice of plywood for the roof, so we are going to piece it together. Will have a tarp over it too so water will not get in.

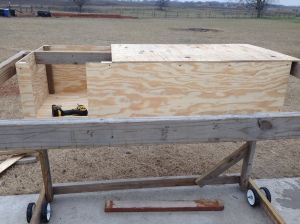
I will update as we complete! This is what we have as of today! We will be able to start working tomorrow afternoon!

Leave us a message!