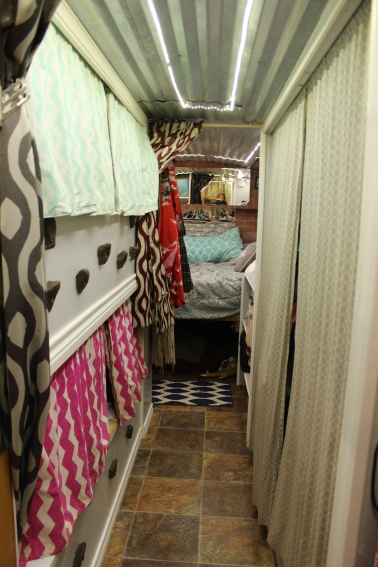
Stage 22: Building Bunks

When we started officially building in the bus it was winter time, right after Thanksgiving 2016. WE started with the Bunk Beds, after some time learning metal work first. Why? We knew for sure the general layout of the bus, how big our bed space needed to be, the kids beds, that the closet for most household and kid items would be in the area across from the bunks, and everything else was flexible. The bunks were the center for our imaginations so we started there. In doing this we basically completed the master bedroom, the bunk room, and began the bathroom. Yay tiny spaces! 🙂

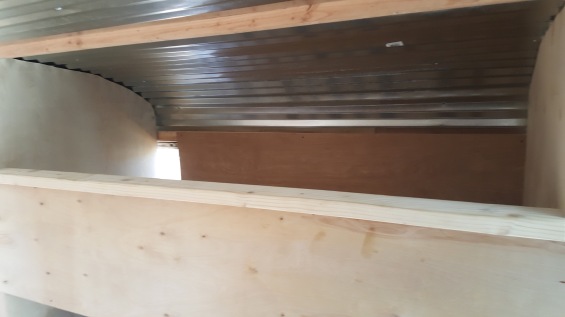
I looked up a typical twin size bed and went with 39” Deep x 75” Long exterior. Leaving the hallway to be 28” and the rest of it was left for closet space. A standard twin foam mattress fit inside of each fine, and I squished it in on the sides.
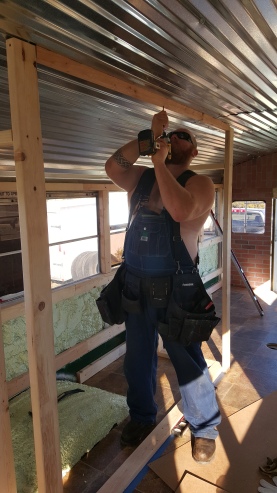
WE used long wood to metal screws to insure we got a good hold on the bus metal ribs under the ceiling. These are spaced out decently, so we just followed our ceiling screws path to make sure we attached to the proper rib.

We built our walls sturdy as hell. Let me repeat, our crap is sturdy. We didn’t want things falling, breaking, whatever. So we overengineered it. Almost 2 years later, no issues. I am just saying:).

We did use the ¼” wood for the bunk room and closet interior walls to save on interior space. You can see we started adding it as we framed the bunks. But ¾” wood was used on the rest of the house.


We did not learn of the scribing tool “The Perfect Butt” until after we started this room, but notice the walls curving with the ceiling. Because we went with corrugated metal, they do not fit as snugly as a flat ceiling. Later on, you will see how the tool worked for us and how much better the other walls looked.
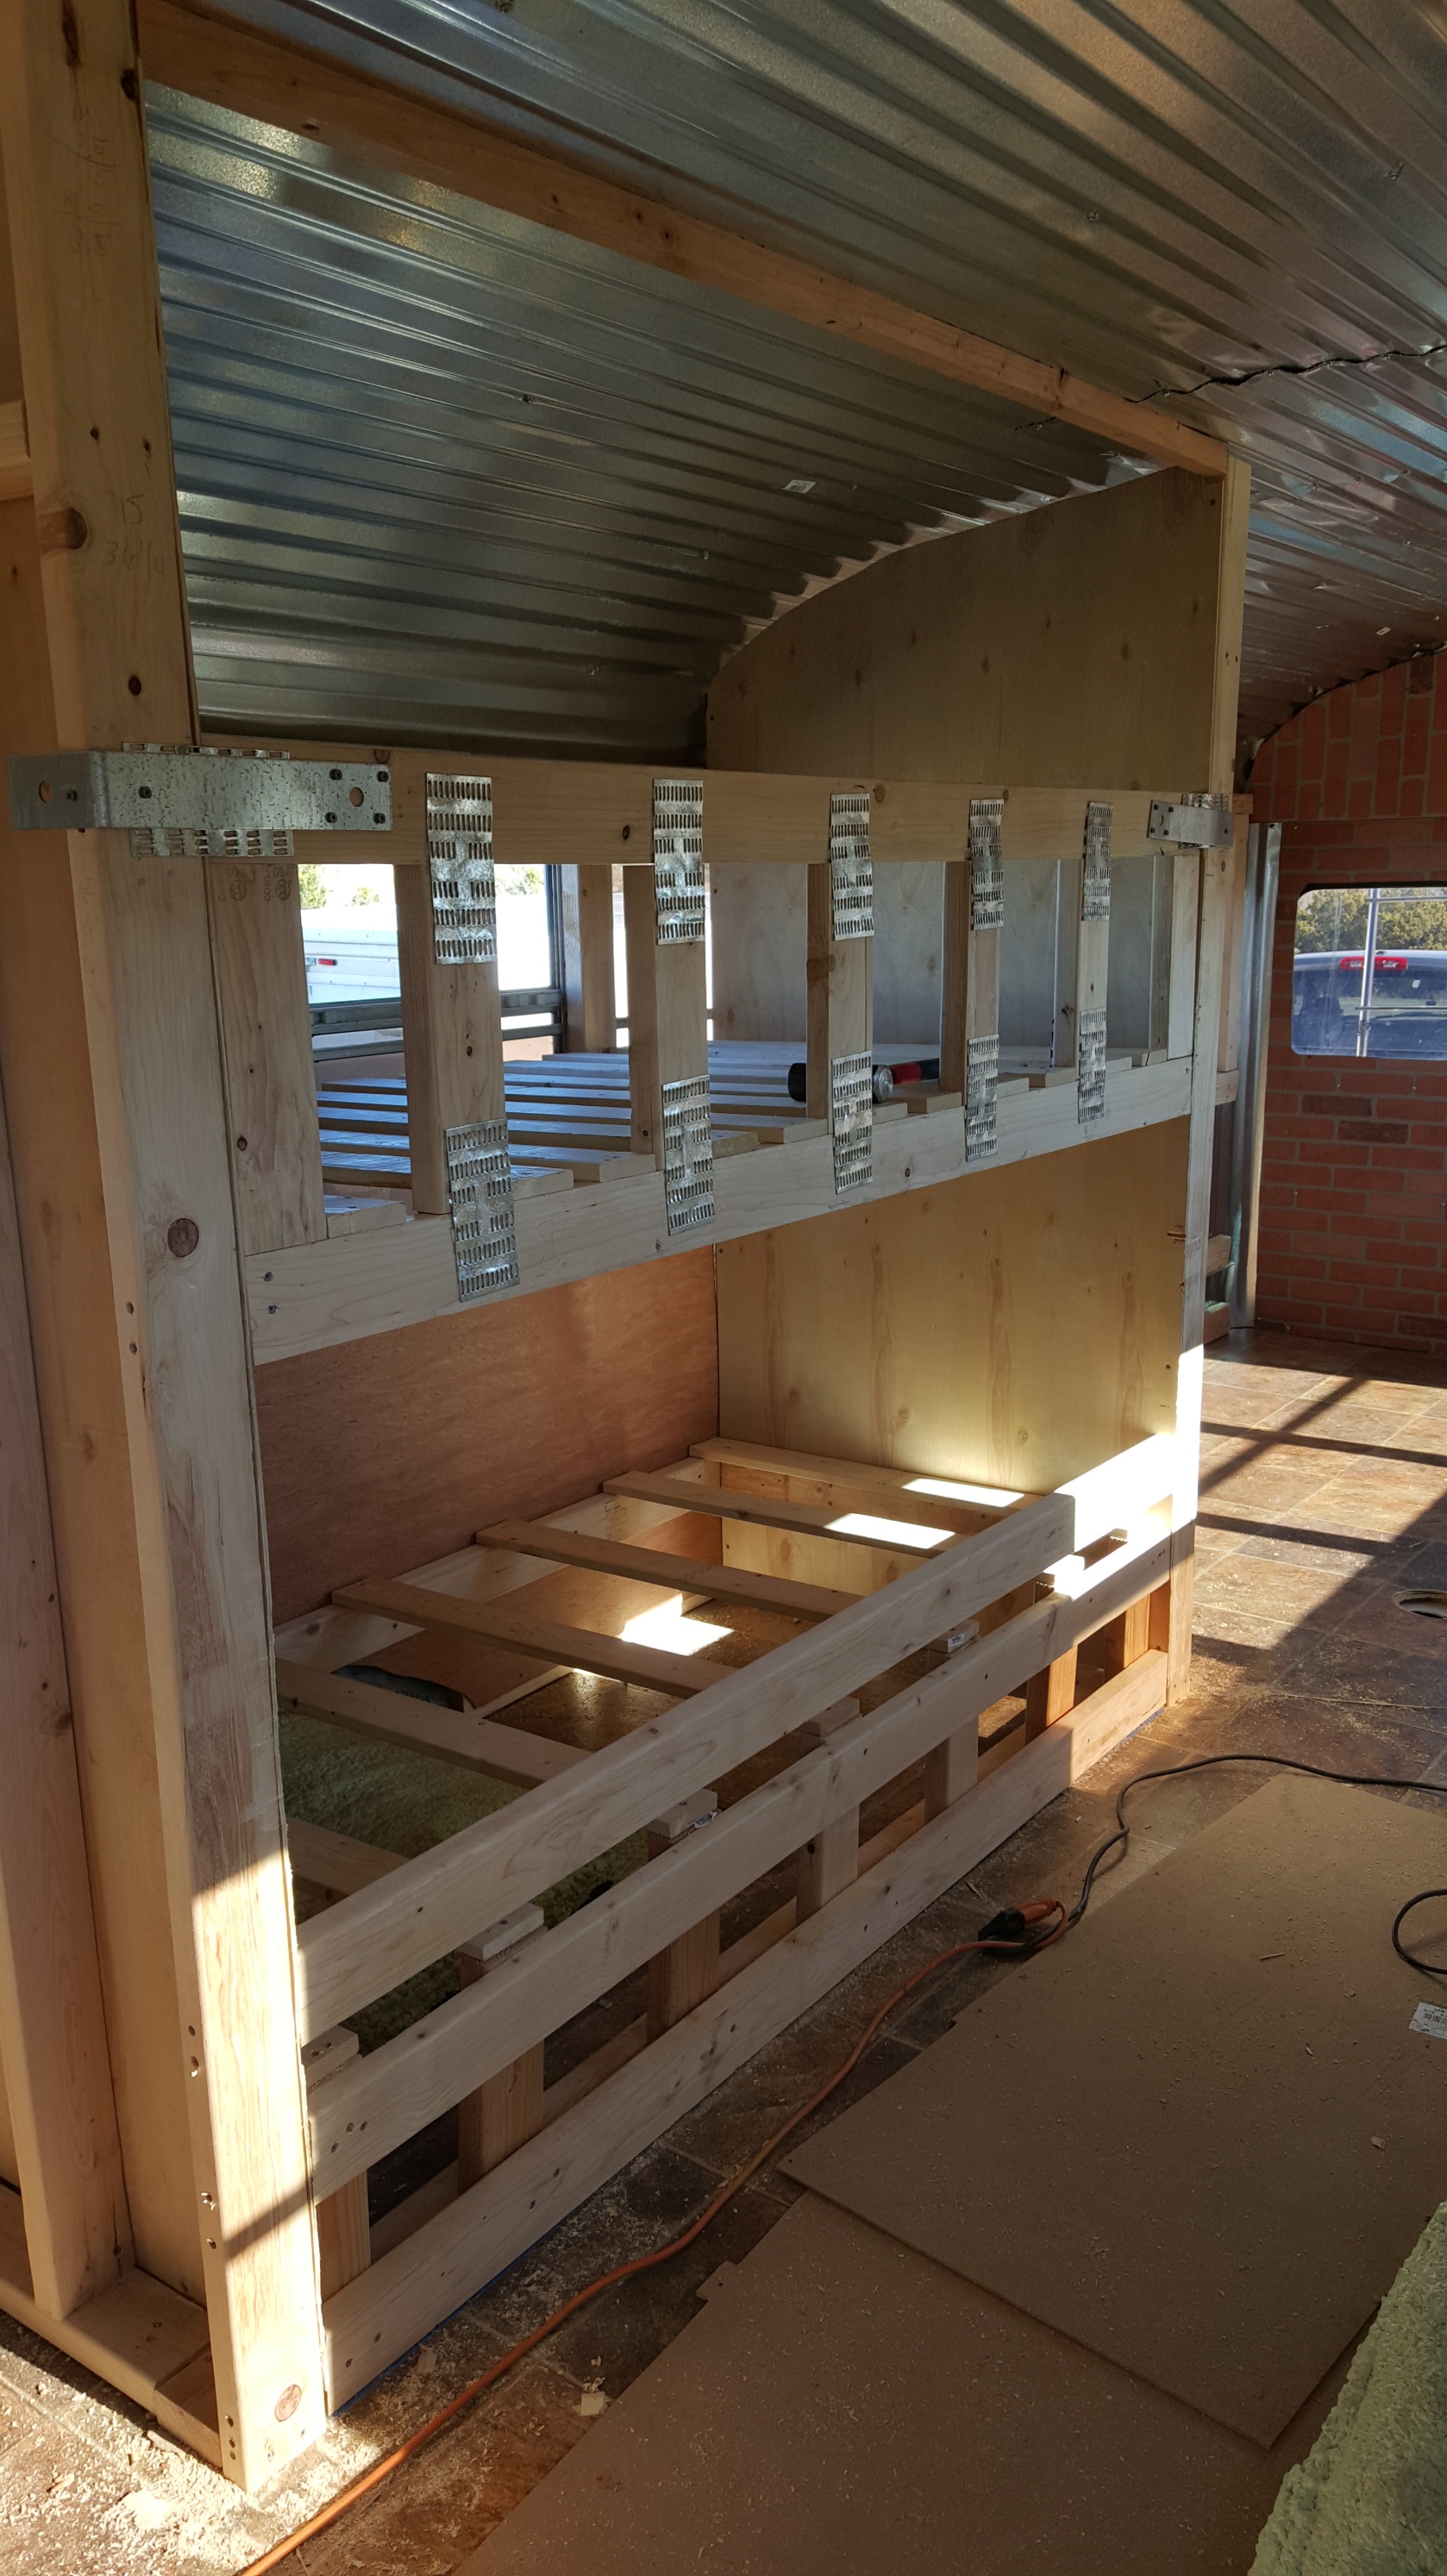

The space b/w the walls on either end of the bunk beds is 2” bc 2x4s were used for the framing, thus leaving quite a bit of empty space. Secret compartment would be cool, but we filled it with foam board for added sound insulation since our room will be butted up next to the kids
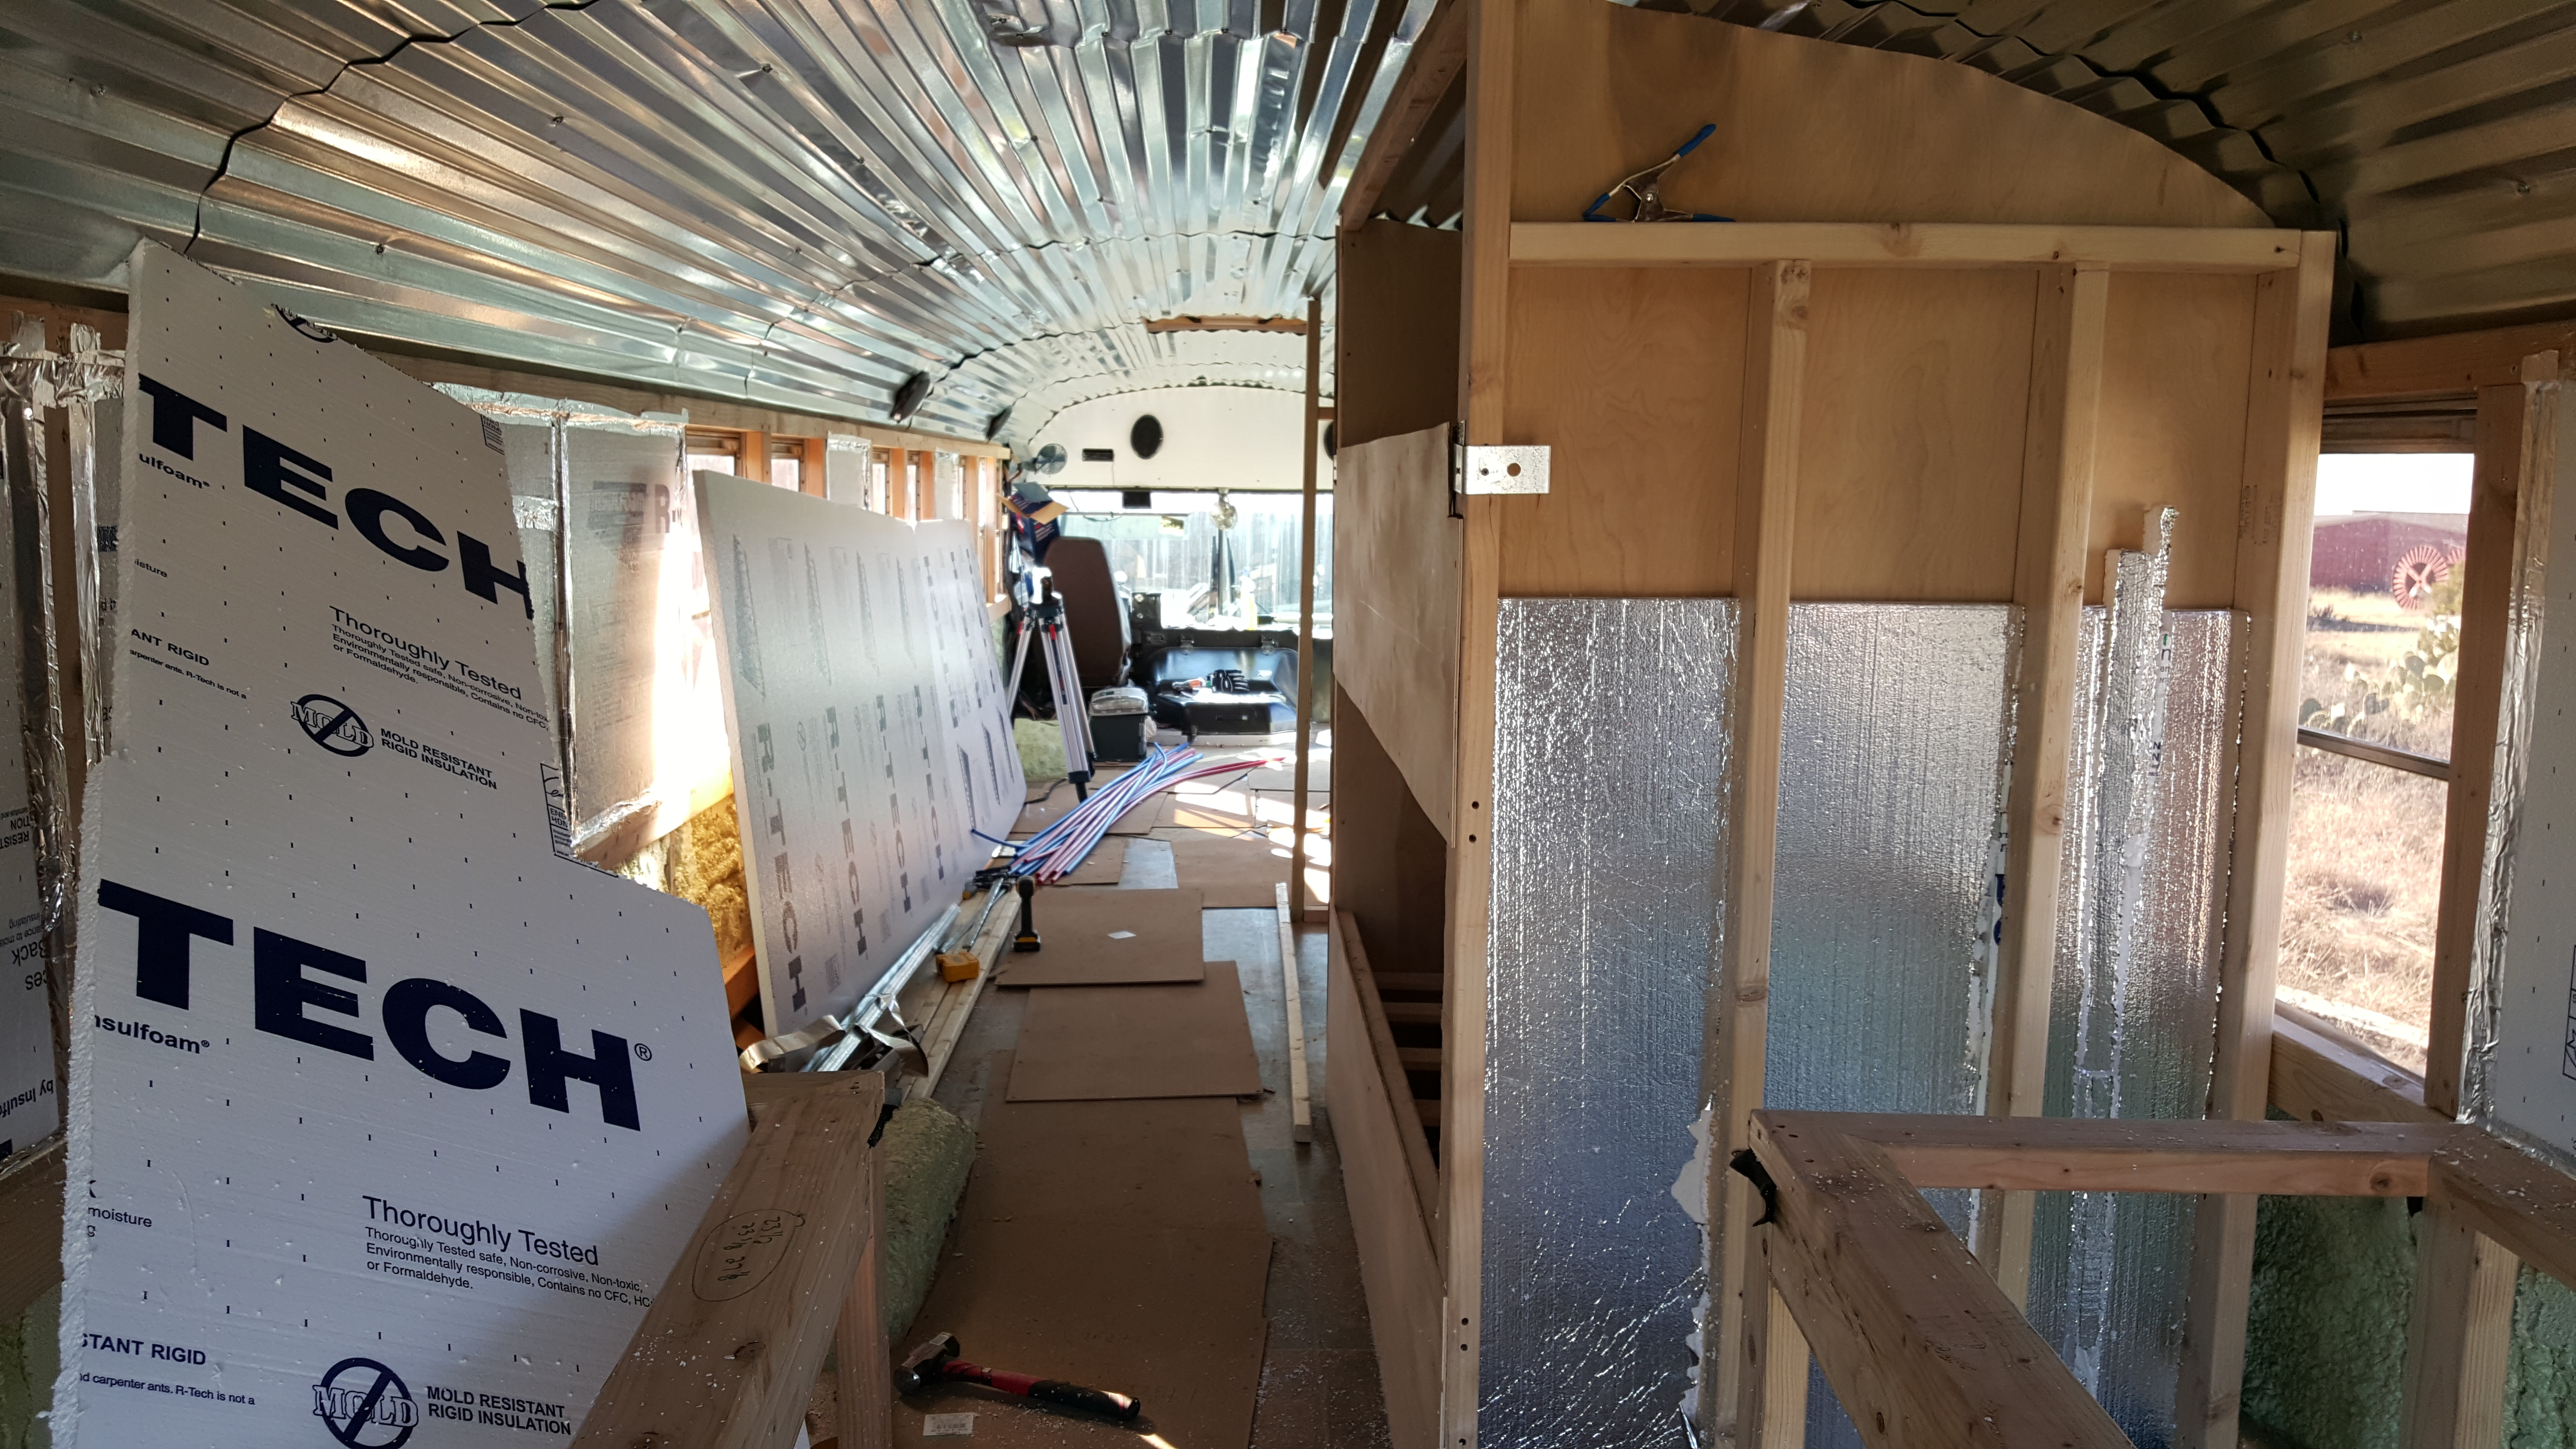

If you noticed in the pictures before, there were a few windows in the bunk area. Like I said at the beginning, we were building this in the cold weather in West TX so this made us re-evaluate covering more windows to keep the heat inside. So we grabbed some foam board and insulated the windows (DID NOT REMOVE THE WINDOWS BEFORE, We did not see the need to) and covered with plywood!


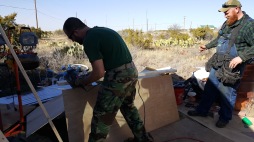
We also added a piece of wood to act as a smooth bed rail that Ryon and our friend, Jesse, made custom for each bed:). He came to visit us from Colorado to help us with the build for a few days! We were happy to have him there to help pitch in too! If you don’t remember, he also helped us re-seal all of the bus windows too back in the beginning!


The foam mattresses I found were from Walmart, and they were 6” thick and about $80 each. It was a tight fit but they easily pushed down! I recently purchased a new foam mattress for the bottom bunk from Amazon by Zinus and it was 3” wider but still I was able to cram it in. Foam is flexible!

We eventually trimmed out the bunk at the end of the project. That was kind of our motto during the building phase, “Fuck it…we’ll trim it.”
GO TO:
Stage 23: Building the Master Bed
Stage 23 Re-Do RENOVATION: Master Bed Renovation (1.5 years later) (Article COMING SOON)


Leave us a message!