TheCrabsHomestead

Stage 2: School Bus Seat Removal

Day 1

The day Crab made it back home it was late in the day, but I still could not help myself. We took out 10 bus seats and called it quits for the day. LOL. Some people I have seen do these renovations have had to cut the seats out because the bolts were so rusted, or for preference I guess. Our bolts were easy enough…I had to be under the bus reaching through metal slats, axles, tanks, and other greasy grimey stuff to hold each floor bolt’s washer while Crab unscrewed it from the top with our hand drill. Needless to say, I definitely had the nastiest job. But I did it with pride, and with only one busted knuckle!
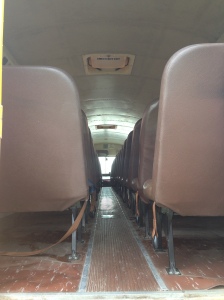
Before: Inside of the bus from the rear (28 seats)
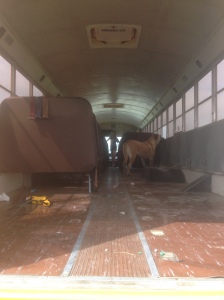
A little less than half of the seats removed and our English Mastiff, Mila, enjoying the view :)
A little less than half of the seats removed and our English Mastiff, Mila, enjoying the view 🙂
One Row of Seats Removed! I can taste the Sweet Victory! And it tastes like the undercarriage of a bus. LOL
From Rear with one row of seats removed
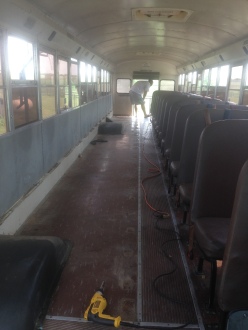
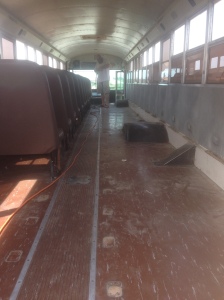
28 Seats successfully removed, and oh does she look good!
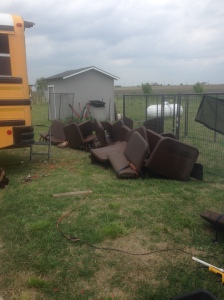
The school bus seat graveyard. The girls worked on getting all of the seat belts off. Only took them a day and a half, but they got them all! We are proud parents of a 9 and 6 year old girl that know how to use power tools:) They love helping build our tiny house!

We also took the flooring out on one side, starting with the rubber mats, and then the plywood. Surprisingly for a 16 year old bus, the plywood was still in pretty good shape! The other side of the flooring had the heaters on top, which also had hoses of coolant attached to them. We ended up cutting the wrong line to remove the heaters, and antifreeze started pouring out. Mistake #1. No biggie though. We read (after the coolant was emptied lol) that you can loop the heater hose if you want to remove them, which we did. One worked and the other did not, and I Want to find something more energy efficient since our ultimate goal is to use 100% solar power, with a plug in option and an option to charge our house batteries with the bus engine.
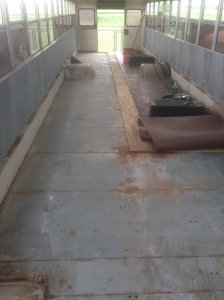
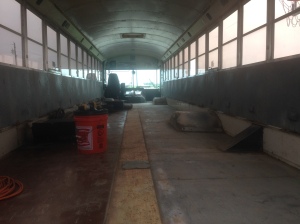
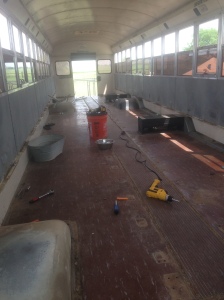
Removing the rubber mats and plywood on one side, then figuring out how to remove the heaters on the other. This was a learning lesson!
From the Rear with all the seats out and almost all the flooring gone!

Removing the flooring was probably one of the easiest tasks, despite the heaters on one side. All of our boards were in pretty good shape except for a back corner section where some screws rusted and stayed in the floor. We had to grind those down, but that was pretty fast anyway. Well, Day 1 was definitely exhausting, but we got a lot of progress done!
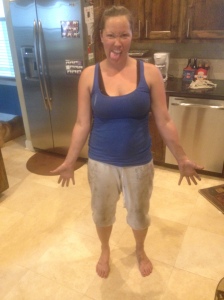
This is what crawling under and inside of a dirty bus looks like. It felt good to be all dirty and accomplished though. Yeah, I'm a lady who likes hard work sometimes :)
This is what crawling under and inside of a dirty bus looks like. It felt good to be all dirty and accomplished though. Yeah, I’m a lady who likes hard work sometimes 🙂

"WIldMan

Onto Day 2: Stage 3: Tearing the Floor and More Demo

or

Editing Our Life Series (The Prequel to Skoolie!)

One response to “Stage 2: School Bus Seat Removal”

Leave us a message!

This site uses Akismet to reduce spam. Learn how your comment data is processed.